# Part 4: Themes
Understand how themes control the global styling and design system for DML blocks, similar to a shared design layer for emails. Themes define consistent typography, colors, and default styling across templates.
# Blocks & Themes
So far, we have been talking about building blocks. However, in order for a block to be available for use in building an email, it needs to be activated for a theme – a styled collection of blocks that will be available in the email editor.
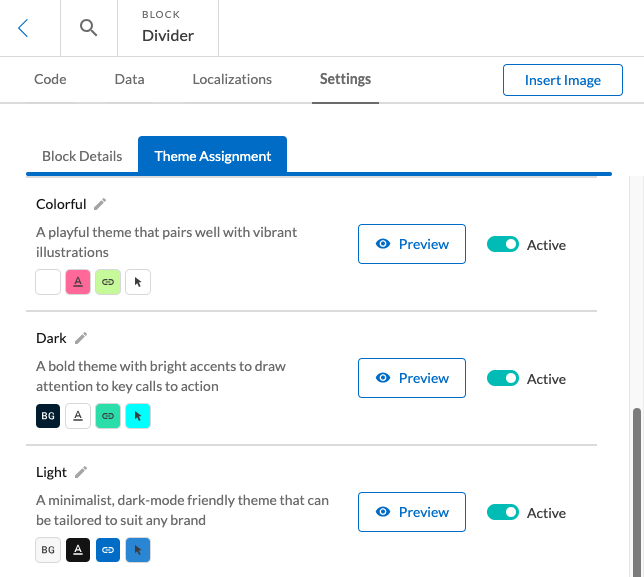
A theme defines basic style elements for its blocks. In the block editor, you can preview how your block will look in different themes by selecting **Preview** in the Theme Assignment tab under Settings
- To make your block available in a theme, toggle on the **Active** slider to the right of the theme
 Blocks can also be added to a theme from the:
- blocks page — Select **Theme Assignment** from the 3 dot menu to the right of the block name
- themes page — Select the theme then **Manage Blocks** to toggle available blocks on or off for that theme
Blocks can also be added to a theme from the:
- blocks page — Select **Theme Assignment** from the 3 dot menu to the right of the block name
- themes page — Select the theme then **Manage Blocks** to toggle available blocks on or off for that theme
 ## dys-attributes
Attributes for a theme can be set through the user interface in the Standard tab or with DML in the Advanced tab
- Define default styles for `dys-body`, `dys-title`, `dys-text`, and `dys-a` (links)
- Use `dys-palette` to create a color palette of up to 12 colors. These will be readily accessible inside of that theme

## dys-attributes
Attributes for a theme can be set through the user interface in the Standard tab or with DML in the Advanced tab
- Define default styles for `dys-body`, `dys-title`, `dys-text`, and `dys-a` (links)
- Use `dys-palette` to create a color palette of up to 12 colors. These will be readily accessible inside of that theme

dys-attributes set in the theme will apply to all matching DML elements whose block-level styling doesn't overwrite the theme stylings
## dys-font
Using `` allows you to add custom fonts to your theme
- Eg. ``
When using web fonts, be sure to define a web-safe fallback font for users who aren’t able to view web fonts
- Eg. `font-family='Nunito Sans, Arial, sans-serif'`
## dys-style
CSS defined inside `` will automatically be rendered into the head tag of the email
- Styles will by default be inlined on the outermost HTML element of a DML abstraction. You may need to look at the exported HTML to find the correct HTML element to target
- You can define inline styling with ``
You can add CSS classes to most DML elements with the attribute `css-class="class-name" `
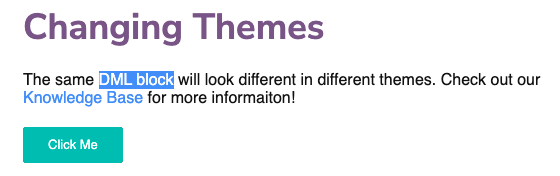
## Putting it All Together
### Your Theme DML:
```
.button a {
background-color: #00BDB1 !important;
}
.highlight-text {
background-color: #458FFD !important;
color: #FFFFFF !important;
}
```
### Your Block DML:
```
Changing Themes
The same DML block will look different
in different themes. Check out our
Knowledge Base for more information!
Click Me
```
### Final Result: