Using Locale Groups to Group Similar Localizations
Locale Groups can be used to add a group of individual locales to an email at one time, and for adding a single translation for a group of same-language locales.
Creating Locale Groups
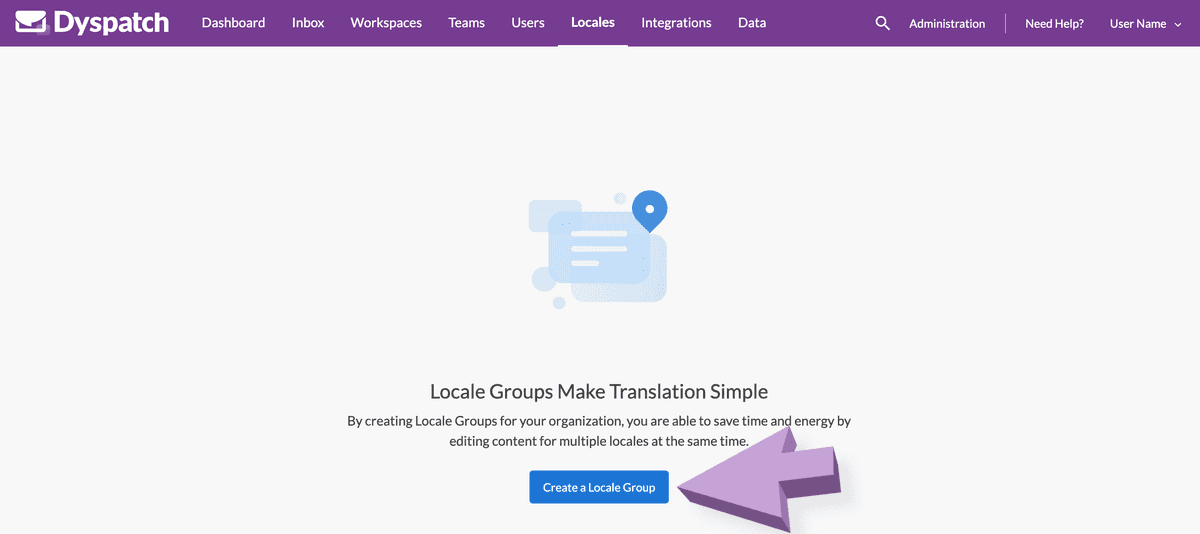
In the Administration dashboard, navigate to the Locales > Locale Groups tab and select Create a Locale Group.
Name the locale group and add a description. Add localizations to the locale group by filtering localizations at the top and selecting from the supported localizations list.
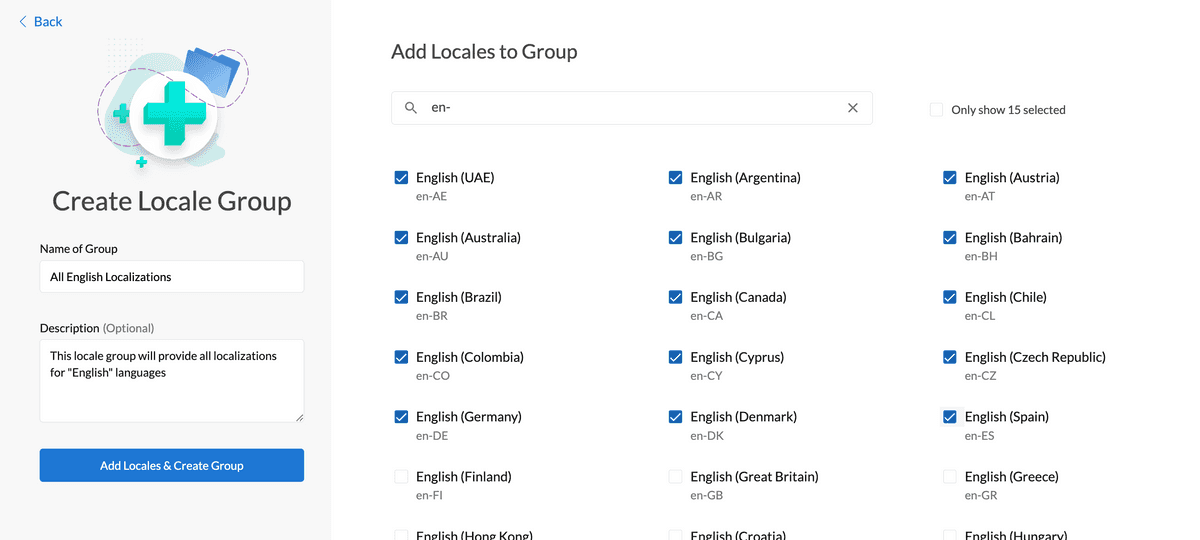
Once you have selected all the localizations you want in the group, select the Add Locales & Create Group button.
Using Locale Groups
Adding All Locales Individually to an Email
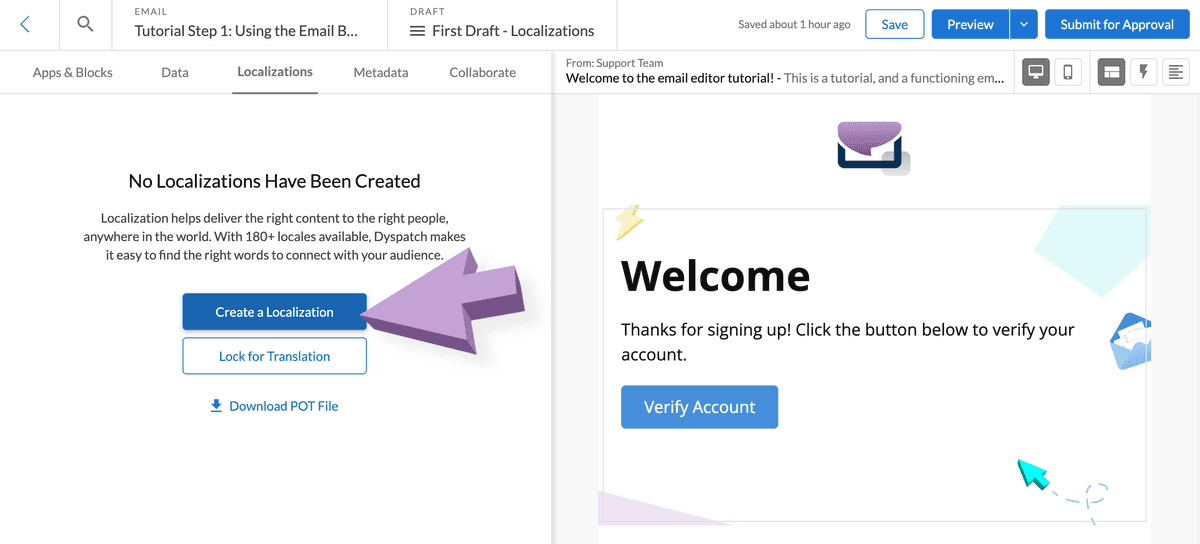
To add all locales in the locale group as separate entries that can be localized independently from one another, go to the localizations tab in the Dyspatch Email Builder and select Create a Localization.
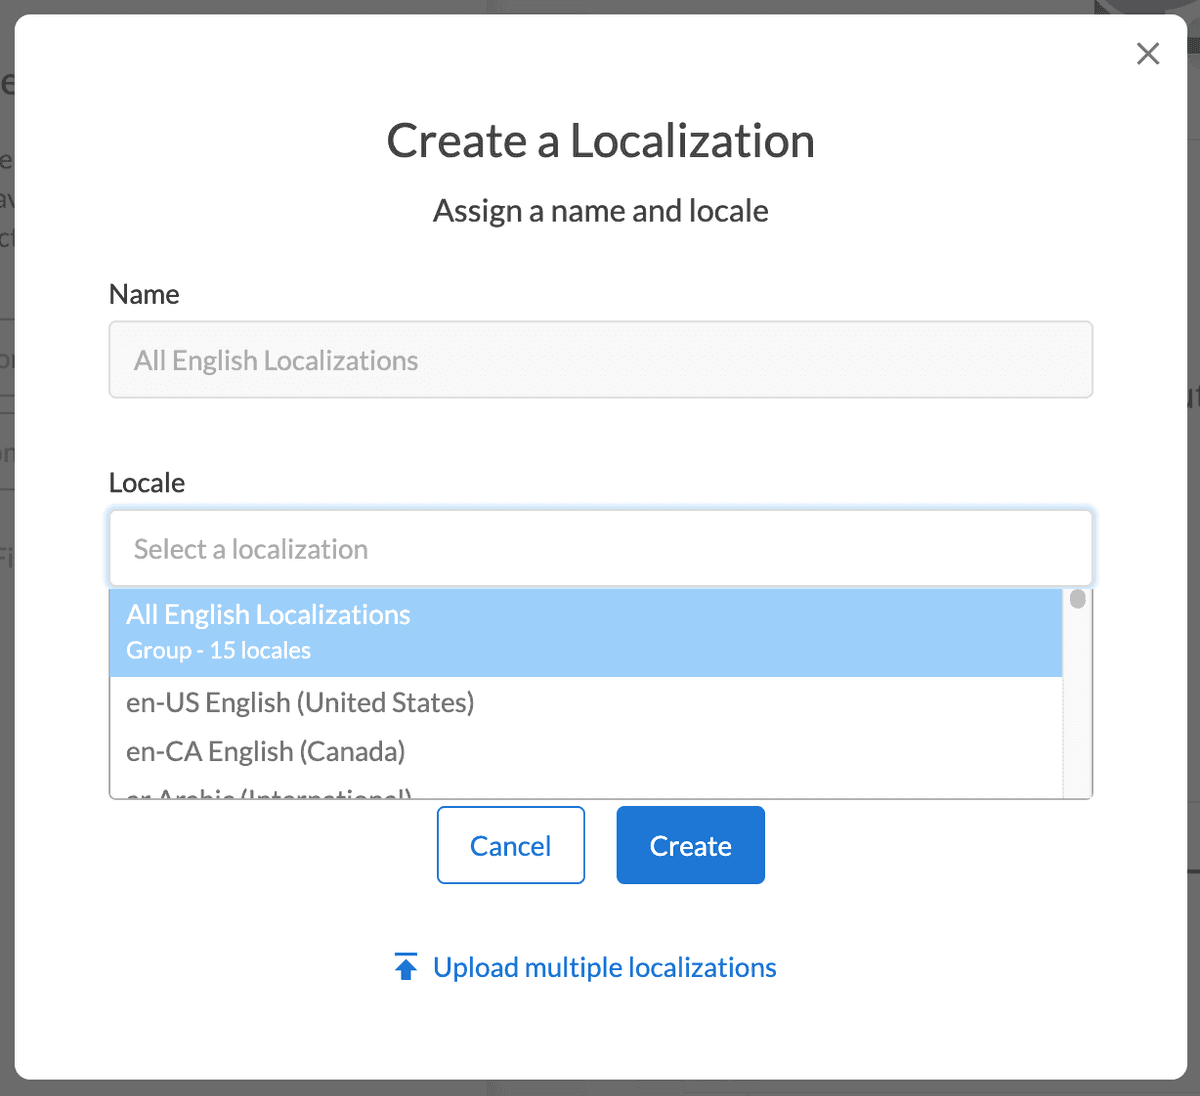
Select the locale group by selecting it from the dropdown menu.
Each locale from the group will be available under the Localizations tab.
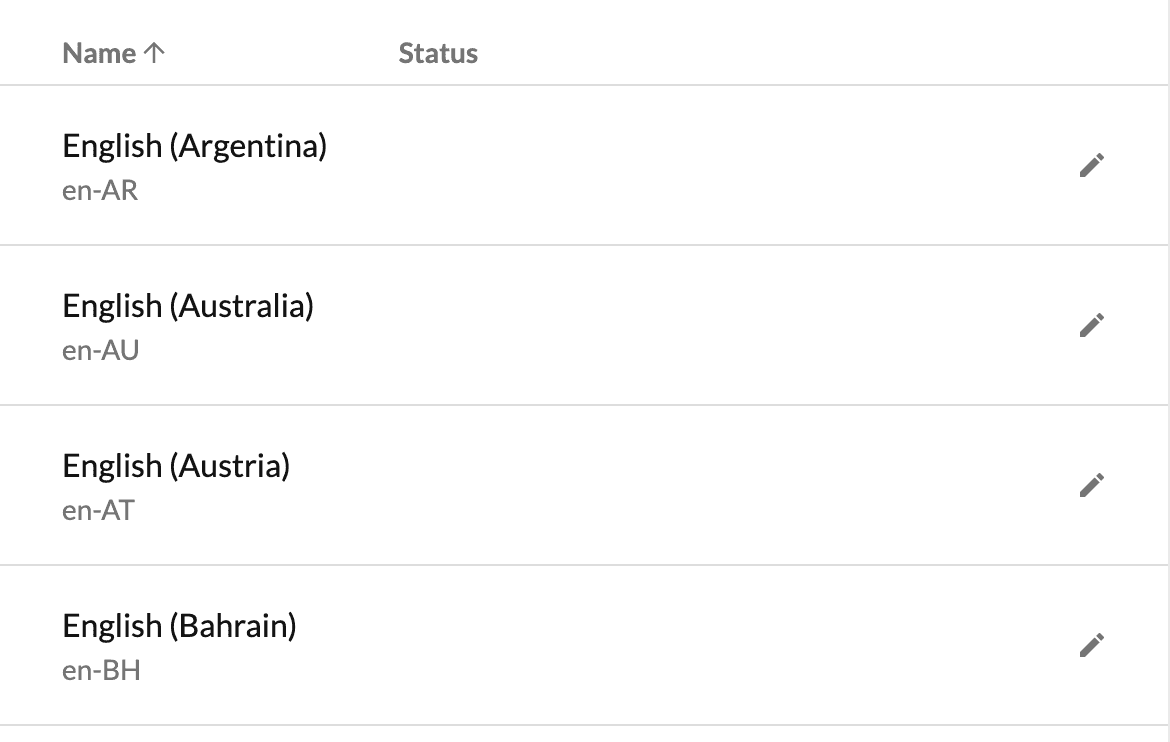
You can now go through the same localization process as outlined in our Localizing an Email guide.
Adding Single Translation For Locale Group
By grouping locales that share the same language, "en-AE", "en-AU", and "en-BR" for example, you can use one translation for the entire group. This can be done through the Dyspatch API with the locale group ID and template draft ID.
Getting and Adding Locale Groups via API
The localeGroup parameter provides you an ID for any created locale groups in your account and can be used to apply
translations to a group by adding the locale group to a draft.
Get Draft Locale Group ID
Request URL
GET https://api.dyspatch.io/drafts/tdft_01dwde5bkh1znw5krbskv/localizationsResponse
[
  {
    "id": "loc_01dwdmm8p7n3kkvdx7dbn",
    "languages": [
        "en-AE",
        "en-AU",
        "en-BR",
        ...
    ],
    "localeGroup": "lg_01dvxt2wr1gcvkxf85a5f",
    "name": "All English Localizations",
    "updatedAt": "2024-09-06T16:45:07Z",
    "url": "https://api.dyspatch.io/localizations/loc_01dwdmm8p7n3kkvdx7dbn/drafts/tdft_01dwde5bkh1znw5krbskv"
  }
]
Add Locale Group to a Draft
Request URL
PUT https://api.dyspatch.io/drafts/tdft_01dwde5bkh1znw5krbskv/localizations/lg_01dvxt2wr1gcvkxf85a5fRequest Body
{
  "name": "All English Localizations"
}
Response
200 OKAdd Translations for Locale Group
Request URL
PUT https://api.dyspatch.io/drafts/tdft_01dwde5bkh1znw5krbskv/localizations/lg_01dvxt2wr1gcvkxf85a5/translationsRequest Body
{
  "bienvenue en %(company_brand)s": "welcome to %(company_brand)s",
  "merci pour l'enregistrement!": "thanks for signing up!"
}
Response
200 OKThis same translation will now be used for every locale from the locale group added through the API.
For a detailed example and walkthrough using the API, take a look here: Localizing using the Dyspatch API