# Translating Blocks with Block Localization
Dyspatch offers block localization to make it easier to build and localize emails, ensuring consistency across emails.
Localize a Block to translate content to different countries, regions, or languages. Localizations are available with
Teams+, Enterprise, and Custom accounts and can be managed in the email builder or via the
Dyspatch API.
## Getting Started
To get started, head to the blocks & apps page in your
account and select the block you'd like to add localizations to.

You can also select the block from the block list for a theme by selecting it from the
Themes page
DML content can be
editable or
localizable, but not both. Localizable content is not editable in the Email Builder. See the DML guide for more on
Editable Content #### Add Translations via PO/POT Files
Use a POT file to manually manage translations outside of Dyspatch. Download the POT file from the 3-dot menu next to
the locale's name. Once you receive the PO files back from your translation service, upload them from the same menu.

More info on the manual translation process available in our
Localization using POT and PO files doc.
### Translate with Phrase Strings
Sync your block localizations with your Phrase Strings project the same way you would editable email content with the
Phrase Strings integration.

### Translate with Phrase TMS
Sync your block localizations with your Phrase TMS project the same way you would editable email content with the
Phrase TMS integration.

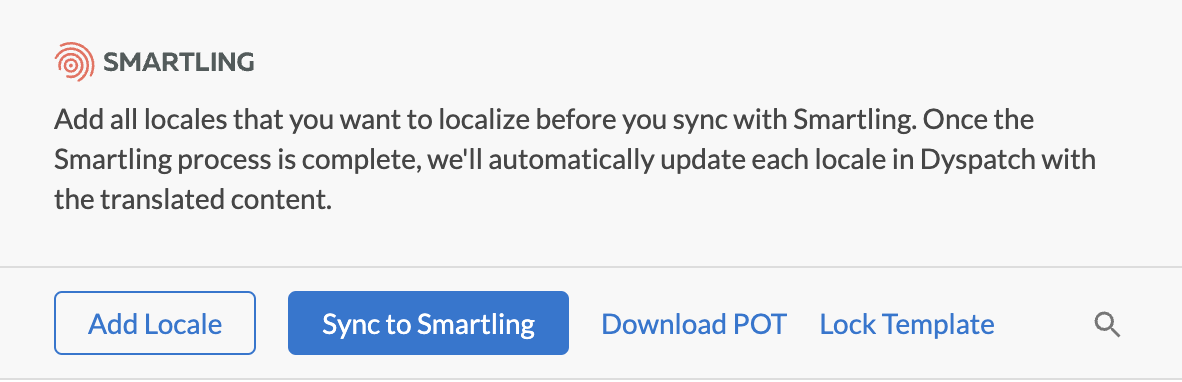
### Translate with Smartling
Sync your block localizations with your Smartling project the same way you would editable email content with the
Smartling integration.
## Preview a Localization
### Preview in the Block Editor
Select the locale you'd like to preview from the **localizations** list.
#### Add Translations via PO/POT Files
Use a POT file to manually manage translations outside of Dyspatch. Download the POT file from the 3-dot menu next to
the locale's name. Once you receive the PO files back from your translation service, upload them from the same menu.

More info on the manual translation process available in our
Localization using POT and PO files doc.
### Translate with Phrase Strings
Sync your block localizations with your Phrase Strings project the same way you would editable email content with the
Phrase Strings integration.

### Translate with Phrase TMS
Sync your block localizations with your Phrase TMS project the same way you would editable email content with the
Phrase TMS integration.

### Translate with Smartling
Sync your block localizations with your Smartling project the same way you would editable email content with the
Smartling integration.

## Preview a Localization
### Preview in the Block Editor
Select the locale you'd like to preview from the **localizations** list.
 ### Preview Localizations on Devices
Once the block is included in an email, the localizations you’ve created are available for
and test sending in the Preview area. Select a localization from
the drop-down to preview the localized version of your email on selected devices.
### Preview Localizations on Devices
Once the block is included in an email, the localizations you’ve created are available for
and test sending in the Preview area. Select a localization from
the drop-down to preview the localized version of your email on selected devices.
 ## Enable Block in Themes
If you're not seeing your block in the Email Builder, it may not be assigned to the theme that your emails use.
Each theme that the block will be used in must be enabled by selecting the **Settings > Theme Assignment** tab and
toggle on all themes that the block will be used in.

## Enable Block in Themes
If you're not seeing your block in the Email Builder, it may not be assigned to the theme that your emails use.
Each theme that the block will be used in must be enabled by selecting the **Settings > Theme Assignment** tab and
toggle on all themes that the block will be used in.

You can also preview how the block will look with each theme's stylings by using the Preview button
## Export Localizations
Once you're happy with your translated content and have published your email, all locales will export to your integrated
ESP or be included in your export files. See the full list of [integration options here](/integrations/).