`)
Desktop:
 Mobile:
 Check the DML Documentation to see full details!
# Basic DML Elements
Your email's contents will be contained inside of elements nested inside a dys-column. The most basic elements are:
- ``
- Can add attributes to set font family, size, color, line height, etc.
- ``
- Works similarly to dys-text, but with larger default styling and 6 levels
- ``
- Href and text content can be made editable
- ``
- Alt-text, title, image source, and link URL can be editable
Check out the DML Documentation to see a full list of attributes that can be used to customize each of these elements
## Editable Content
One of the benefits of DML is the ability to edit your block content without touching the underlying code when building an email. Use these attributes to define what content can be changed in the email editor:
- `editable`
- Makes elements available to be changed in the email editor
- Required to use editable-fields and editable-styles attributes
- Each editable attribute requires a name that is unique to the block
- `editable-fields`
- Defaults to all fields being editable if not included
- Lets you specify which fields should be editable, those not included will be uneditable when editable-fields attribute is set
- `editable-styles`
- All editable styles are enabled by default
- If Enable all editable styles for blocks is disabled in the email's theme, only styles added in the editable-styles attribute will be editable in the email builder for emails using that theme

## Putting it all Together
Check out this sample block in the DML Playground to see the DML we’ve covered so far in action.
Check the DML Documentation to see full details!
# Basic DML Elements
Your email's contents will be contained inside of elements nested inside a dys-column. The most basic elements are:
- ``
- Can add attributes to set font family, size, color, line height, etc.
- ``
- Works similarly to dys-text, but with larger default styling and 6 levels
- ``
- Href and text content can be made editable
- ``
- Alt-text, title, image source, and link URL can be editable
Check out the DML Documentation to see a full list of attributes that can be used to customize each of these elements
## Editable Content
One of the benefits of DML is the ability to edit your block content without touching the underlying code when building an email. Use these attributes to define what content can be changed in the email editor:
- `editable`
- Makes elements available to be changed in the email editor
- Required to use editable-fields and editable-styles attributes
- Each editable attribute requires a name that is unique to the block
- `editable-fields`
- Defaults to all fields being editable if not included
- Lets you specify which fields should be editable, those not included will be uneditable when editable-fields attribute is set
- `editable-styles`
- All editable styles are enabled by default
- If Enable all editable styles for blocks is disabled in the email's theme, only styles added in the editable-styles attribute will be editable in the email builder for emails using that theme

## Putting it all Together
Check out this sample block in the DML Playground to see the DML we’ve covered so far in action.
DML:
```
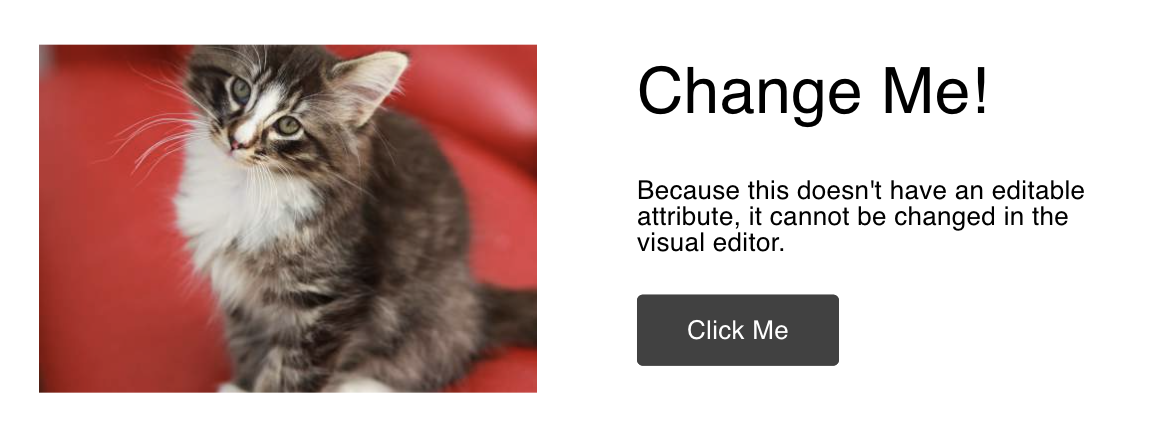
This image's source URL, alt text, and href will be editable in the email builder.
The content, color, heading level, size, line height, text weight, and alignment will be editable.
Change Me!
Because this doesn't have an editable attribute, it cannot be changed in the email builder.
By defining editable-fields as href, only the link will be editable, not the content.
Setting the editable-styles will allow only the text and background colors to be changed in the editor, if "Enable all editable styles for blocks" is disabled in the emails theme.
Click Me
```
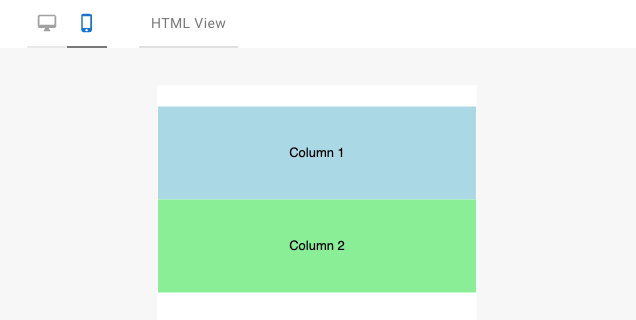
Rendered Block:
## How does it look in the editor?
With the editable fields set in this example, this is what you would see if you were editing this block in an email:

## Practice
Use this example block to practice modifying these elements. Some things to try include:
- Change the background-color of the row
- Change the color and background-color of your button
- Set the left column’s width to 25%
- Set both columns’ vertical-align to middle
- Try setting different values for padding in some of your elements