# Exporting a Dyspatch Email to Mailgun
Create engaging emails with your team in Dyspatch and quickly send them to your customers using Mailgun.
## Downloading Your Email
Use the Dyspatch editor to build and test your template, then collaborate with your team to [approve it](/emails/submitting_an_email/#draft-approved). You can now download your email using the **Download** button in the email editor.
You will need to click the **Download Icon** in the Mailgun option to be compatible with
Mailgun's templating system. Any DML variables and templating logic will be translated to Handlebars automatically.

Your download will be a zipped folder containing everything you need to get your email ready in Mailgun.
### Getting the HTML Source Code
Unzip the folder downloaded from Dyspatch and open the HTML file so you can copy its contents and [add the email content into Mailgun](/exports/export_to_mailgun/#add-your-dyspatch-email-to-mailgun). You can open the HTML file in a text editor or open the file in a web browser and view the page source.
Here's how to open the HTML file and copy the HTML using your [web browser](/exports/export_to_mailgun/#web-browser) or the [text editor](/exports/export_to_mailgun/#text-editor) that is pre-installed with Windows and MacOS.
#### Web Browser
Most web browsers will have a "View Page Source" option. The following screenshots will outline steps for Google Chrome.
Open the HTML file in a web browser, and right click the page to open a drop down menu. Select the **View Page Source** option.
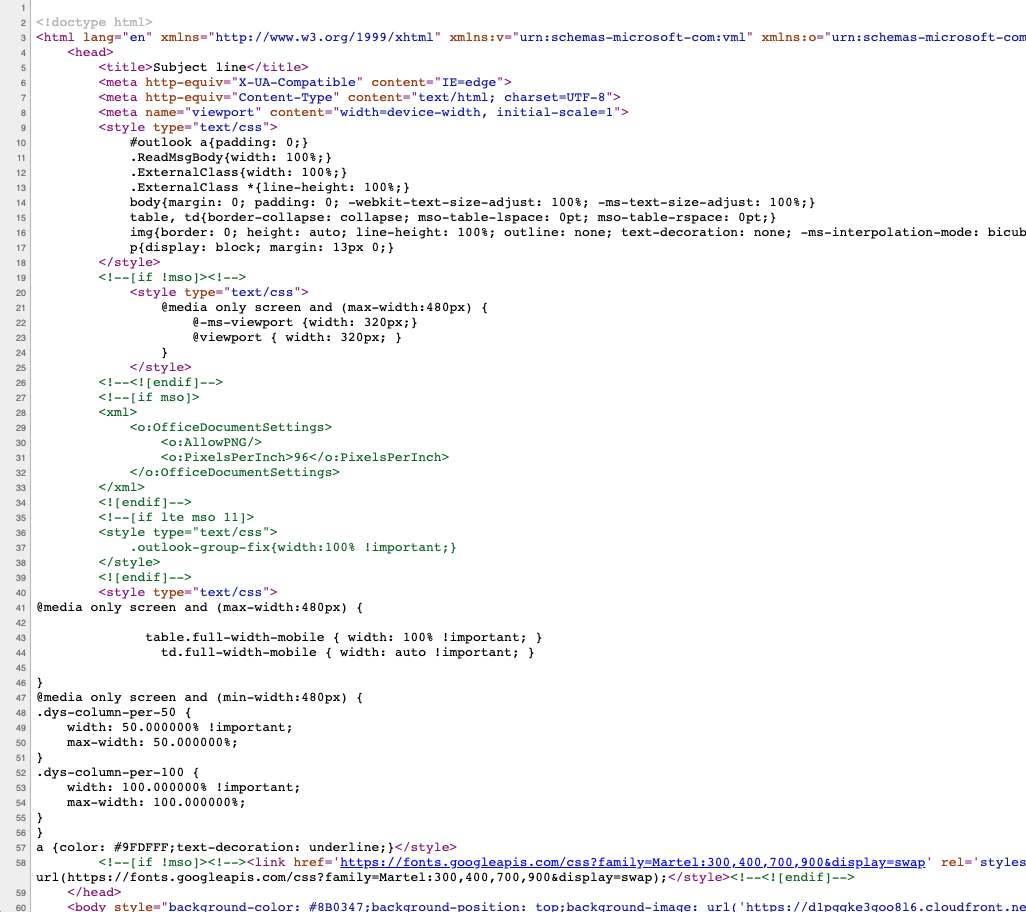
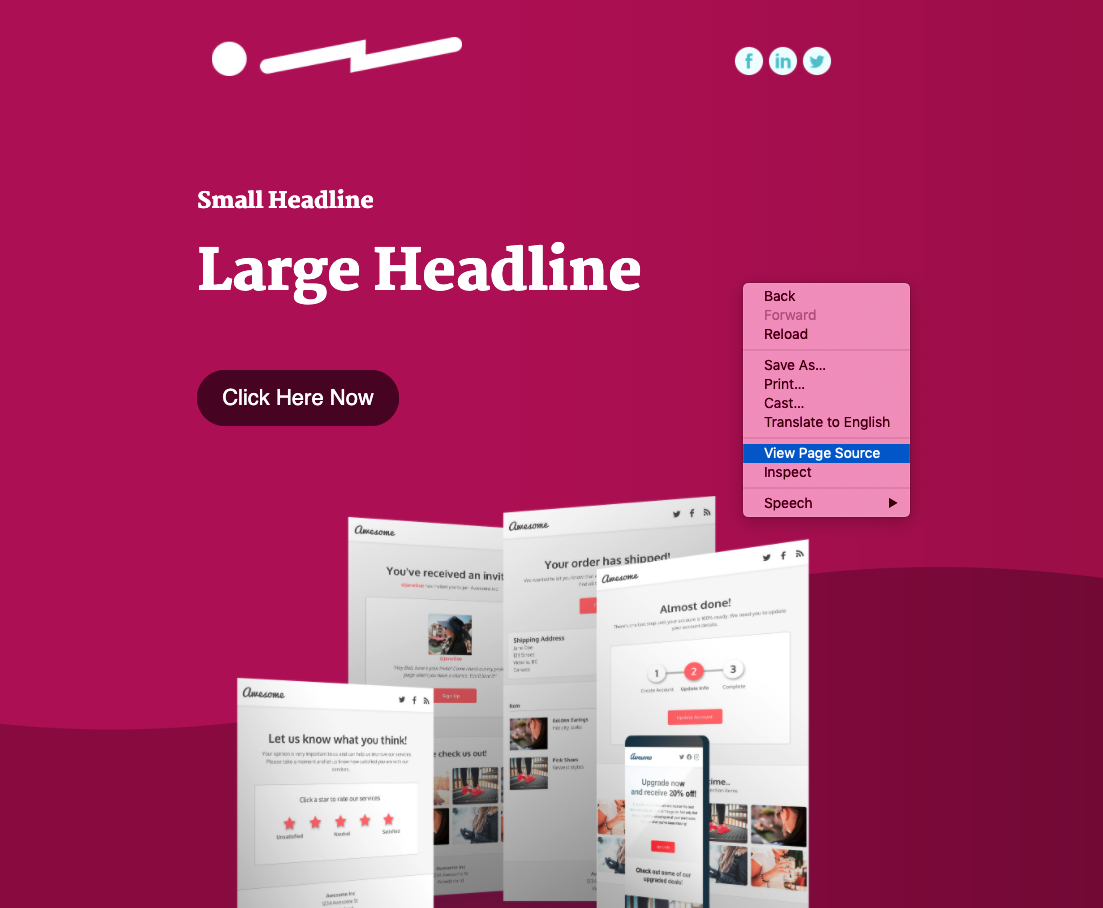 You will be presented with the HTML source code and you can copy the HTML and [add the content into Mailgun](/exports/export_to_mailgun/#add-your-dyspatch-email-to-mailgun).
 #### Text Editor
**Windows**
Notepad comes pre-installed with Windows operating systems, so you should be able to search for Notepad and open the HTML file. Once opened, you can copy the HTML and [add the content into Mailgun](/exports/export_to_mailgun/#add-your-dyspatch-email-to-mailgun).
**MacOS**
TextEdit comes pre-installed with MacOS operating systems, so you should be able to search for TextEdit and open the HTML file. Note that you may need to adjust your preferences to allow HTML files to be opened in code format.
In the preferences settings, click the "Open and Save" tab. Make sure the "Display HTML files as HTML code instead of formatted text" is enabled.
Once you have the HTML, you can copy the HTML and [add the content into mailgun](/exports/export_to_mailgun/#adding-the-template-to-mailgun).
## Add Your Dyspatch Email to Mailgun
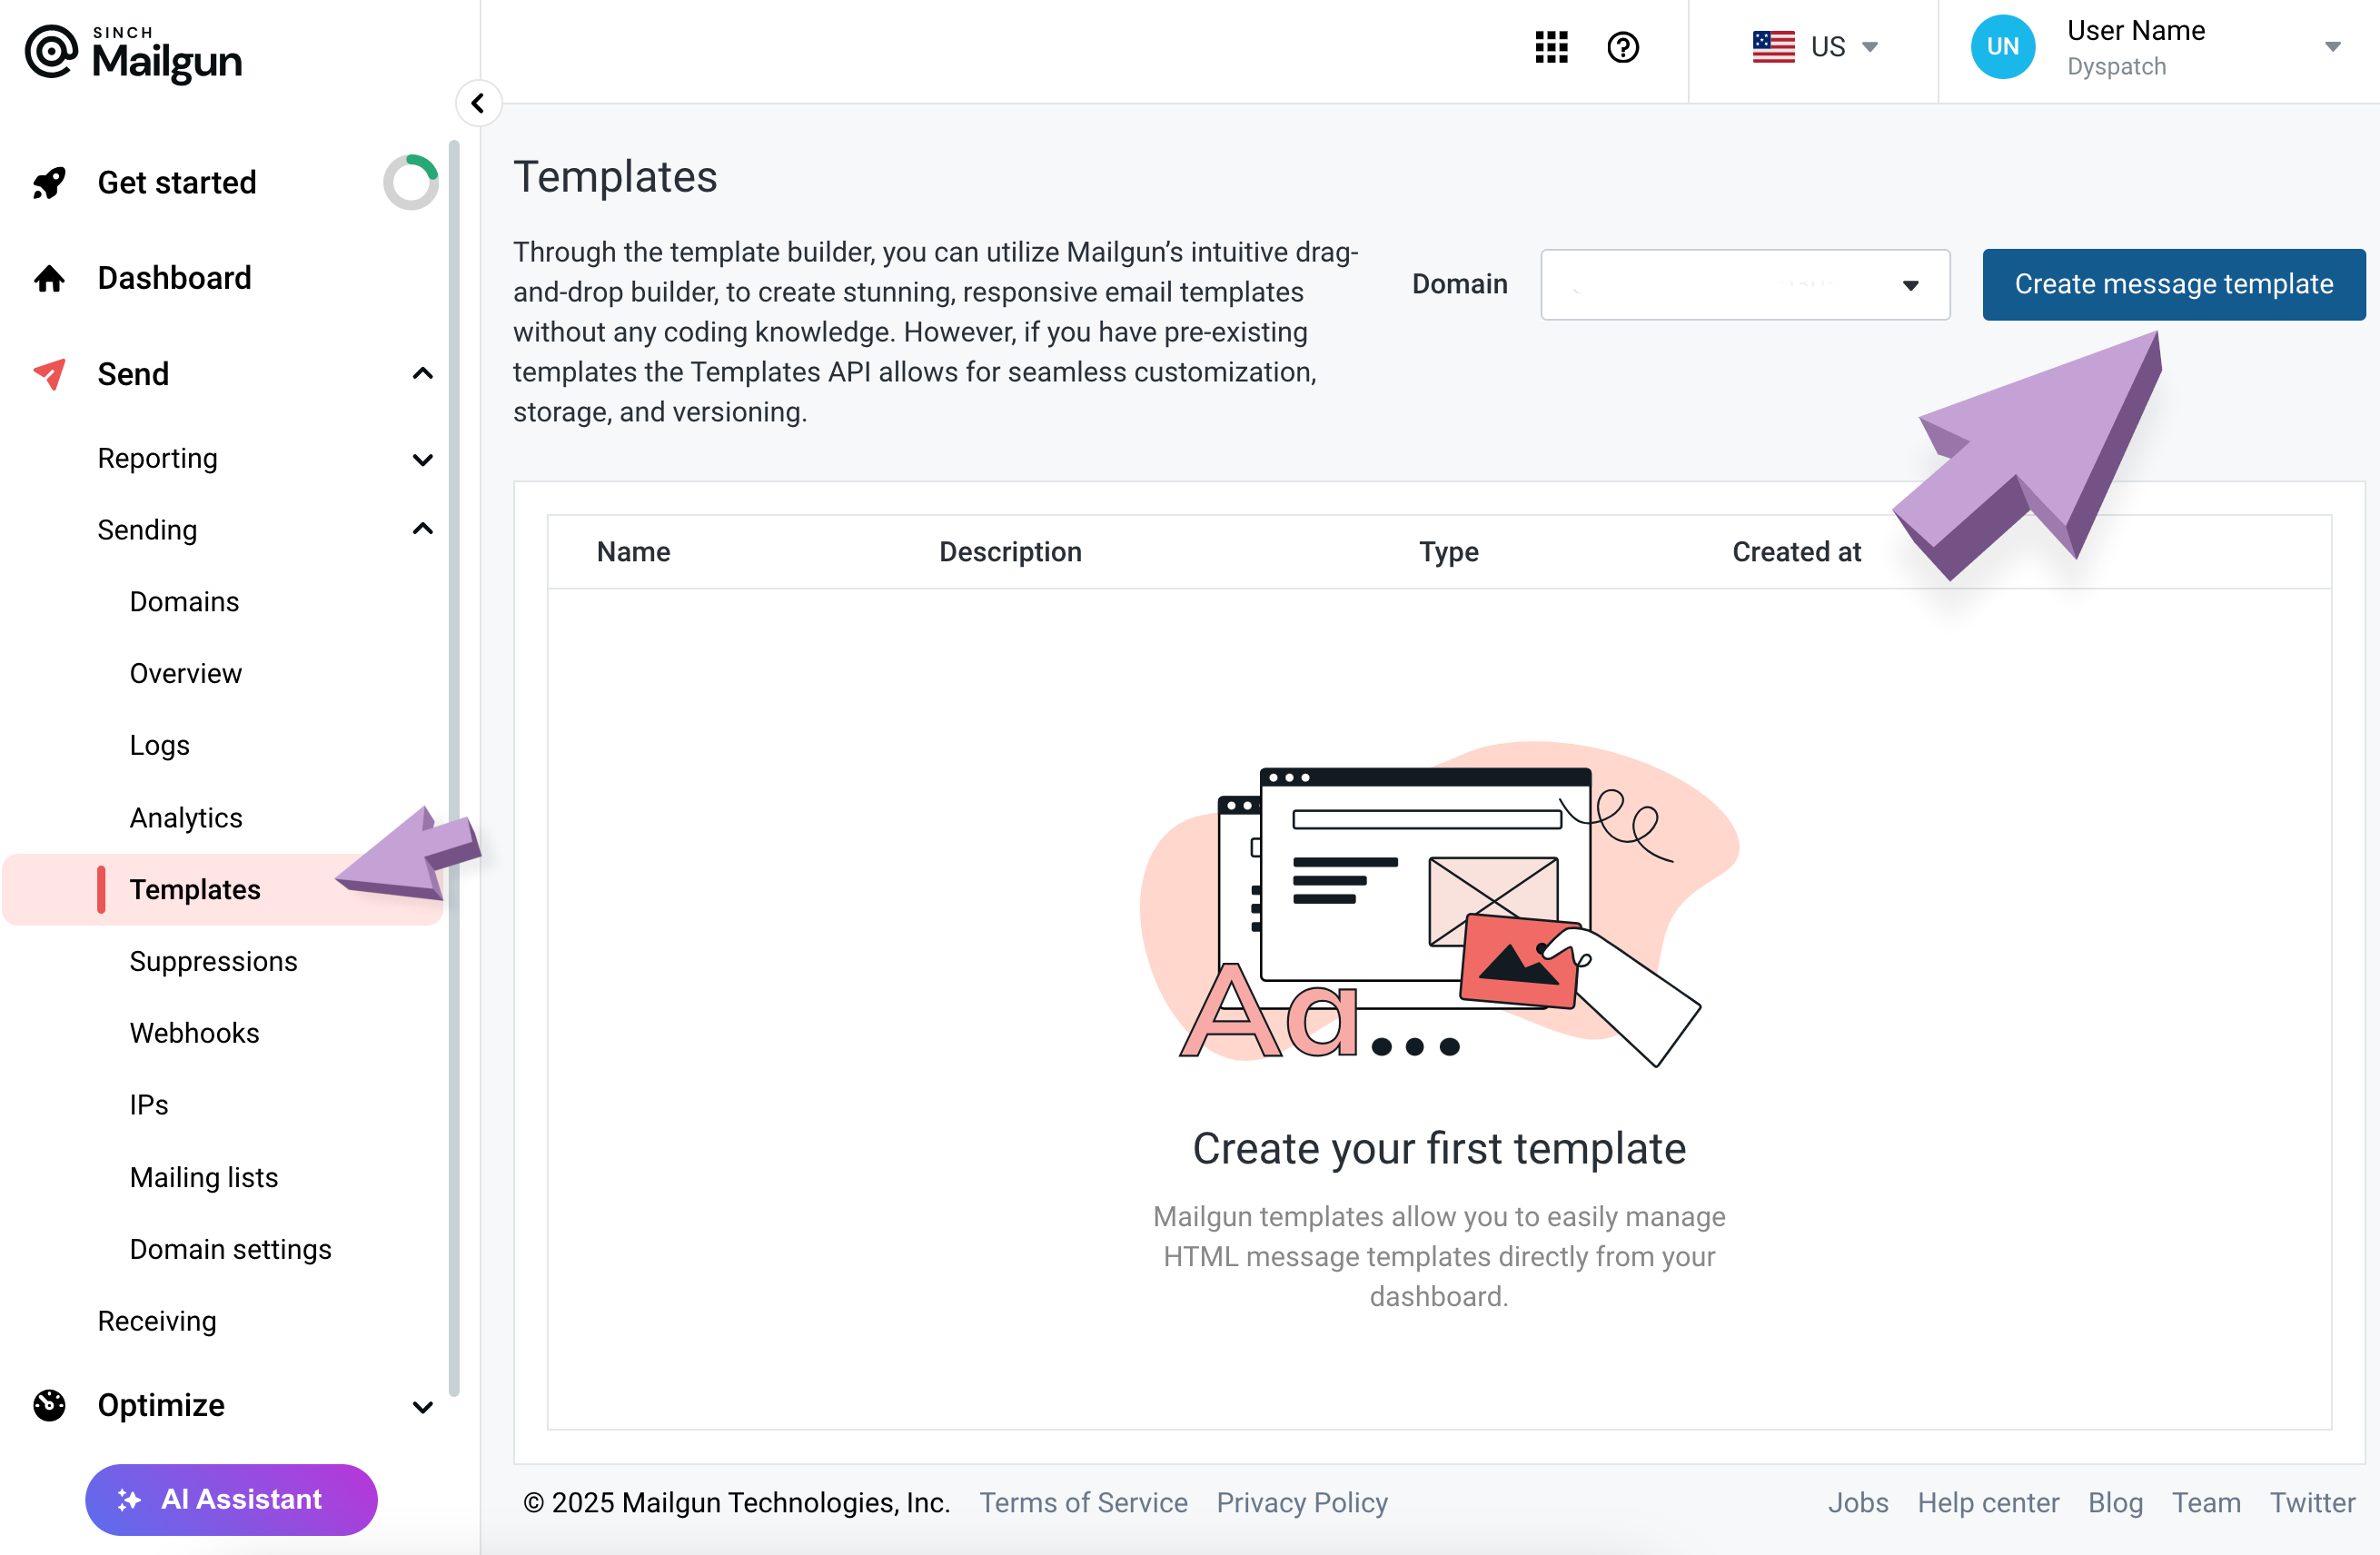
In Mailgun choose the **Sending** section from the sidebar and select **Templates**. Click the **Create Message Template** button.
#### Text Editor
**Windows**
Notepad comes pre-installed with Windows operating systems, so you should be able to search for Notepad and open the HTML file. Once opened, you can copy the HTML and [add the content into Mailgun](/exports/export_to_mailgun/#add-your-dyspatch-email-to-mailgun).
**MacOS**
TextEdit comes pre-installed with MacOS operating systems, so you should be able to search for TextEdit and open the HTML file. Note that you may need to adjust your preferences to allow HTML files to be opened in code format.
In the preferences settings, click the "Open and Save" tab. Make sure the "Display HTML files as HTML code instead of formatted text" is enabled.
Once you have the HTML, you can copy the HTML and [add the content into mailgun](/exports/export_to_mailgun/#adding-the-template-to-mailgun).
## Add Your Dyspatch Email to Mailgun
In Mailgun choose the **Sending** section from the sidebar and select **Templates**. Click the **Create Message Template** button.
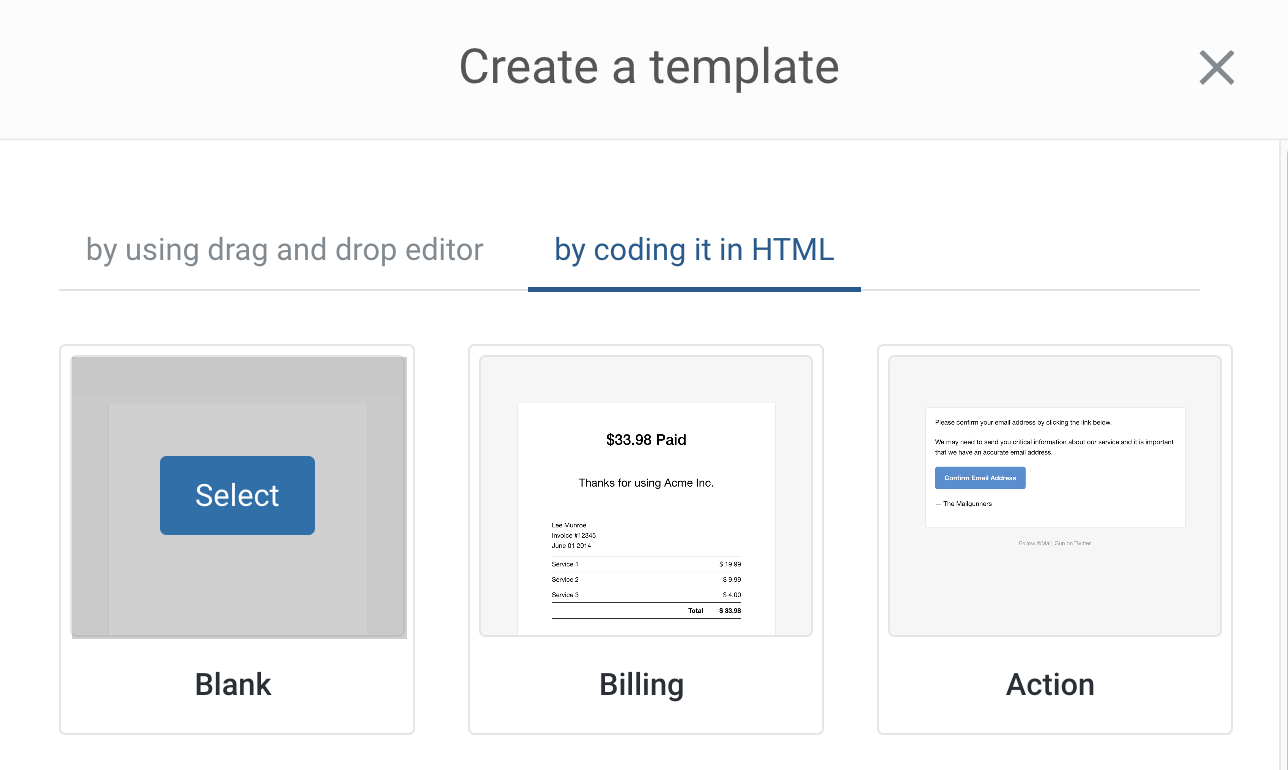
 Click the **by coding it in HTML** tab and select **Blank Template** option to start your template import on a clean slate.
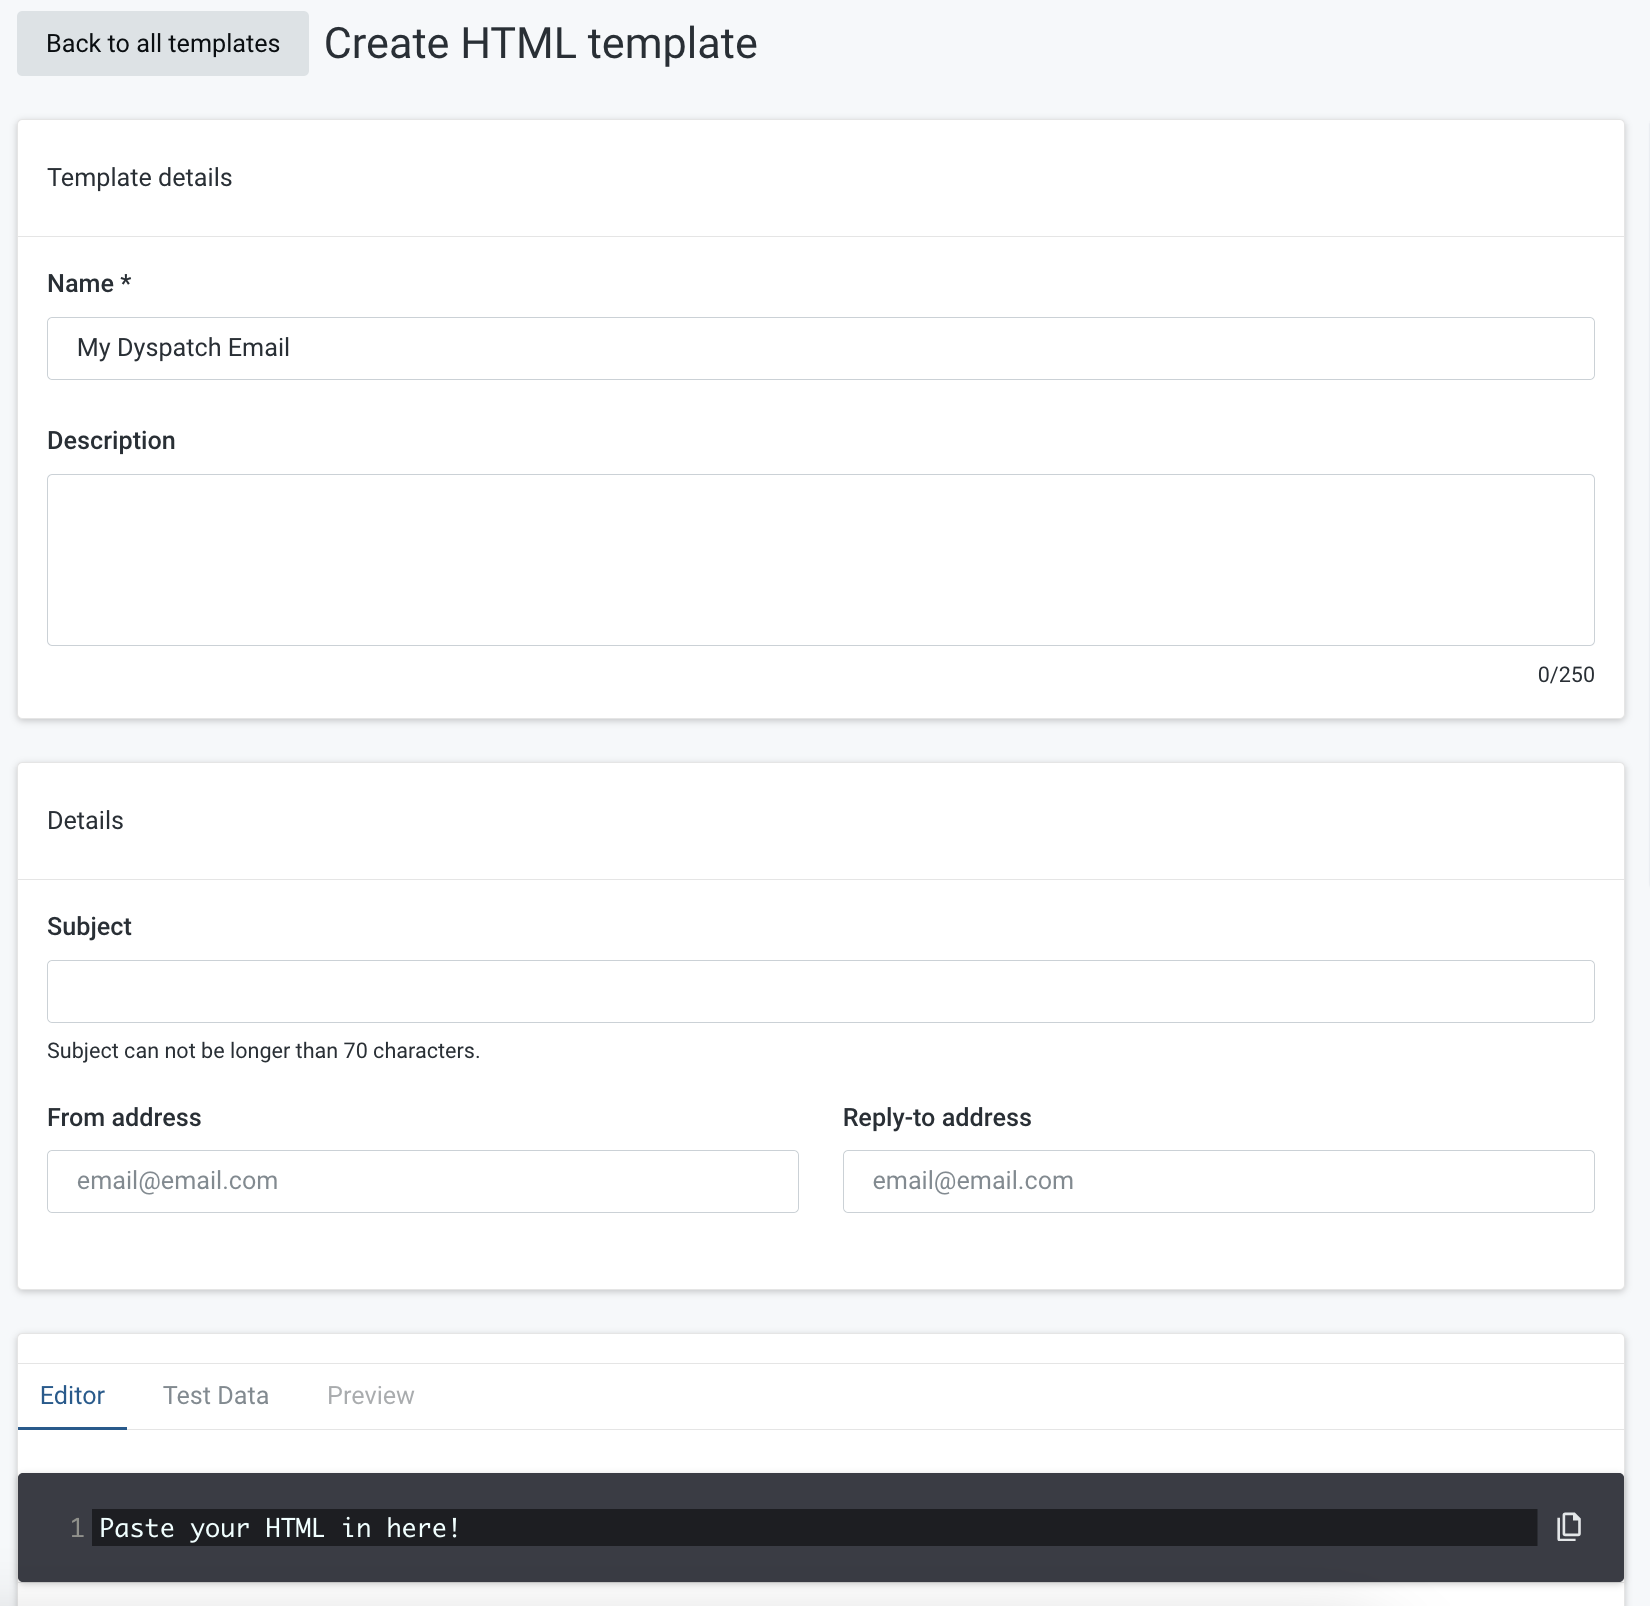
 Enter a name and a description and then paste the [HTML source code](/exports/export_to_mailgun/#getting-the-html-source-code) in to the **Editor** tab. Once your HTML is added in you can select the **Preview** tab to get another look at your email.
 Click the **Create** button when you are finished and you are all set! You can now use this email to [start sending](https://documentation.mailgun.com/en/latest/user_manual.html?#templates) engaging email messages to your customers with Mailgun!