Integrate your Customer.io account to Dyspatch and export emails to your Customer.io account in a couple of clicks.
Dyspatch supports two export asset types for Customer.io:
- Newsletter — Export emails as Customer.io Broadcast Newsletters. Newsletters are designed for blasts or scheduled sends.
- Design Studio — Export emails as Customer.io Design Studio templates. Design Studio templates can be used in any Customer.io workflow, including Campaigns.
Connect your Customer.io Account
Create Customer.io App API Key
You will need to create a Customer.io App API key. This is found in Customer.io under Settings > Account Settings > API Credentials > App API Keys.
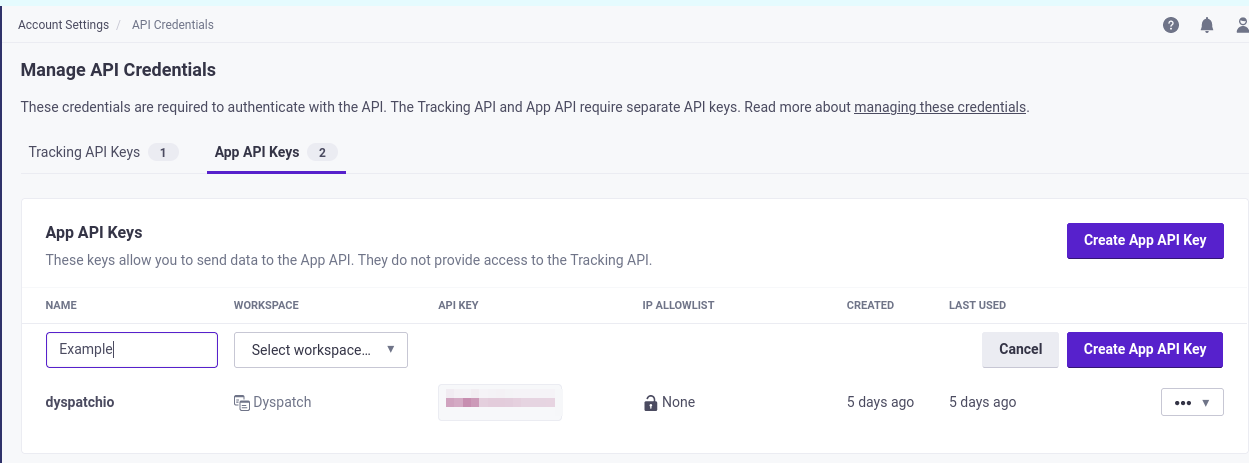
Save your API Key somewhere secure. You are now ready to set up your Customer.io integration in Dyspatch.
Add a Verified Sender Domain (Design Studio Only)
If you plan to use the Design Studio export type, you must add a sending domain and sender identity in Customer.io before exporting.
In Customer.io, navigate to Settings > Workspace Settings > Email > Add Sending Domain and add your sending domain and email address.
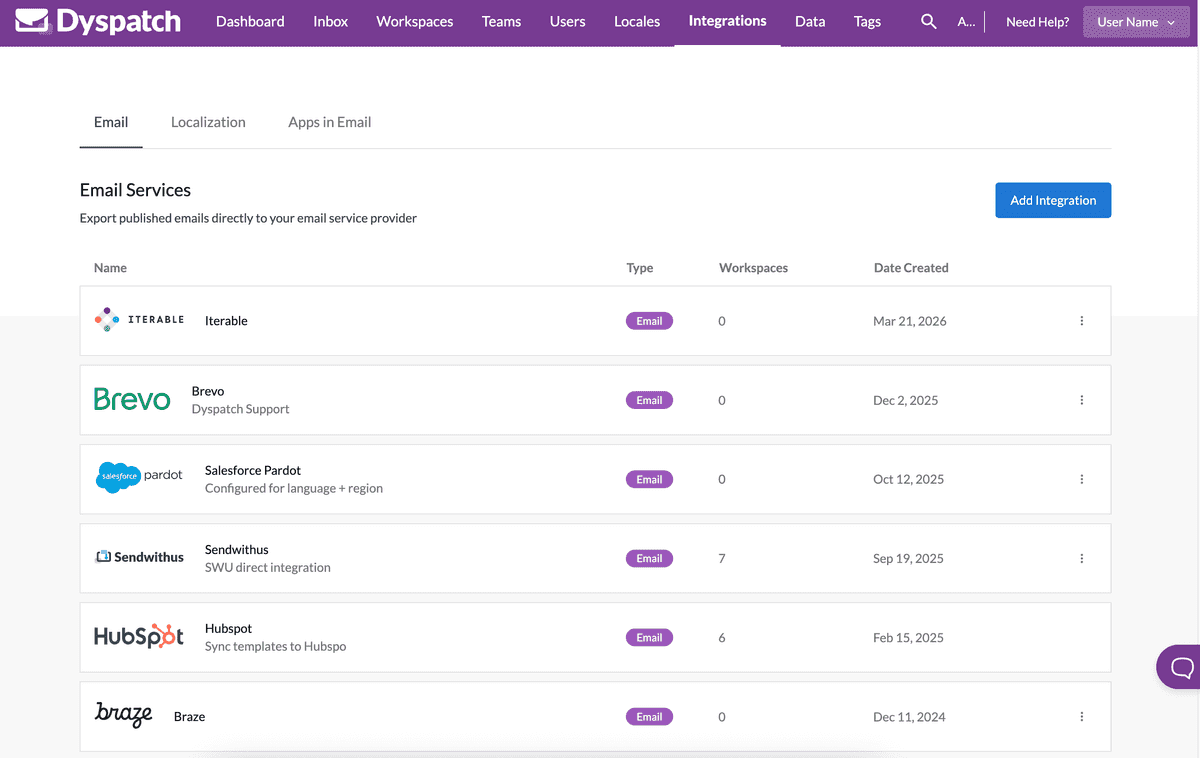
Add Customer.io API Key to Dyspatch
In Dyspatch, select Add Integration from the Admin Integrations portal.
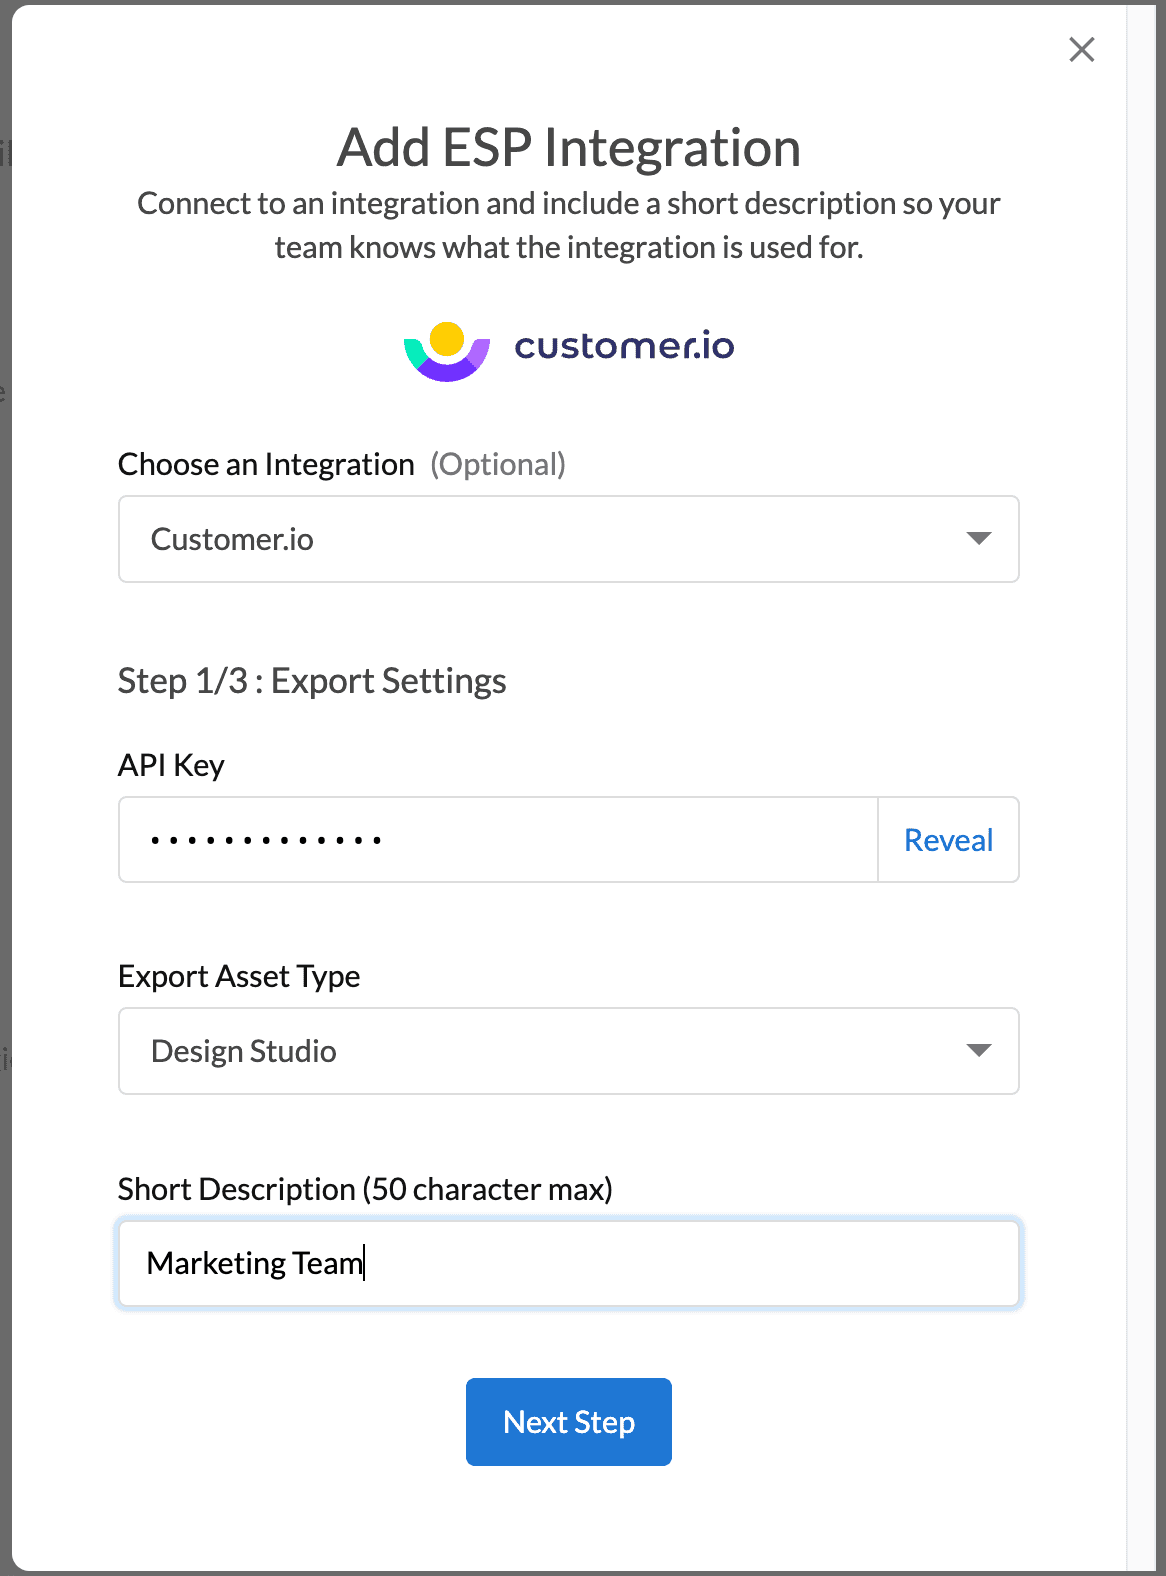
Enter your Customer.io App API key and add a short description for your team to identify the Customer.io account.
Select the Export Asset Type for this integration:
- Newsletter — Use this if you want to export emails to Customer.io Broadcast Newsletters for blasts or scheduled sends.
- Design Studio — Use this if you want to export emails as Design Studio templates that can be used in any Customer.io workflow, including Campaigns.
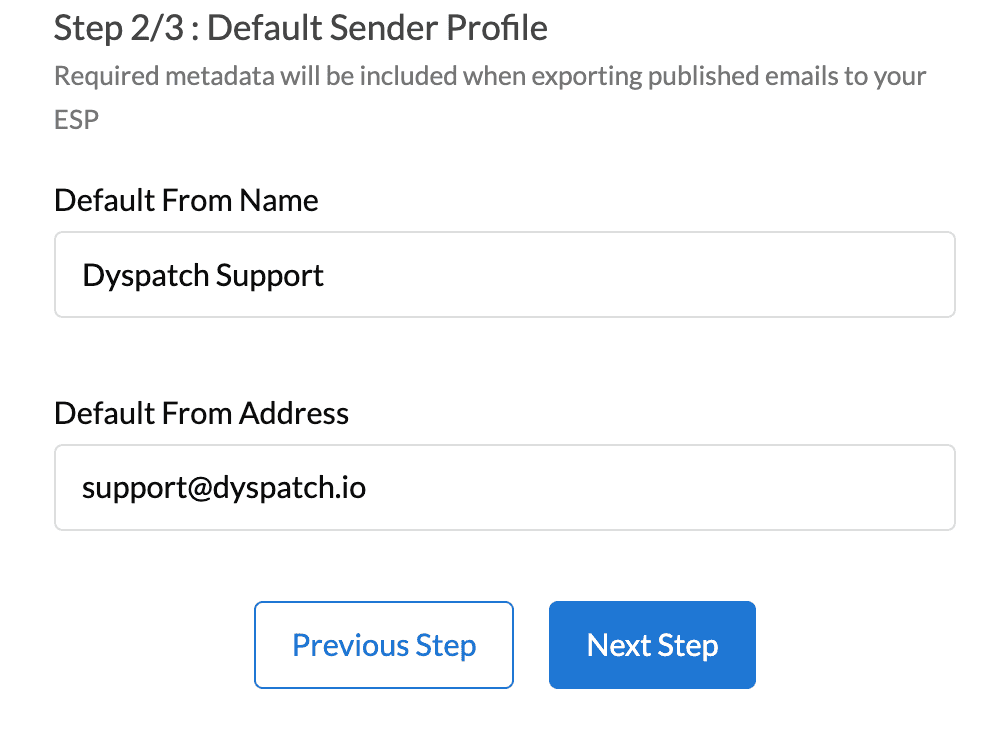
On the next modal, add default From Name and From Address values for the integration.
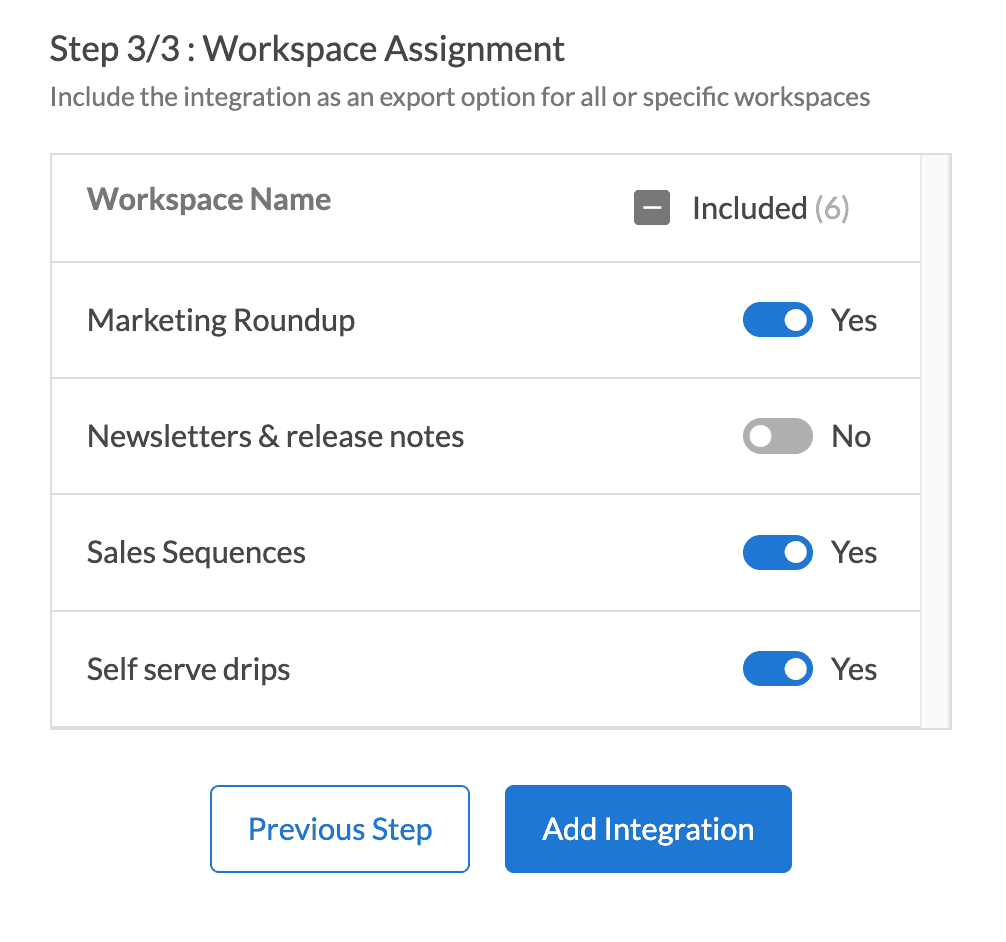
Lastly, toggle off any Workspaces you'd like to not have access to this integration for sending. All organization workspaces are enabled by default.
Your integration is now set up and your team can create beautiful emails with Dyspatch and Customer.io.
Exporting to Customer.io
See our Export to Customer.io doc to get the most out of your integration.