 ### Add Sendwithus Integration to Dyspatch
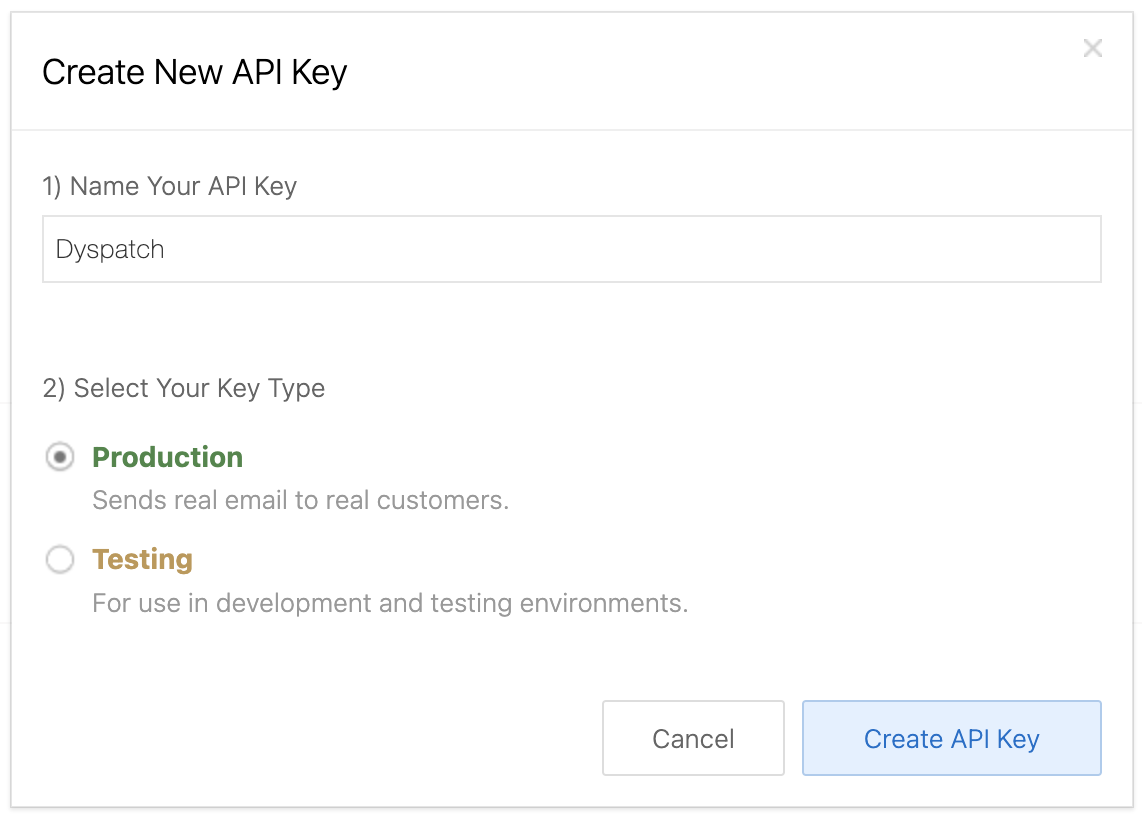
In Dyspatch, select **Add Integration** on the Admin > Integrations page.

### Add Sendwithus Integration to Dyspatch
In Dyspatch, select **Add Integration** on the Admin > Integrations page.

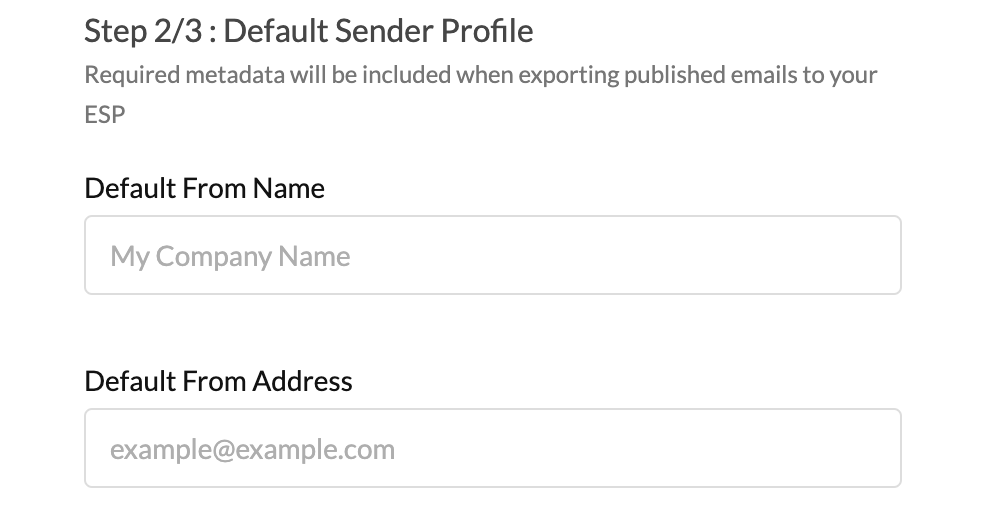
 Next, optionally add a default From Name and Address for the integration. If set, this can be overridden for individual emails from the metadata tab in the email builder.
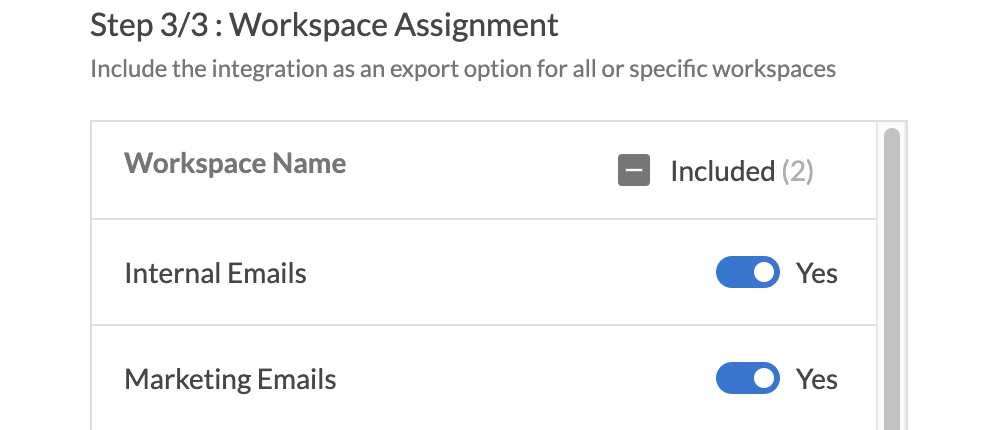
 Lastly, toggle on the workspaces you'd like to enable exporting with this integration from, and click add integration.
 ### Working with Emails
Once your new integration has been set up, you can begin working in Dyspatch — our article on [Getting Started](https://docs.dyspatch.io/emails/getting_started/) in Dyspatch is a good place to start.
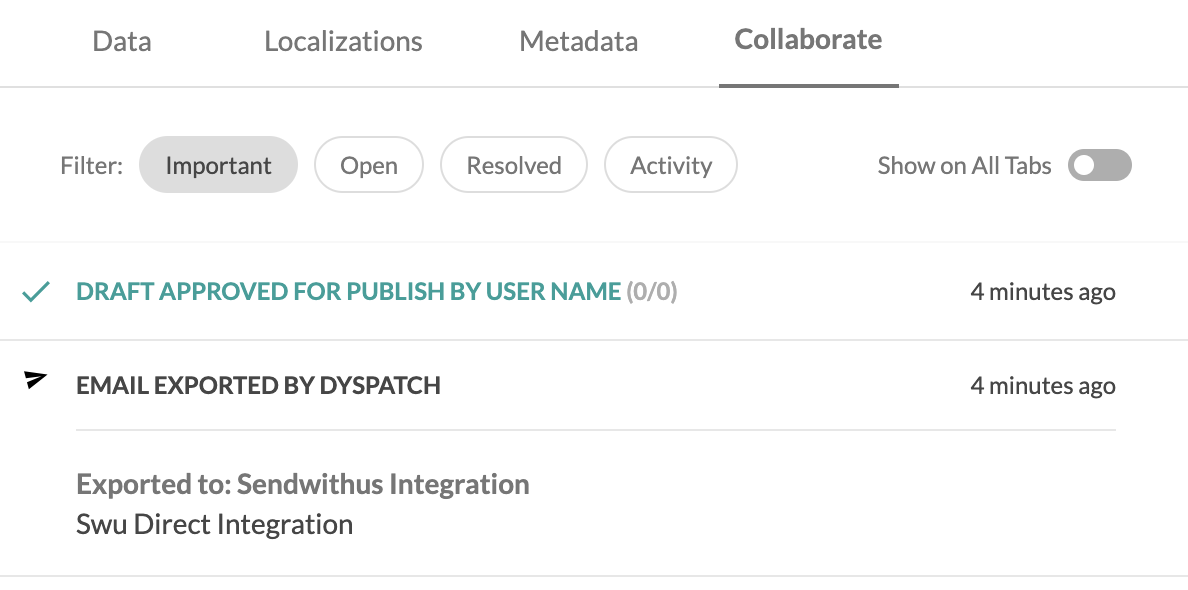
Once an email has gone through the [approval process](https://docs.dyspatch.io/emails/submitting_an_email/) and been published, it will automatically be exported to your Sendwithus account.
### Working with Emails
Once your new integration has been set up, you can begin working in Dyspatch — our article on [Getting Started](https://docs.dyspatch.io/emails/getting_started/) in Dyspatch is a good place to start.
Once an email has gone through the [approval process](https://docs.dyspatch.io/emails/submitting_an_email/) and been published, it will automatically be exported to your Sendwithus account.
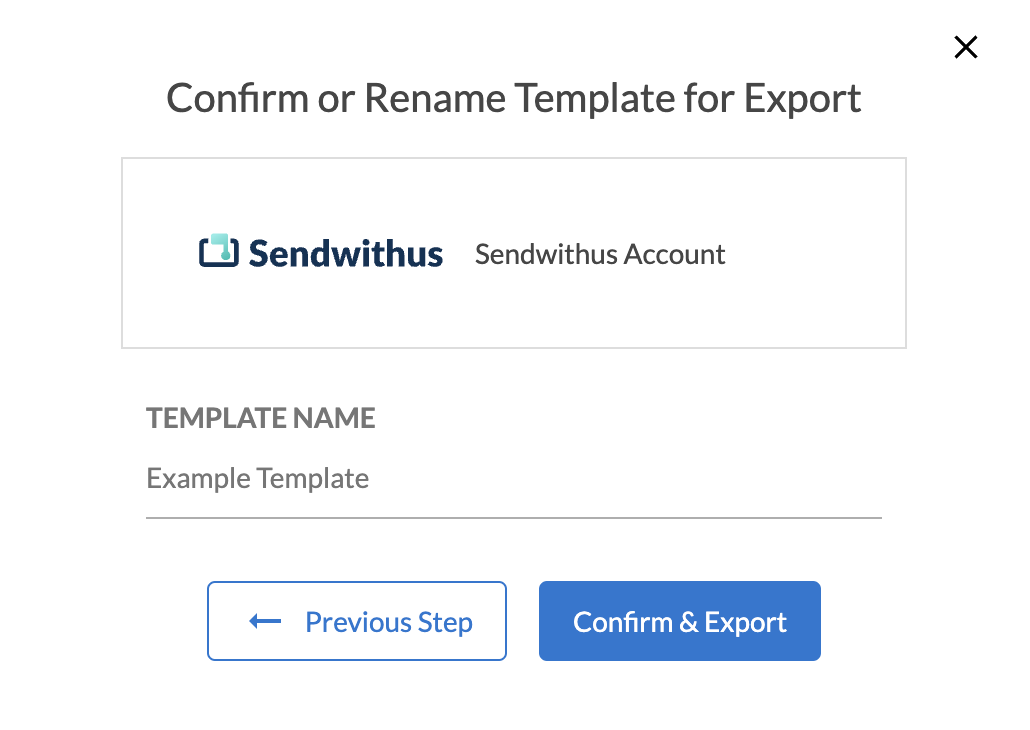
 If necessary, you can also manually trigger the export to your Sendwithus account by clicking the **Export** button, choosing **Export to Integration**, and selecting your Sendwithus Integration. Rename your email by editing the Email Name field if you would like, and then click **Confirm & Export** to export your email to Sendwithus.
The first time you export a Dyspatch email, a new template will be created in your Sendwithus account using the Email Name you entered. All future exports will update the published version of that email, using the entered Email Name as the version name.
If necessary, you can also manually trigger the export to your Sendwithus account by clicking the **Export** button, choosing **Export to Integration**, and selecting your Sendwithus Integration. Rename your email by editing the Email Name field if you would like, and then click **Confirm & Export** to export your email to Sendwithus.
The first time you export a Dyspatch email, a new template will be created in your Sendwithus account using the Email Name you entered. All future exports will update the published version of that email, using the entered Email Name as the version name.
 ### Setting Up AMP?