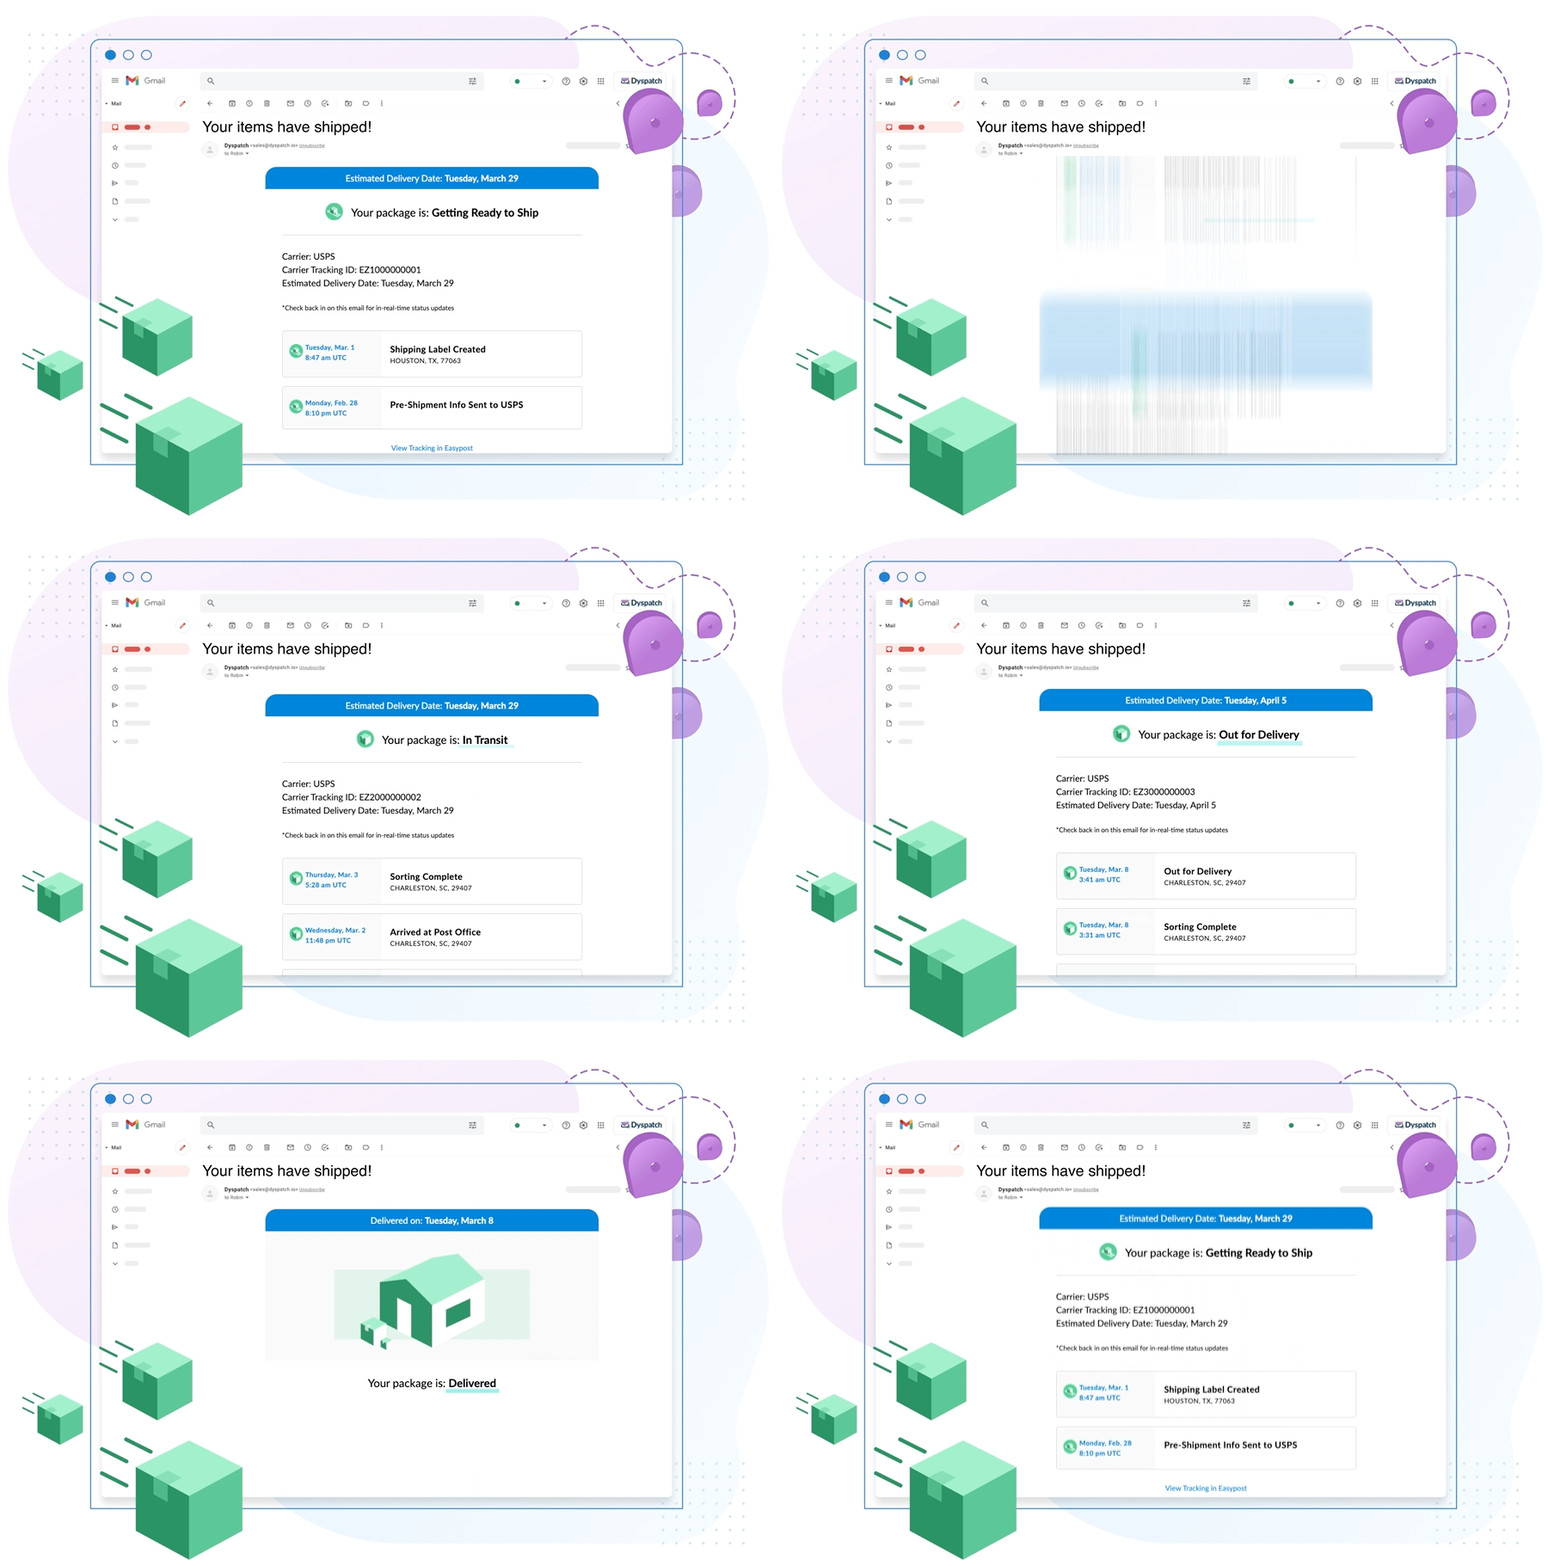
Dyspatch’s EasyPost app allows your recipients to view up-to-date tracking information for their parcels, pulled the moment your message is opened, directly from their inbox.
Prerequisites
- In order to send Dyspatch apps, you need to be set up to send AMP emails. Check out our Getting Started with AMP article to find out more.
Install EasyPost App
To get started, you will need to install the app.
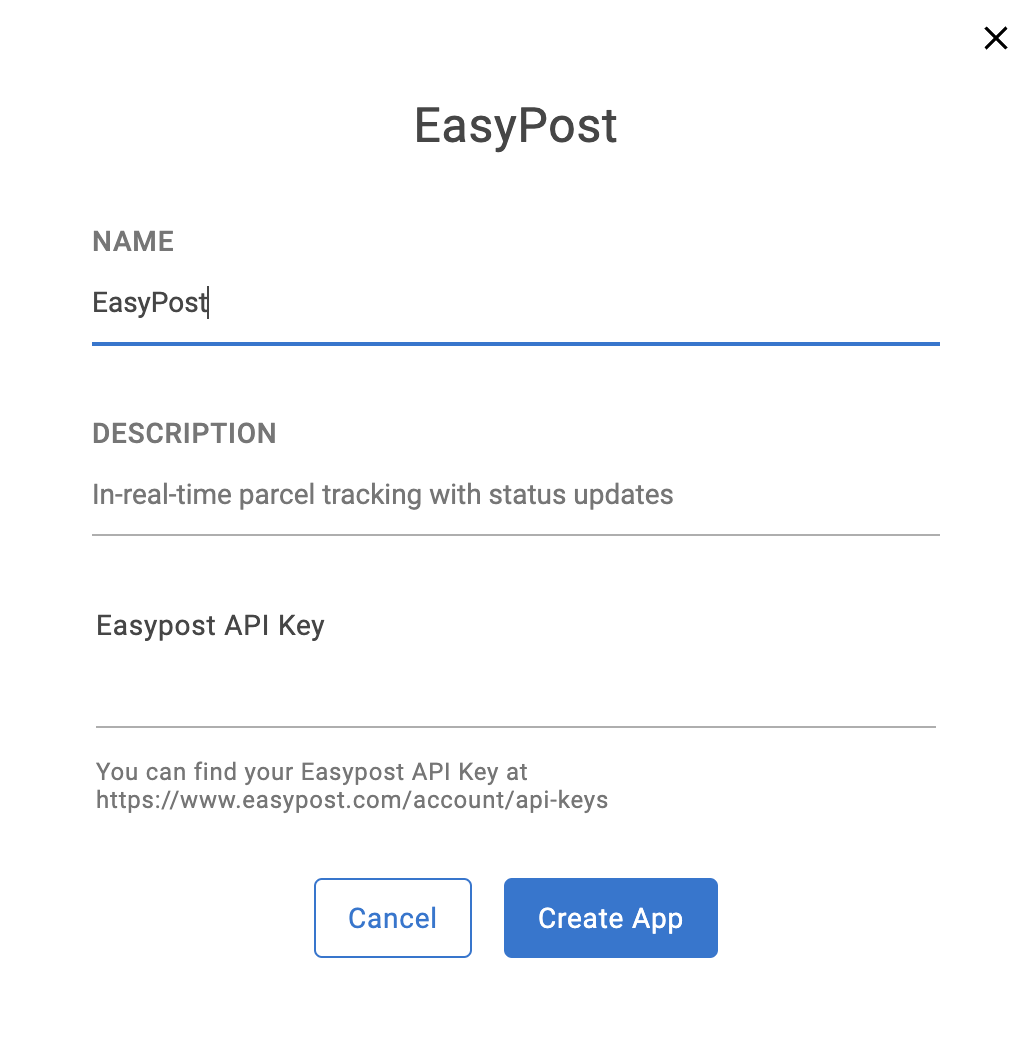
- Navigate to the Integrations > Apps in Email page in the admin panel and install EasyPost
- To connect your app, you will need to enter your EasyPost API Key
Create App Configuration
Once the app has been installed, you will need to create a configuration.
- First, navigate to the Apps page
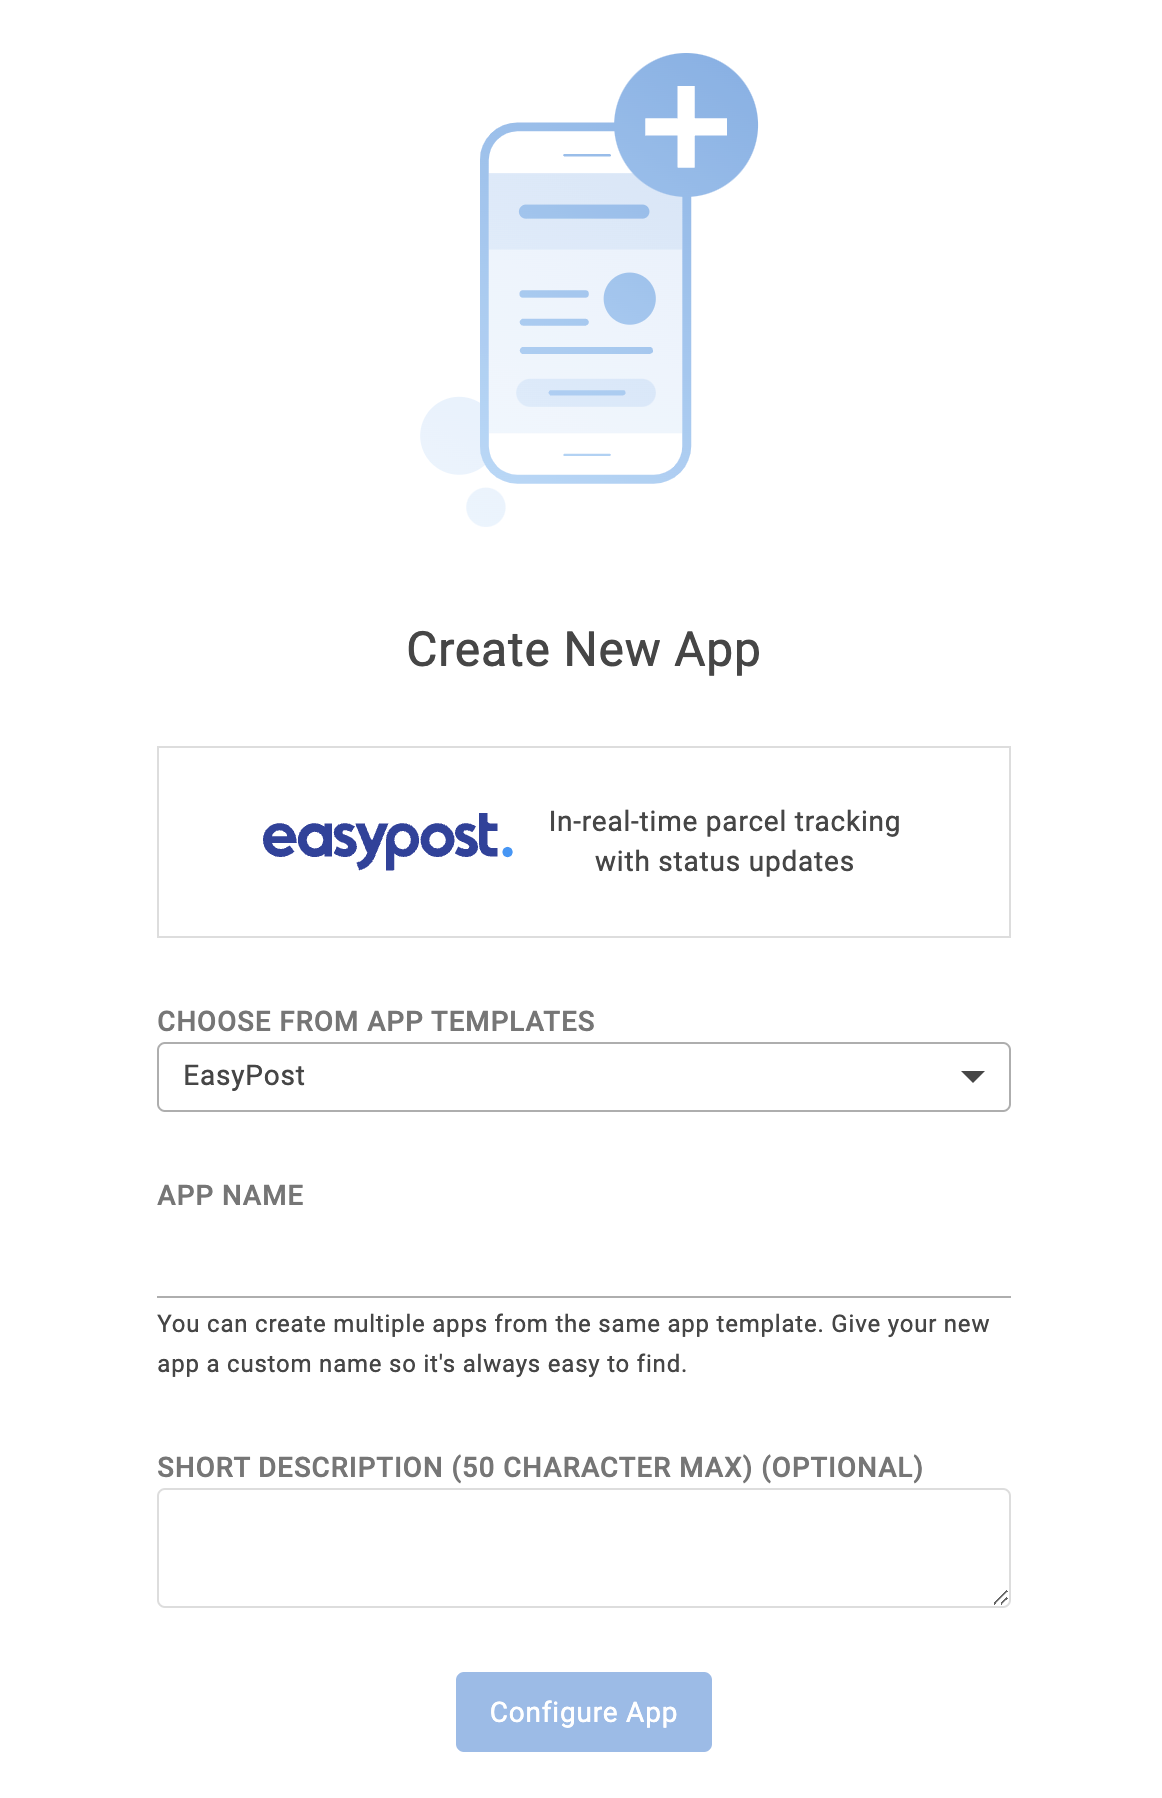
- Click on the Create button at the top right, then click New App
- Select EasyPost as the app template, give your App Configuration a name, and click the Configure App button at the bottom
After this, you will be taken to the App Configuration Editor, where you can modify the content that shows up in your HTML fallback block for recipients who can't view AMP. This can also be edited from within an email.
Use in Emails
Apps that have been installed and configured will be available in the same panel as your blocks in the email editor. You can drag-and-drop an app into your email the same way you add blocks.
To preview the AMP version of your email, click the View AMP icon at the top of the preview pane:

To pass in your parcel tracking information, you will need to include your carrier and tracking_id in the email data using the format provided by default in the sample data tab:
{"carrier":"the name of your carrier",
 "tracking_id":"your tracking id #"}
A list of the proper formatting for carrier names can be found in EasyPost's documentation.
Here are a few test cases that can be used to preview different app states:
| Tracking ID | Carrier ID | Expected App State |
|---|---|---|
| EZ1000000001 | USPS | Getting Ready To Ship |
| EZ2000000002 | USPS | In Transit |
| EZ3000000003 | USPS | Out For Delivery |
| EZ4000000004 | USPS | Delivered |
| EZ5000000005 | USPS | Return To Sender |
| EZ6000000006 | USPS | Failed To Deliver |
| EZ7000000007 | USPS | Shipment Information Unavailable |
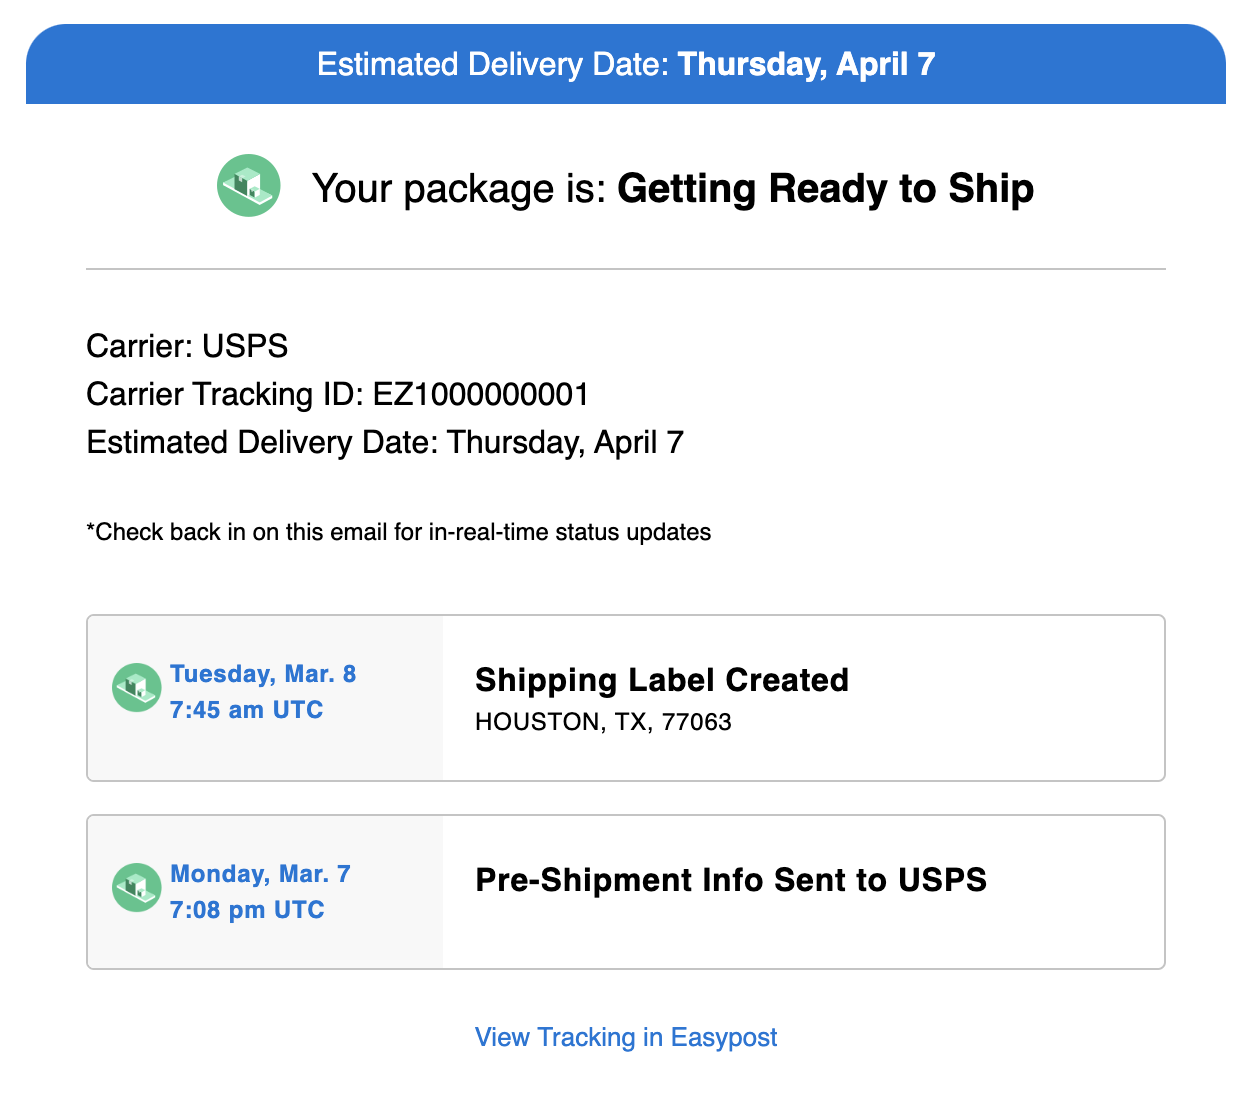
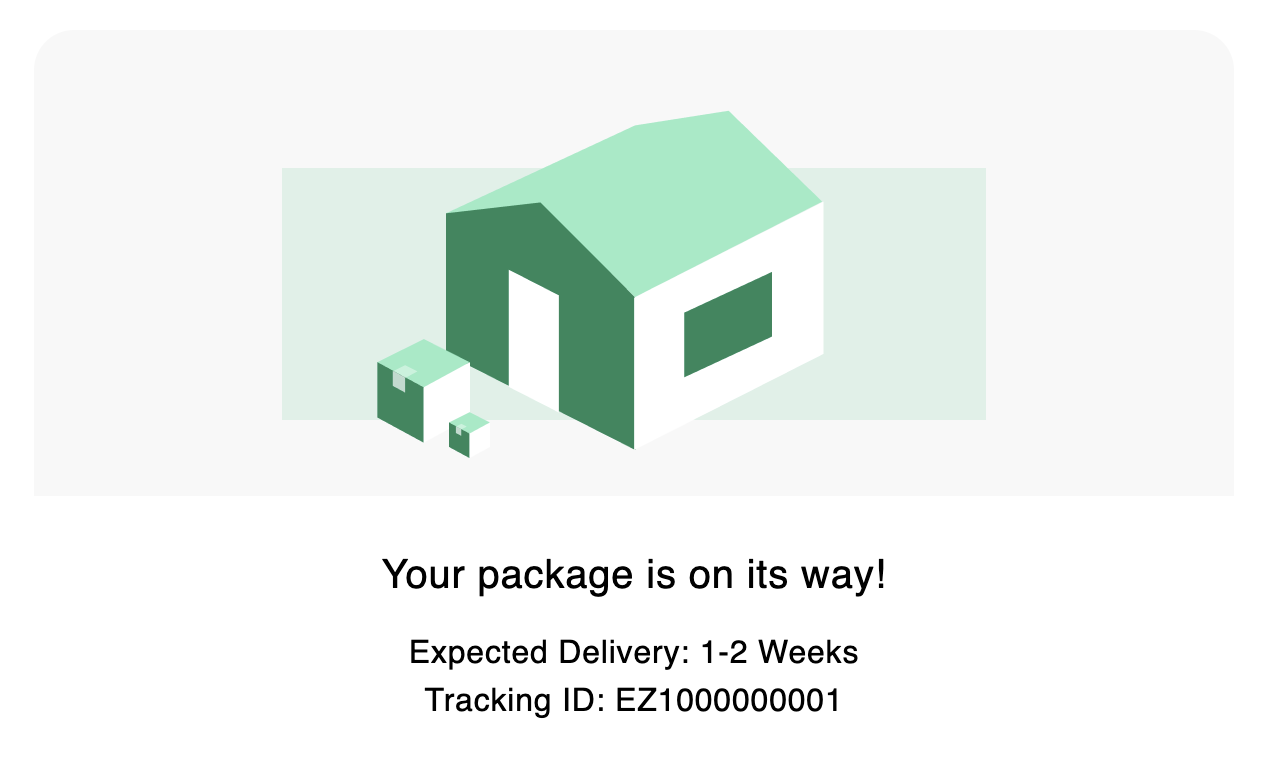
To preview the HTML fallback, which will appear for users who are unable to view the AMP version, click the View Visual icon:

When you click on the app in your email, you will be able to edit the HTML fallback content, which will give a static estimate of the parcel shipping time and the tracking number.
Video Walkthrough
Want to see our EasyPost app in action? Check out our video walkthrough!
Looking to integrate with another service? Contact us and let us know!