# Exporting a Dyspatch Email to SendGrid
Use Dyspatch and SendGrid together to simplify your email creation lifecycle and deliver engaging email experiences at scale.
## Build and Approve in Dyspatch
In Dyspatch, use the drag and drop email editor to create a beautiful, responsive, and engaging email. Collaborate with your team to approve the email and publish it.
Once your email is published, you can move it into your SendGrid account by exporting it with our [SendGrid integration](/integrations/sendgrid_setup/), or you can download your email to upload it to SendGrid manually.
### Exporting a Published Email with the SendGrid Integration
With the SendGrid integration added to Dyspatch and your email published, click **Export** and select your SendGrid integration.

Review or edit the email details for export and click **Confirm & Export**.

Exporting any newly published draft will update the email in Sendgrid. Any changes to the name once published will also update the email in SendGrid.
Find your email in the Email Api > Dynamic Templates section of your SendGrid account.
## Adding Email to SendGrid Without Direct Integration
Move your email to SendGrid manually if you don't have the SendGrid direct integration.
### Getting Your HTML Source Code
#### Downloading or Copying Your Email
Once your email has been reviewed and [approved by your team's stakeholder](/templates/submitting_a_template/#draft-approved), you can export your email using the **Export** button in the top right corner of the email builder.
Either select **Copy > HTML** or click the download icon under SendGrid on the **Download Email** tab of the export modal. Alternatively, you could select the **HTML/Handlebars** option, which SendGrid uses as its templating language.

If you choose to download, a zipped file will be downloaded onto your system with the HTML, plain text content, metadata, and localizations (if applicable). Unzip the downloaded file on your system and open the `.html` file(s) as plain text in a text editor program, or open it in a browser, right click the page, and `view source`. Copy all of the HTML code inside.
Copying the HTML from the export modal will not include the localized versions of your email
### Adding Your Dyspatch Email to SendGrid
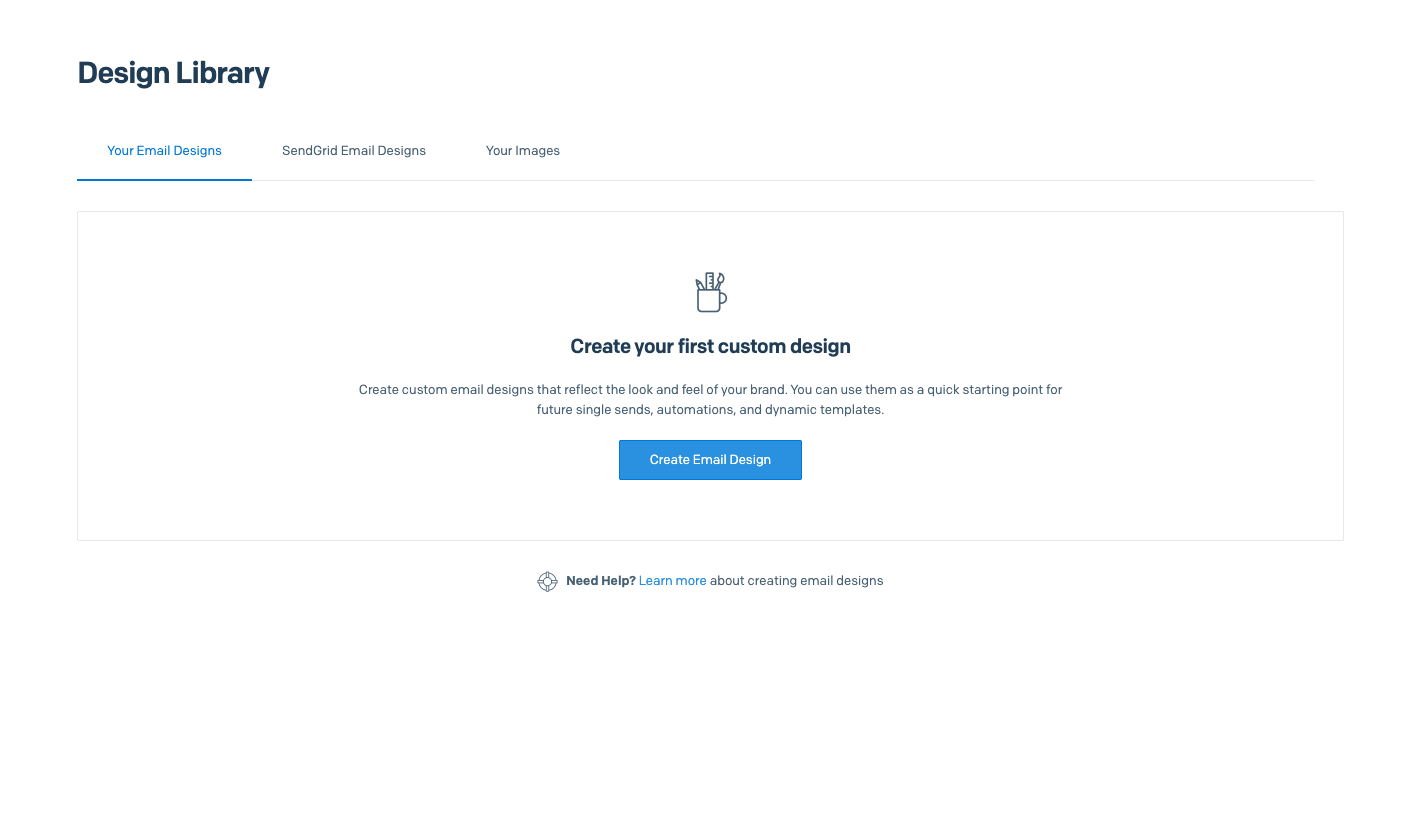
Navigate to SendGrid's Design Library section and select **Create Email Design**.
Select the **Code Editor** option, remove all of SendGrid's stock HTML code, paste in the [HTML source code](#downloading-or-copying-your-email) of you Dyspatch email into the Code Editor and save your email.
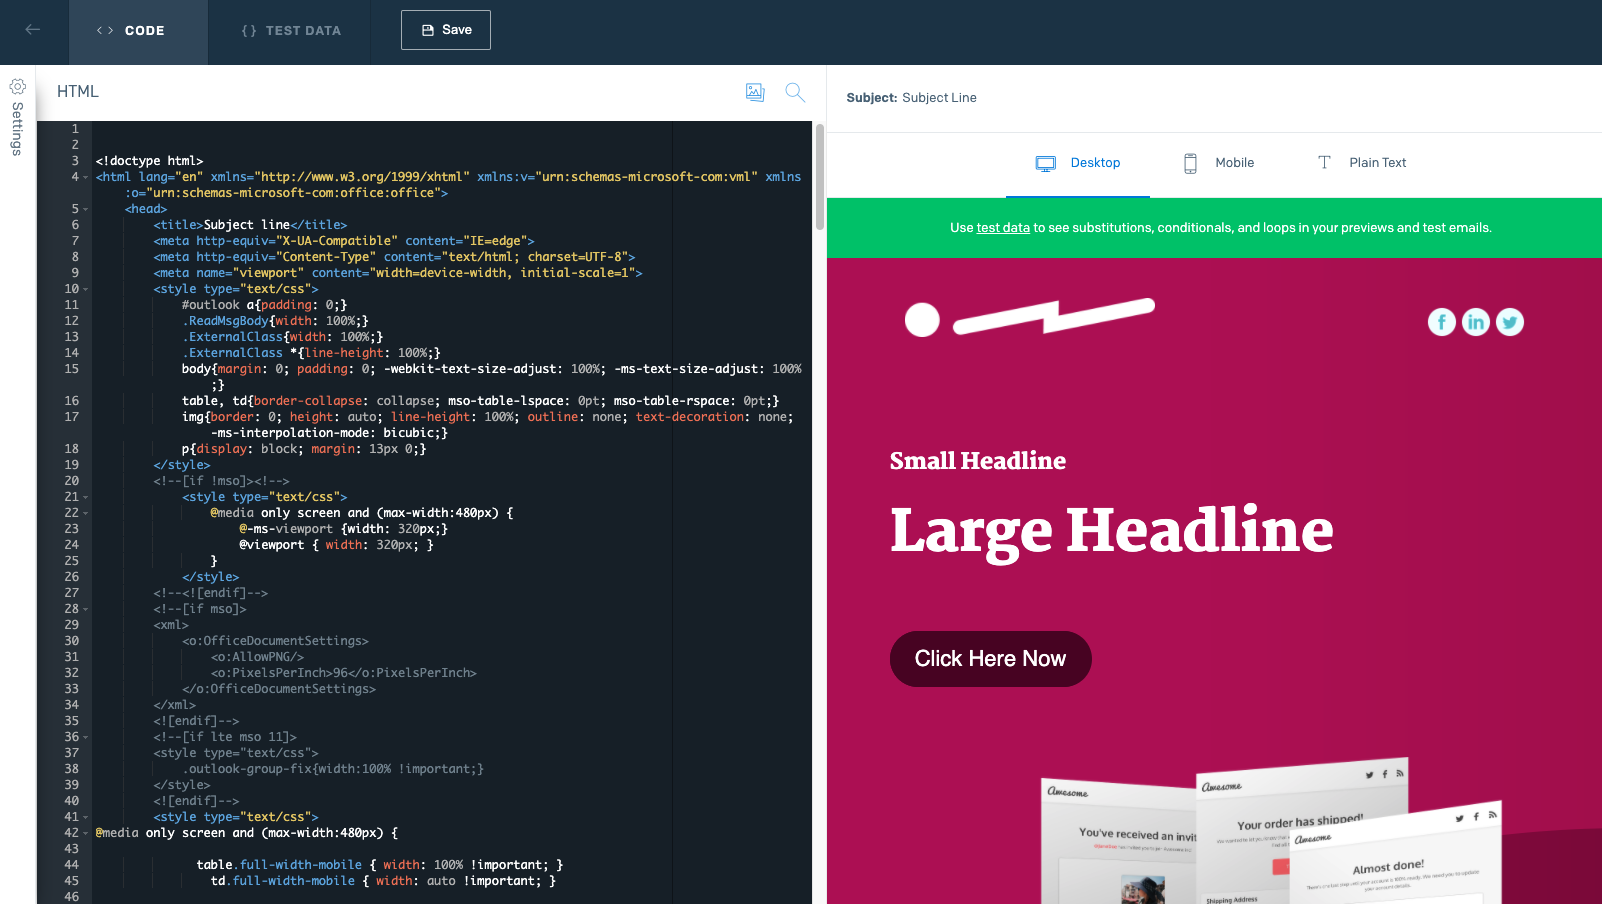
Once you have your email in SendGrid, you will want to add in your _Subject Line_, _Plain Text content_, and any other sending information you downloaded from Dyspatch.
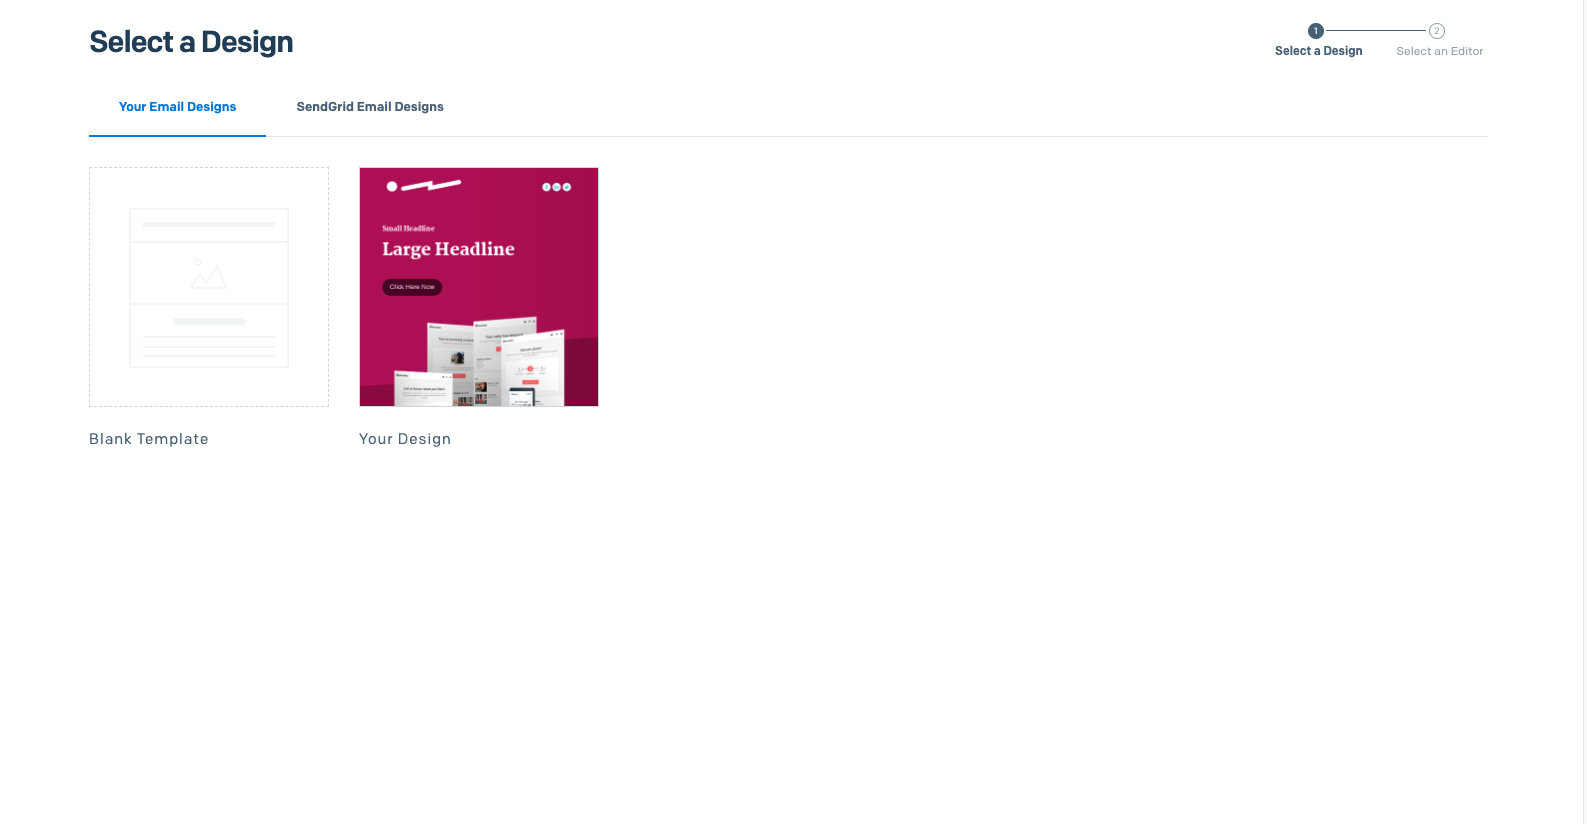
Your email is now ready to go from SendGrid! You can now create a Dynamic Template to send your transactional emails or create a Single Send email to send your marketing emails with the "Your Design" option.
For information on how to send emails through SendGrid, visit the following resources:
- Send a Dynamic Transactional Email
- Create a Single Send Marketing Email
### Learn More
See how to add a direct integration to SendGrid in Dyspatch on our [SendGrid Setup](/integrations/sendgrid_setup/) page.