# Zapier and Feedback Apps in Email
Feedback Apps in emails just got better! Use Zapier to collect response data from customers and push it into a destination source of your choosing!
Feedback Apps in Emails allows you to collect data directly from your customers within an email. Zapier allows you to select a destination source for where that data should go.
## Prerequisites
In order to send Dyspatch apps, you need to be set up to send AMP emails. Check out our [Getting Started with AMP](https://docs.dyspatch.io/email/getting_started_with_amp/) article to find out more.
## Zapier Setup
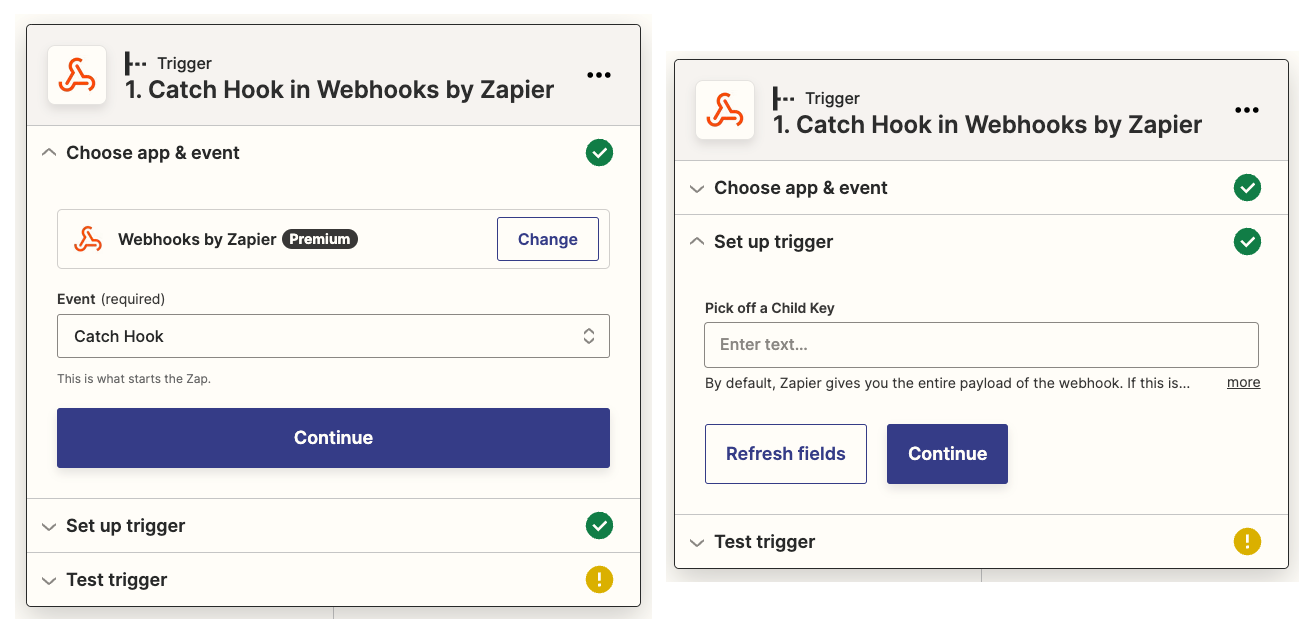
1. Click **Create Zap** to get started. Choose an App and Event:
- **App:** Webhooks by Zapier
- **Event:** Catch Hook
- **Pick off a Child Key:** Leave this blank
 2. You will be provided your webhook URL as part of the test trigger step, copy it for use in the next step. It will look something like this:
 https://hooks.zapier.com/hooks/catch/12345/abcd123/. This URL will be the "Zapier webhook URL" used to configure the app in Dyspatch.
3. Submit a test to the URL with the following test query string:
- **Review in Email**
- `[YOUR-WEBHOOK-URL]?time=testTime&selection=testSelection&comment=testComment`
- **Poll in Email**
- `[YOUR-WEBHOOK-URL]?time=testTime&selection=testSelection`
- **NPS in Email**
- `[YOUR-WEBHOOK-URL]?time=testTime&selection=testSelection`
You **must** do this so that your fields show up as query parameters for step 5. You should see a confirmation that your test was received.
4. You will now be prompted to set up your action. This action can use any destination of your choosing. This step will vary depending on your selection. Please follow the steps outlined in your Zapier action section.
5. Once your action is set up, map the query parameters to the corresponding columns in your destination.
- **Review In Email** App
- Time
- Selection
- Comment
- **Poll In Email** App
- Time
- Selection
- **NPS In Email** App
- Time
- Selection
If you don’t see the query parameters available, you may need to test the webhook again in Step 3.
6. Test the Zap. It should send the data collected in the previous test to your destination. Once you have seen results you can publish your zap to finish the Zapier setup.
## Dyspatch Setup
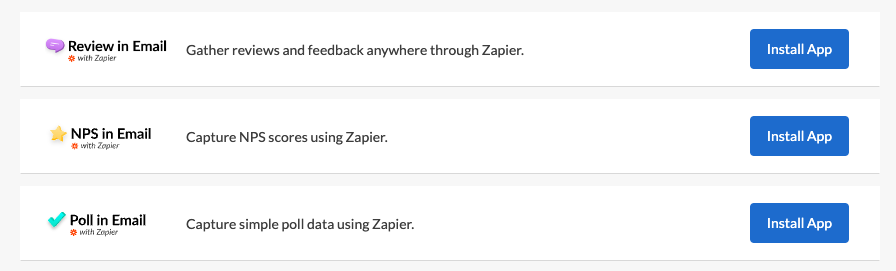
1. Install one of the following apps:
- Review In Email - Zapier
- Poll In Email - Zapier
- NPS In Email - Zapier
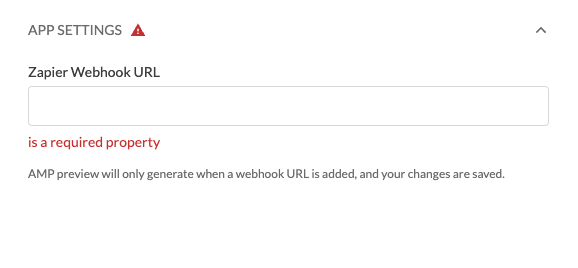
 2. Configure your app and ensure your Zapier webhook URL is added to the App Settings section. The Zapier webhook URL is the base URL (without query parameters from testing step)
 https://hooks.zapier.com/hooks/catch/12345/abcd123/.
 3. After adding your webhook URL, save your app. Your app should now appear in the preview window and you can continue to configure the content of the app.
## Use in Emails
Apps that have been installed and configured will be available in the same panel as your blocks in the email editor. You can drag-and-drop an app into your email the same way you add blocks.
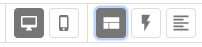
To preview how your app will appear for users who can receive AMP emails, click the View AMP icon at the top of the preview pane:
3. After adding your webhook URL, save your app. Your app should now appear in the preview window and you can continue to configure the content of the app.
## Use in Emails
Apps that have been installed and configured will be available in the same panel as your blocks in the email editor. You can drag-and-drop an app into your email the same way you add blocks.
To preview how your app will appear for users who can receive AMP emails, click the View AMP icon at the top of the preview pane:
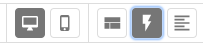 To preview the HTML fallback, click the View Visual icon:
 You can edit the images and text of your survey from inside your email, but not the app data. If you would like to run multiple surveys, set up a new app configuration for each.

You can edit the images and text of your survey from inside your email, but not the app data. If you would like to run multiple surveys, set up a new app configuration for each.
