# Managing Images in Dyspatch
Save time and promote collaboration by storing all of your images in Dyspatch.
Different teams using different email service providers will be able to share,
reuse, and update emails all in one place.
## Image Gallery
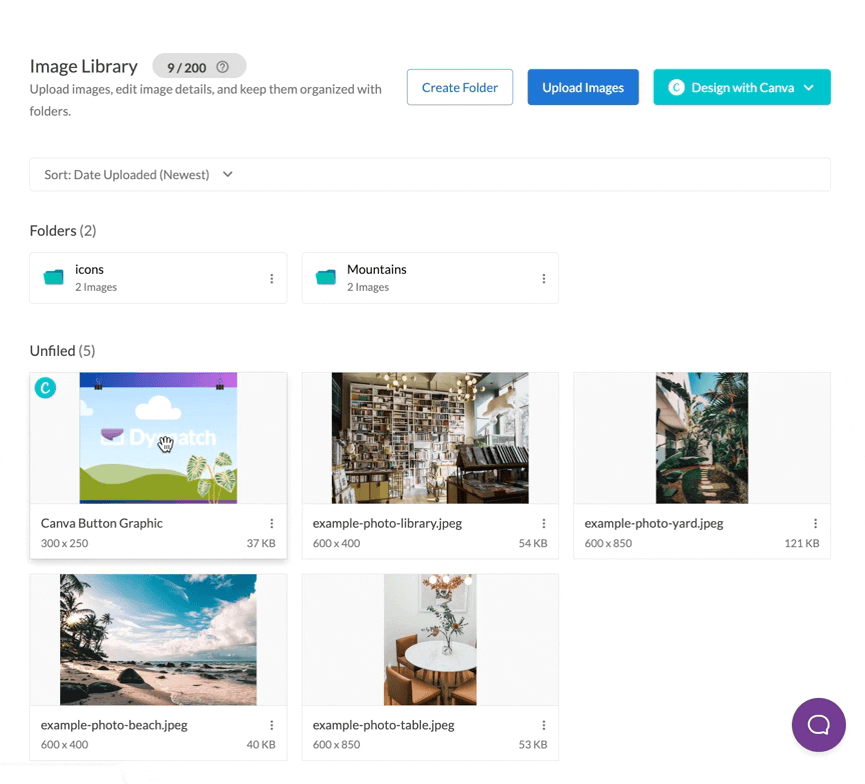
All of your image folders and assets are stored in your Image Library, accessible from the main left-side menu.

## Adding Images
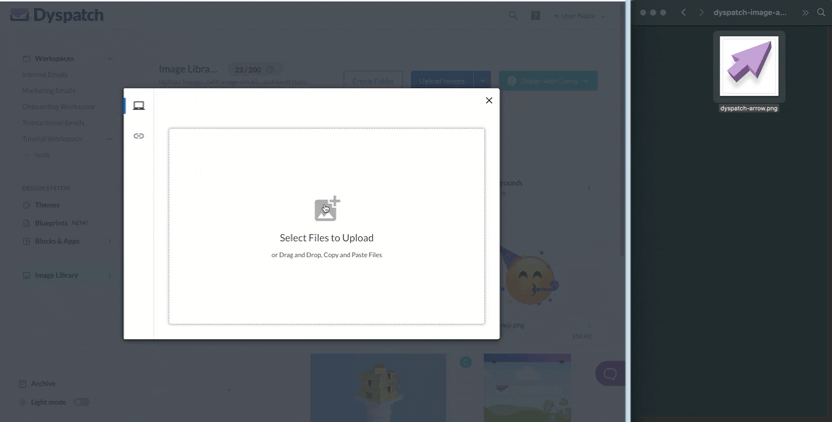
Add up to 10 images at a time by clicking the **Upload Images** button. You have the option to drag and drop your files or select them from your file system.
### Drag and Drop Images Into the Image Gallery
Highlight, drag, and drop your images into the image upload area.
### Upload Images From File Directory
Alternatively, use the file navigation to locate and upload images from your system.

We recommend using email-safe image formats: PNG, JPG, and GIF. Avoid WebP as well as vector
formats, like SVG, as they may not display correctly for all users.
#### Automatic Image Alt Text
If Scribe AI is enabled for your organization, all images will have alt text generated for them at the time of upload. Select the wand icon to iterate with Scribe to improve the content.

Default image alt text is editable, along with default title and link URL, in the image's default values, found by clicking into the image from the image library.
#### Add Unoptimized Images
All images are automatically optimized for email on upload and include a green checkmark next to their filesize. If you'd like to upload files at their original size, select **Upload Unoptimized** from the Upload Images dropdown menu.

## Scribe AI Image Generation
Dyspatch's Scribe AI offers image generation to help you create custom assets directly in the platform.

The generator offers detailed control over your output with options for **Generative Style**, **Aspect Ratio**, **Resolution**, and **Use Live Data**.

### Best Practices
To elevate your results from good to great, incorporate key professional strategies like being hyper-specific with context and intent. Iterate on your designs with conversational refinements, use semantic negative prompts, and control the composition with photographic language.
## Removing Images
Delete images by clicking the dropdown menu " " for that image and selecting **Delete**. Deleting a folder will also delete all of the images in it.
If an image is accidentally deleted, Don't
Panic. Your users will still be able to see the image in their
inbox.
## Managing Images
Organize your images by using folders. Drag and drop images into folders in the Image Library. To move an image out of a folder, drag the image onto the **"Image Library"** title at the top of the page.
Stuck trying to figure out how to organize your
images? Try dividing them by the types of emails they appear in.
Clicking into an image will bring up the image preview with additional
information. Use the **Default Attribute Values** section to configure how your
image should behave when used in an email. This is especially useful for
images that are frequently used, for example, social icons and logos.
## Using Images in an Email

Anyone that can build an email [(Editors, Developers,
Admins)](/administration/dyspatch_roles/) can change an image in an email.
See [Using the Email Editor](/emails/using_the_email_editor/) for
more information.
## Using Images in a Theme

Keep your email backgrounds stored in Dyspatch's Image Library. You
can insert them into a theme by enabling the themes background image.
## Using Images in a Block
Quickly insert a `dys-img` component
by clicking the **Insert Image** button in the Block Editor. Select the image
you want to include and click **Insert Image** to generate a `dys-img`
component.
## Monitoring Image Transfer Data
View your organization's annual image transfer data limit from the Admin dashboard.
Overages beyond your annual limit will be billed at $0.12/GB, and charged monthly. Reach out to your account manager directly to discuss adjusting your annual limit. If you're not sure who that is, contact our support team
## Custom Image Domain
By default, images hosted in Dyspatch are served from the Dyspatch CDN (`cdn-web-assets.dyspatch.io`). If your organization requires images to be served from your own domain, see [CDN White-Labeling](/administration/cdn_white_label/).
 ### Upload Images From File Directory
Alternatively, use the file navigation to locate and upload images from your system.

### Upload Images From File Directory
Alternatively, use the file navigation to locate and upload images from your system.