# Exporting a Dyspatch Email to Campaign Monitor
Build beautiful emails quickly with Dyspatch and send them to your customers
using [Campaign Monitor](https://www.campaignmonitor.com/).
## Download Your Email
Once your email has been reviewed and [approved](/emails/submitting_an_email/#draft-approved), you can now
**Export** your it from Dyspatch.
Click **Export** in the top right of the Email builder, select **Download HTML**, then locate **Liquid** under **Languages**. Liquid is the templating language compatible with Campaign Monitor's templating system.
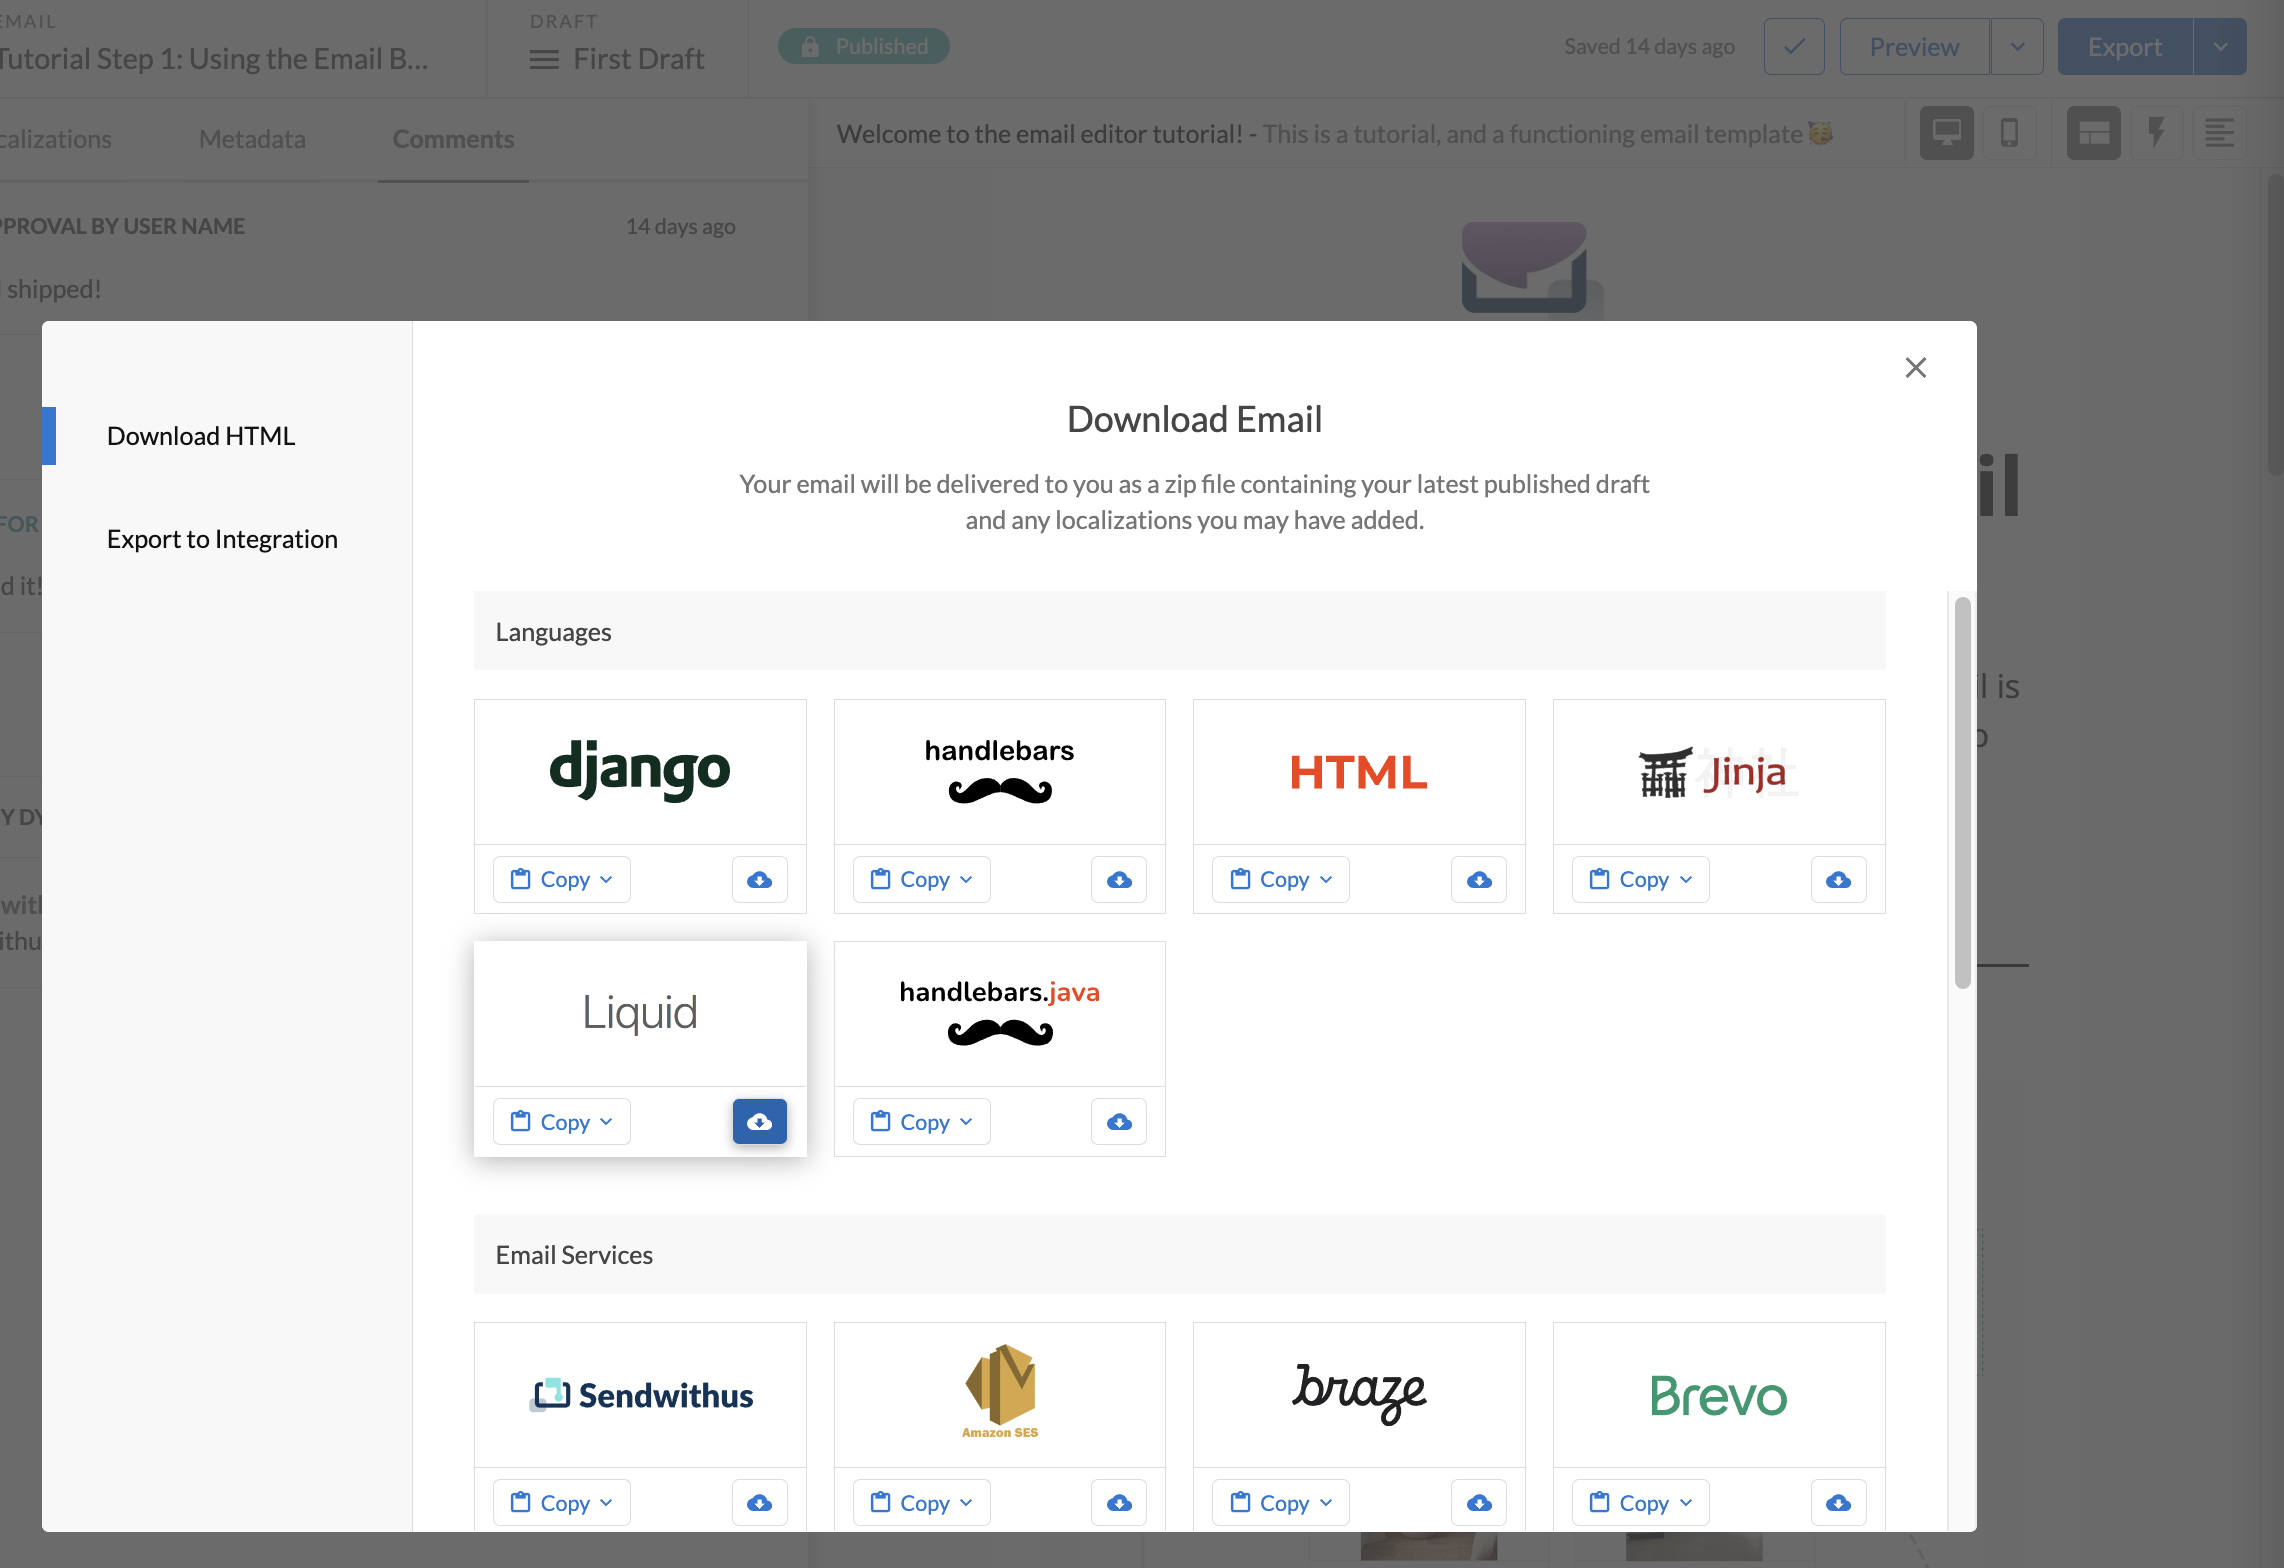 Select the **Export** icon in the Liquid selector. This will download a zipped file onto your system with the HTML, plain text
content, metadata, and localizations (if applicable).
Select the **Export** icon in the Liquid selector. This will download a zipped file onto your system with the HTML, plain text
content, metadata, and localizations (if applicable).
Unzip the file to be able to add the files to Campaign Monitor.
## Add the Email to Campaign Monitor
### Create a Campaign Monitor Campaign

Create a new **Campaign** under the Campaigns tab in Campaign Monitor. Name it something relevant to the email being delivered
### Add Subject, From, and To Data
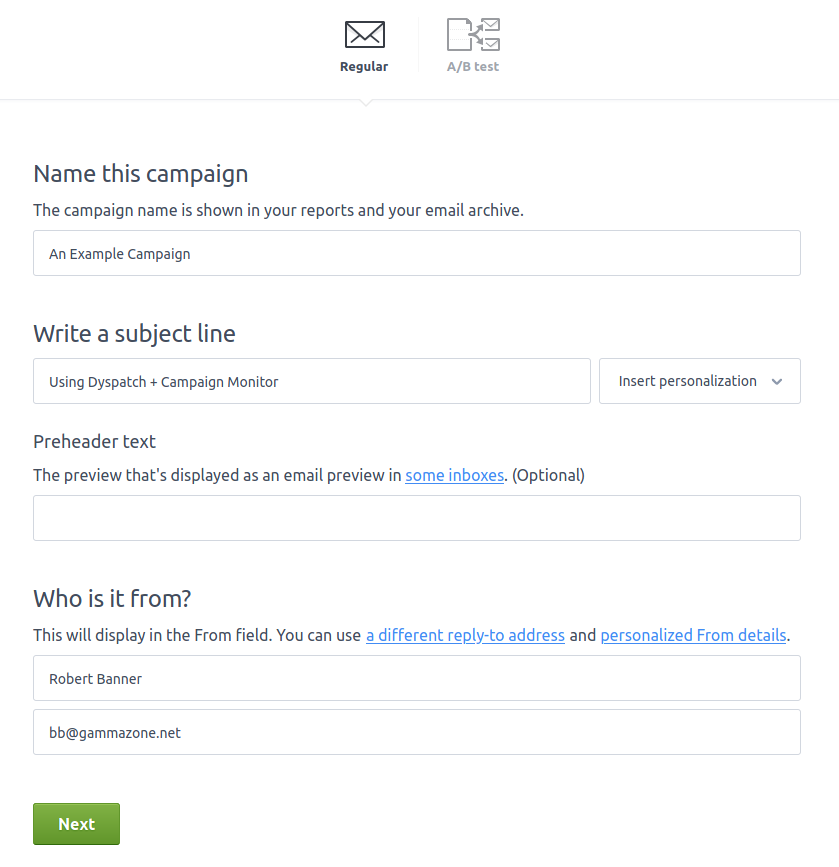
Add your subject line along with your from and to settings. If you downloaded your email as a Zip file, the subject, sender, and reply to emails will be in the metadata.txt file, if they were added in Dyspatch.
Campaign Monitor stores your receiver addresses in lists, available under the Select Recipients option.
### Add Email Content

To add your Dyspatch email, click **Design email**, then select Import HTML.

Either drag and drop the HTML file into the field, or click **Upload** and select the downloaded HTML file from your file system.
Make sure to uncheck "Move my CSS inline (for best
results in Gmail and Outlook)". Dyspatch emails are already optimized for all
clients.
Once the file is added to the input, click **Start Import** in the top right of the Import HTML modal and that's it! You will be brought to a preview page where you can review and save your [Campaign Monitor campaign](https://help.campaignmonitor.com/campaigns).
