Connect your SendGrid account to Dyspatch and export emails to your SendGrid account in a couple of clicks.
Connect your SendGrid Account
Create SendGrid API key
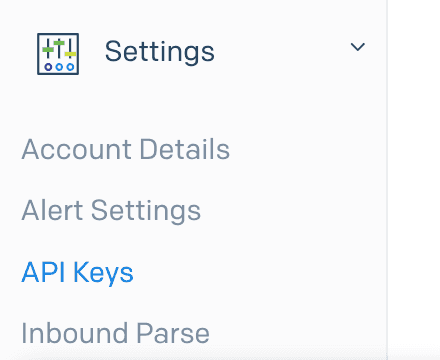
In SendGrid, select Create API Key from the Settings > API keys page.

Create a SendGrid API key with either Full Access permissions, or with Restricted Access permissions with Template Engine permissions set to Full Access. Store your API key some place secure. Once you have your SendGrid API key you are ready to set up your SendGrid integration in Dyspatch.
Configure SendGrid Integration in Dyspatch
Select Add Integration on the Admin > Integrations page in Dyspatch.

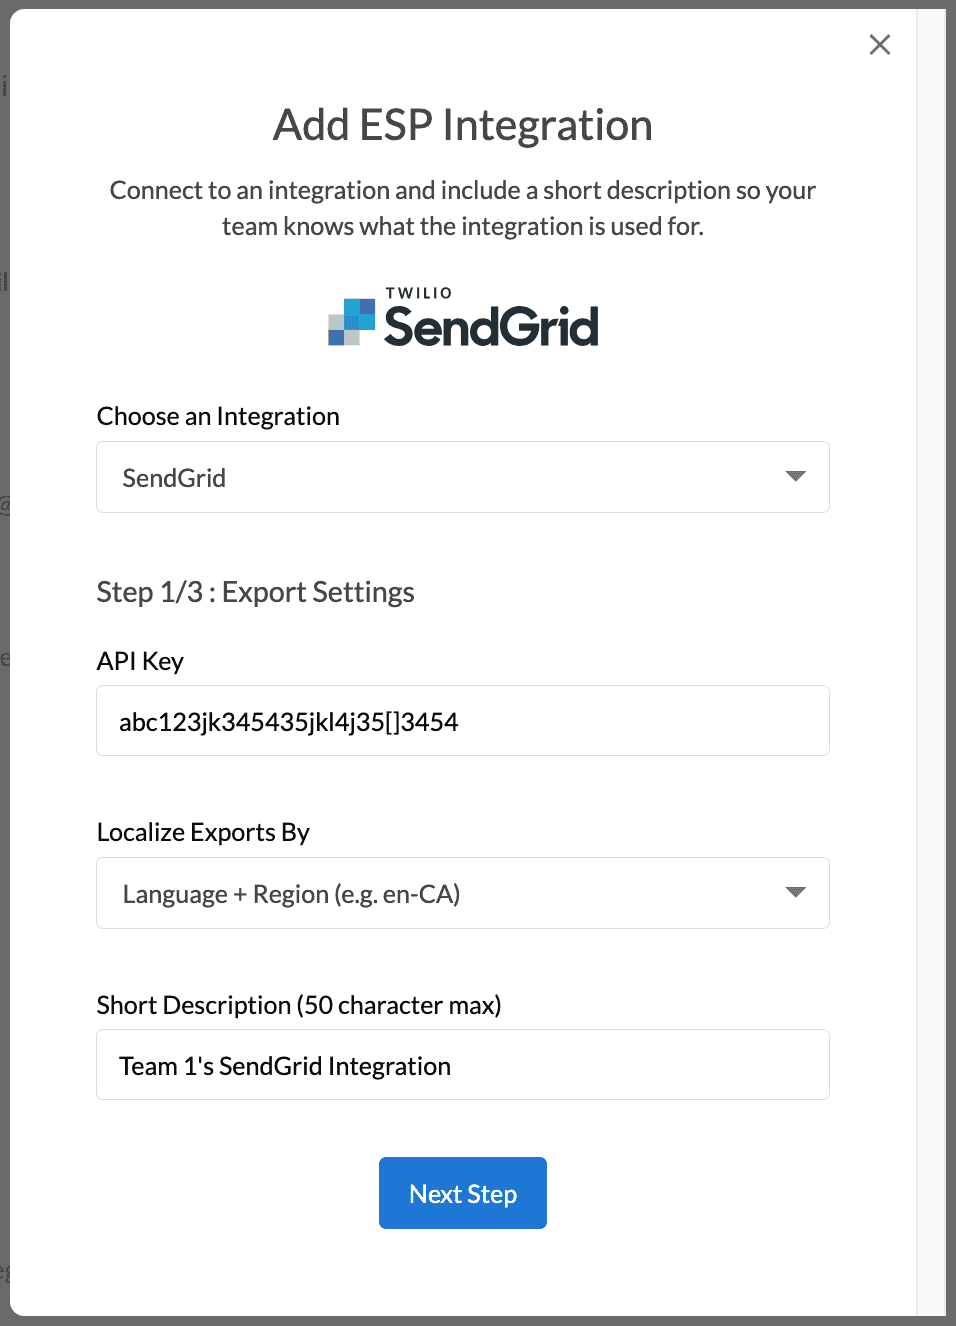
Select SendGrid as the integration, enter your SendGrid API key, select an export method for localized emails, and add a short description that your team will see when exporting.

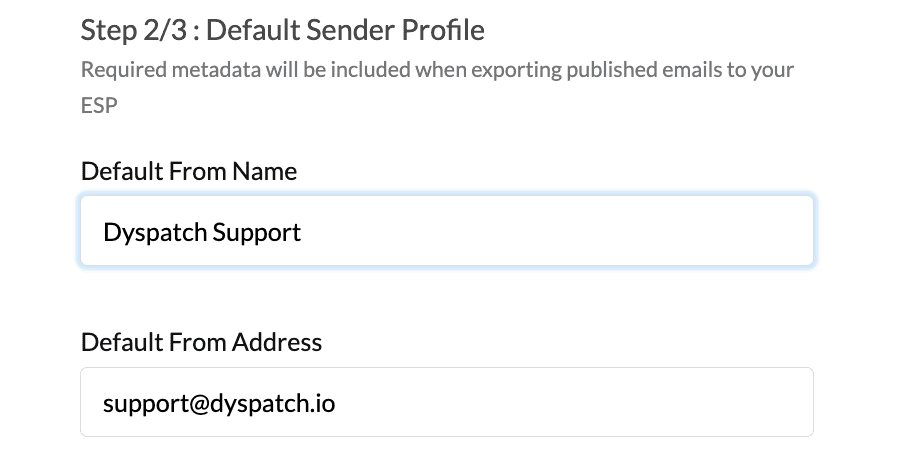
Next, include the default from name, email address, and reply to email.
These settings can be overridden on a per-email basis on the metadata tab in the email builder.

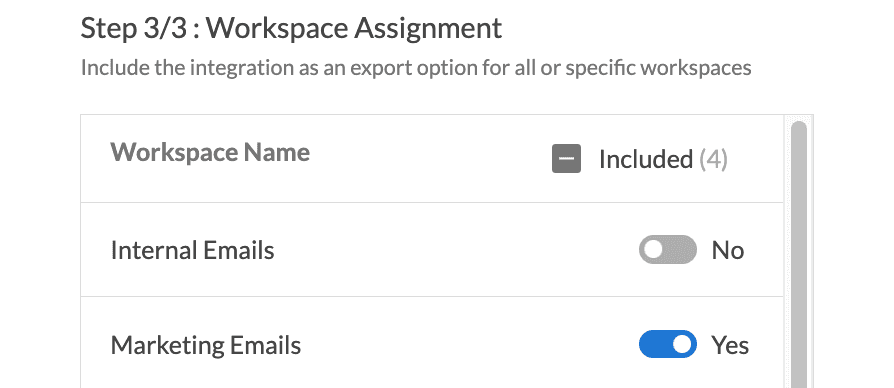
Lastly, toggle on the workspaces you'd like to enable exporting with this integration from, and click add integration.

Your team is now ready to export emails directly from Dyspatch to your SendGrid account.
Localized Email Export Methods
Use Dyspatch to localize your email and you can create emails that support multiple languages or locations. With your new SendGrid integration you can choose to export localized emails with either the SendGrid property Language or Locale
Language will export your emails's localizations using SendGrid's language attribute. Our SendGrid exporter will
use only the language code set in the localization: en or fr
Hello!Bonjour!Hello!Locale will export your email utilizing SendGrid's locale attribute. Our SendGrid exporter will use the entire
locale code from the localization: en-US or fr-CA
Hello!Bonjour!Hello!Check with your team which localization option works best for your particular SendGrid account.
Learn More
With your new integration has been set up, you will be able to export your emails to SendGrid directly from Dyspatch.