Link your Sendpulse account to Dyspatch with just a few clicks and your team can effortlessly export your exceptional emails.
Connect your SendPulse Account
Retrieve SendPulse API Key
First, log into SendPulse and go to the Account Settings page and navigate to the Account Settings > API tab. Note the "ID" and "Secret" fields, you'll be using them in Dyspatch.

Configure SendPulse Integration in Dyspatch
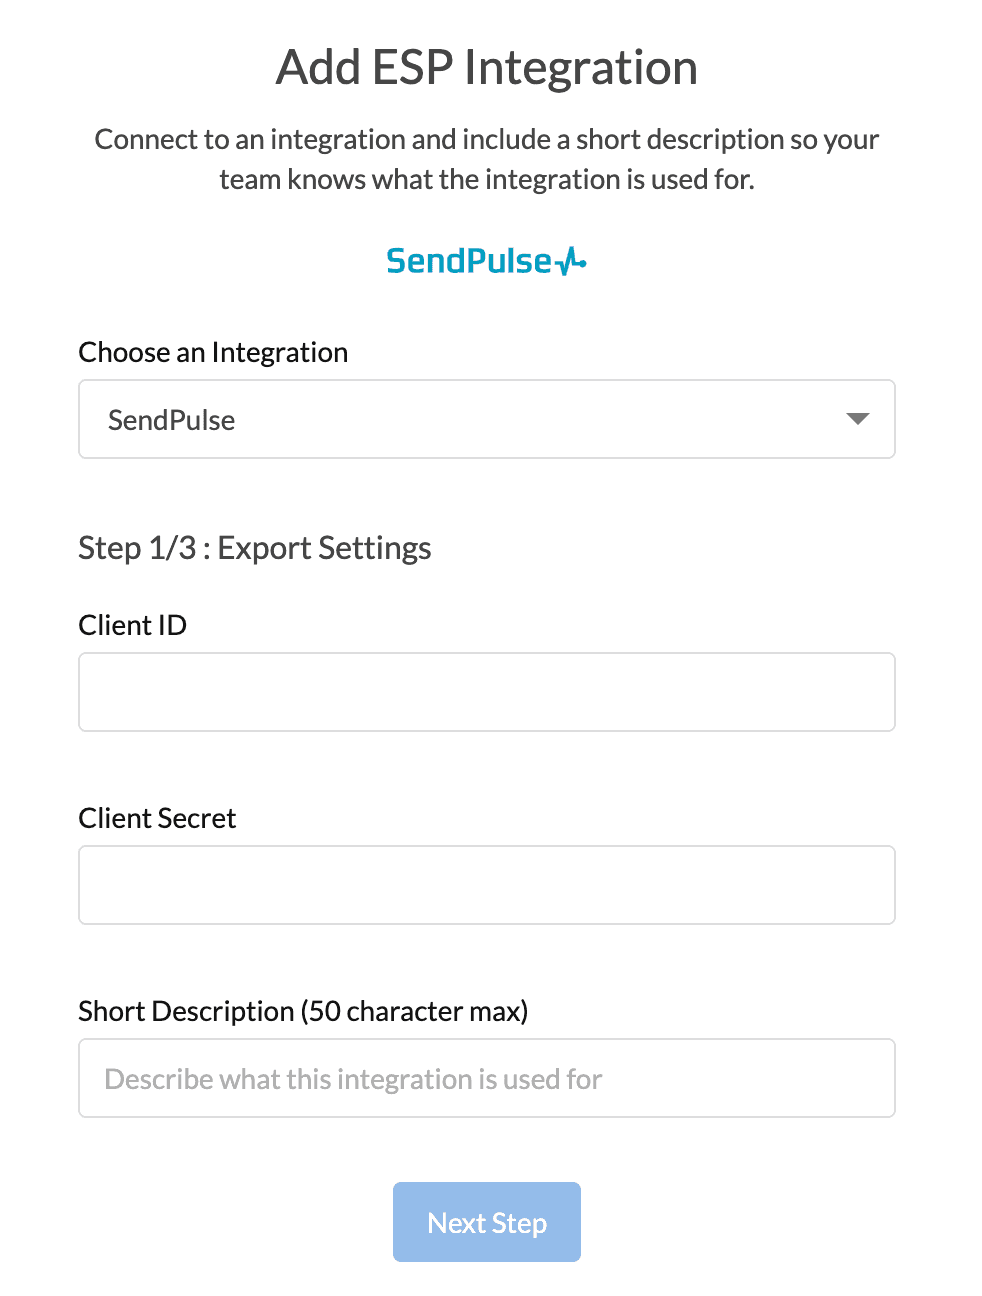
Next, in Dyspatch, select Add Integration on the Admin > Integrations page.

Select SendPulse as the integration, enter your SendPulse Client ID, Client Secret, and add a short description that your team will see when exporting.

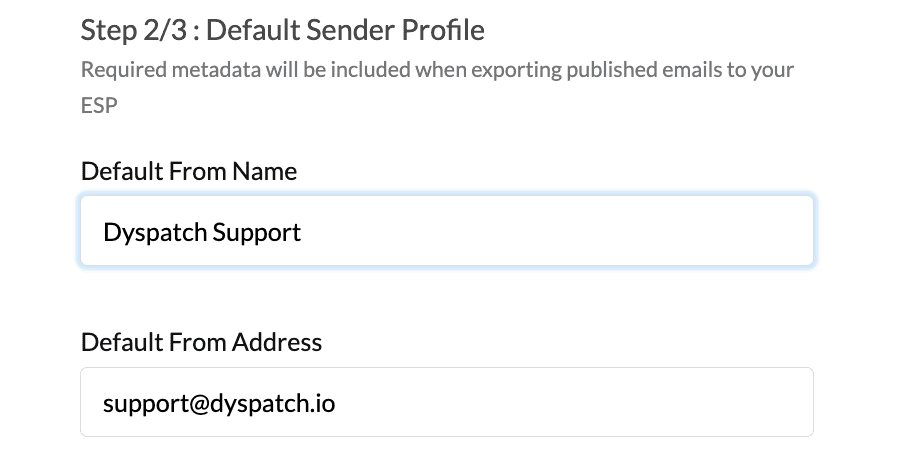
Next, include the default from name, email address, and reply to email.
These settings can be overridden on a per-email basis on the metadata tab in the email builder.

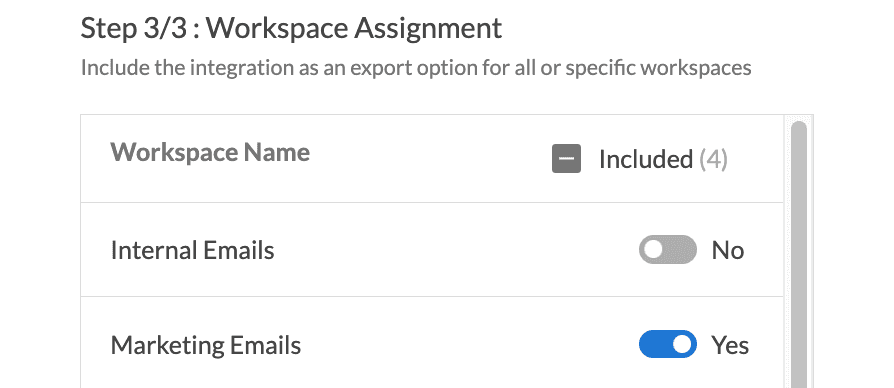
Lastly, toggle on the workspaces you'd like to enable exporting with this integration from, and click add integration.

You're done! Your team can find emails exported from Dyspatch in SendPulse under Email Templates > Personal. Now your emails can be used in SendPulse Campaigns, Automation360, and via the SendPulse transactional API.