Connect your Smartling account to Dyspatch to sync your localization workflow.
Create your Smartling Token
To connect your Smartling account to Dyspatch, you will need:
- User Identifier
- Token Secret (also called User Secret)
- Project ID
In your Smartling account, navigate to the API page from the Account Settings menu.

Select Create Token.

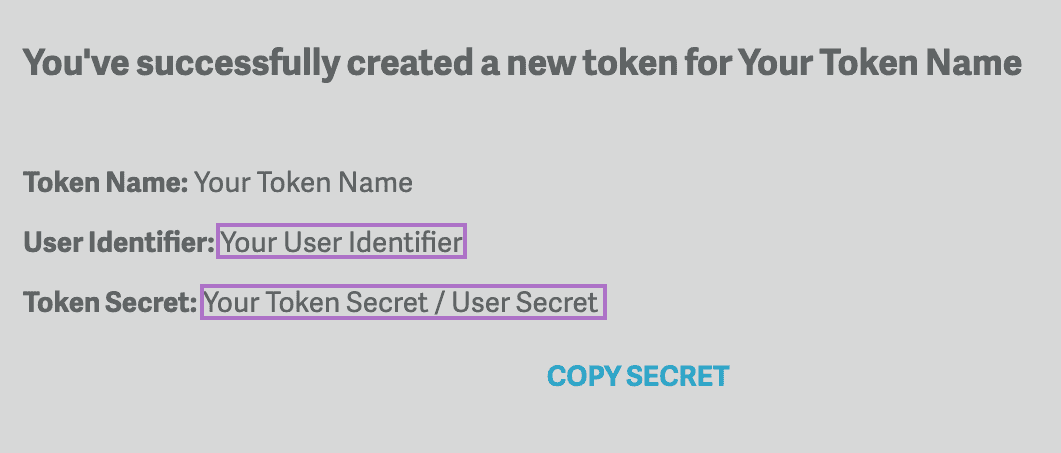
Give your token a name, and if creating a Project Token, select the project you'd like Dyspatch to sync to. Once your token is created, you will be shown your User Identifier and Token Secret. Be sure to save your Token Secret at this point, as it will not be displayed again.

If using a Project Token, you can find the Project ID in the Project Tokens list.

Connect your Smartling Account to Dyspatch
In your Dyspatch account, navigate to the Integrations > Localization page and click the Add Integration button.

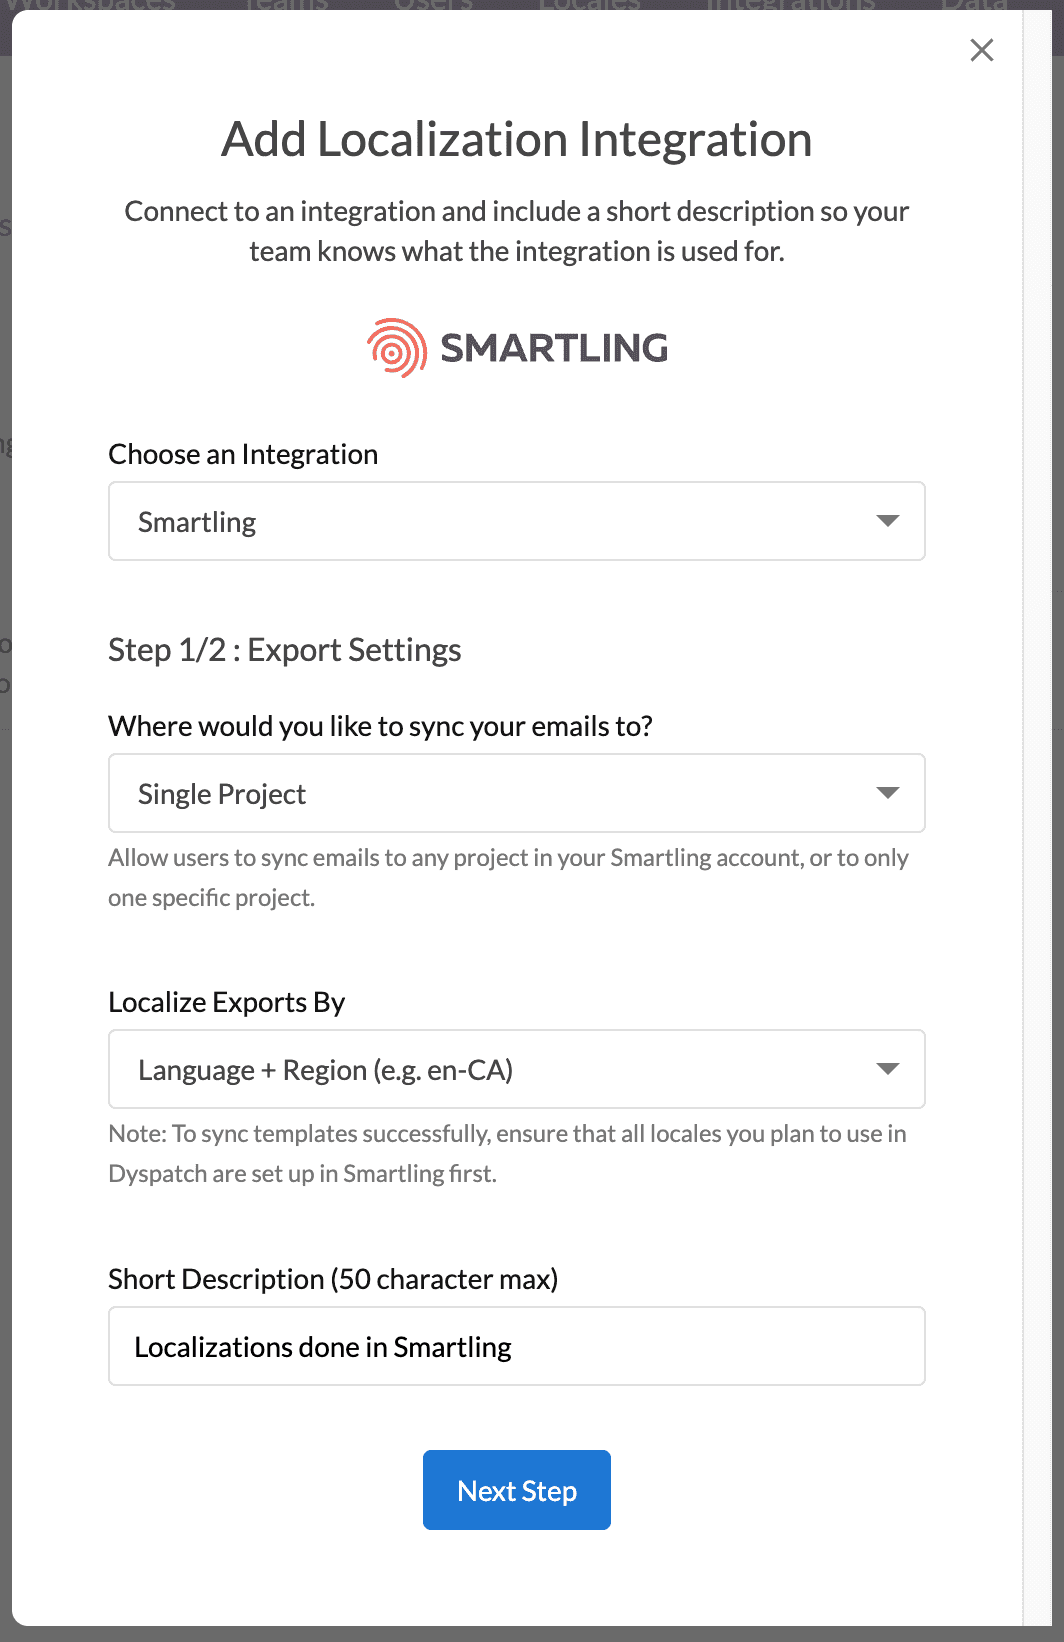
Choose Smartling from the Integration dropdown and configure your settings:
-
Under Where would you like to sync your emails to?, choose either a Single Project or Account Level (Any Project)
-
Under Localize Exports By, choose either Language + Region (eg. en-CA) or Language Only (eg. en)
-
Add a short description of your integration, then click Next Step

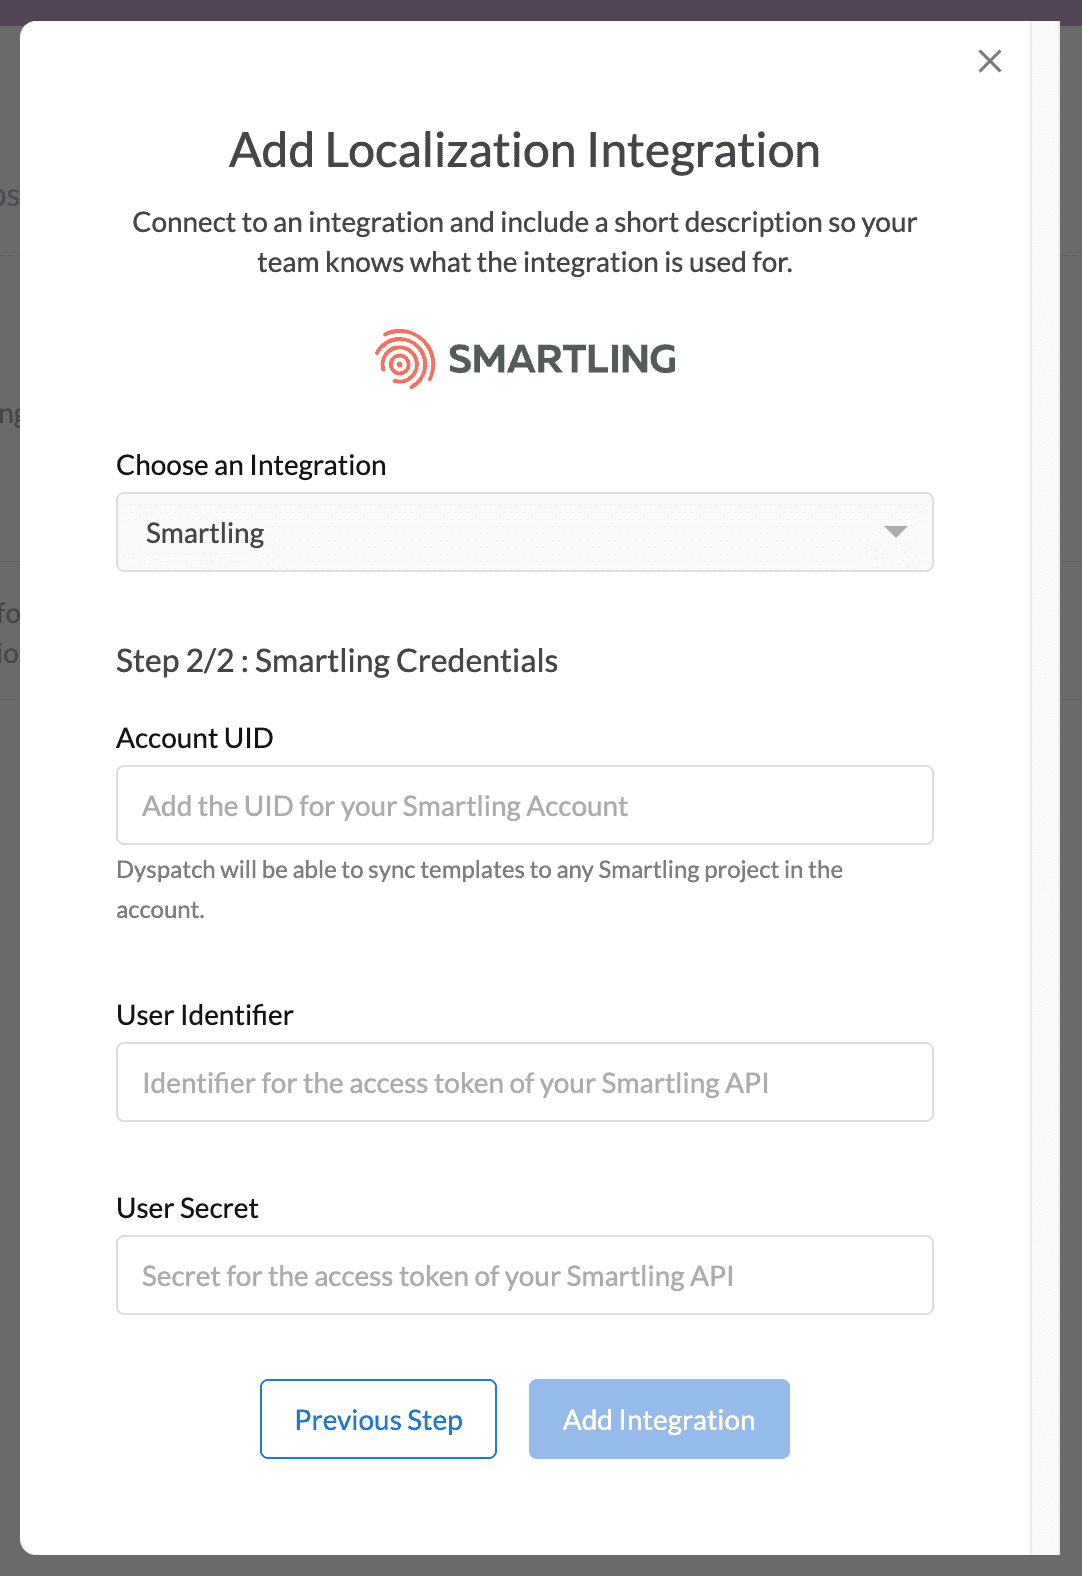
- On page 2, add your Account UID, User Identifier, and User Secret, aka Token Secret, from Smartling and click Add Integration

Once your new integration has been set up, you will be able to sync to your Smartling account directly from Dyspatch.