Create personalized voice notifications for transactional, security related, and accessible communications with the Voice Notification Builder.
Creating a Voice Notification
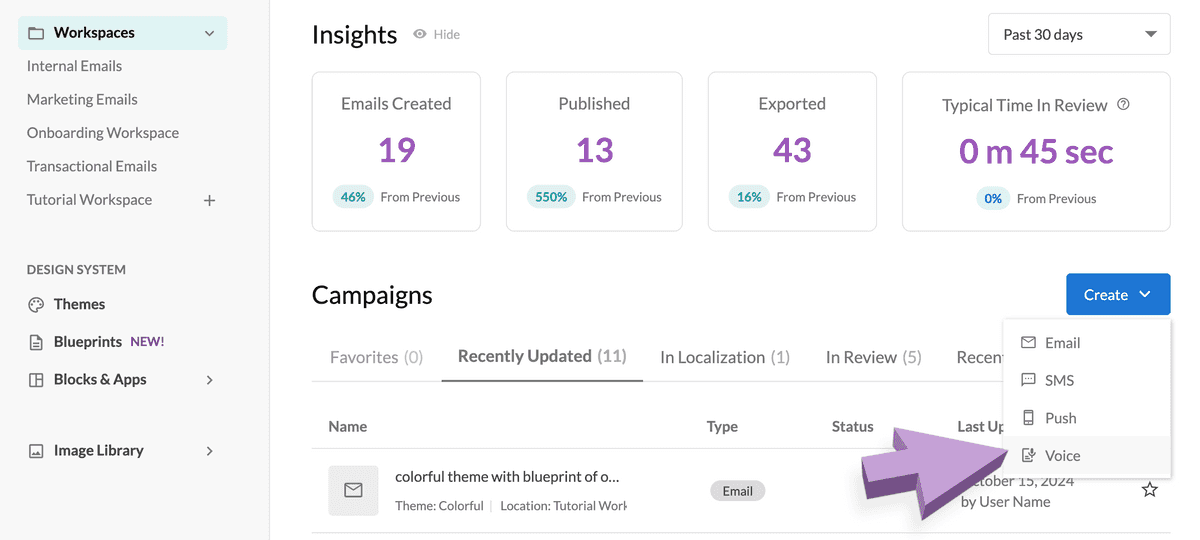
From your Dyspatch dashboard, or from a workspace folder, select Voice from the Create dropdown menu.
Select a workspace for your push notification, give it a name, and an optional description.
Adding Voice Notification Content
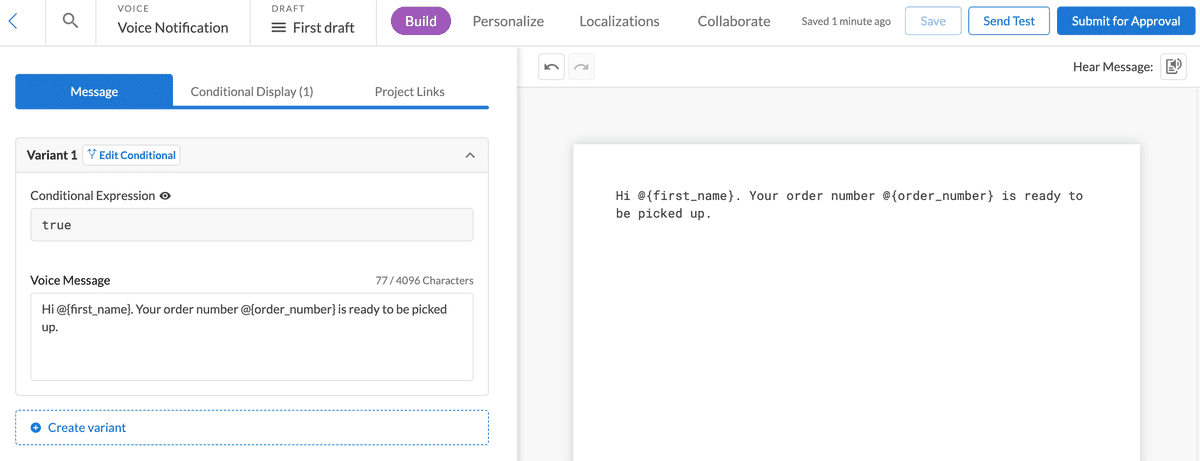
Add the notification content for your customer to have read out to them.
Voice Notification Personalization
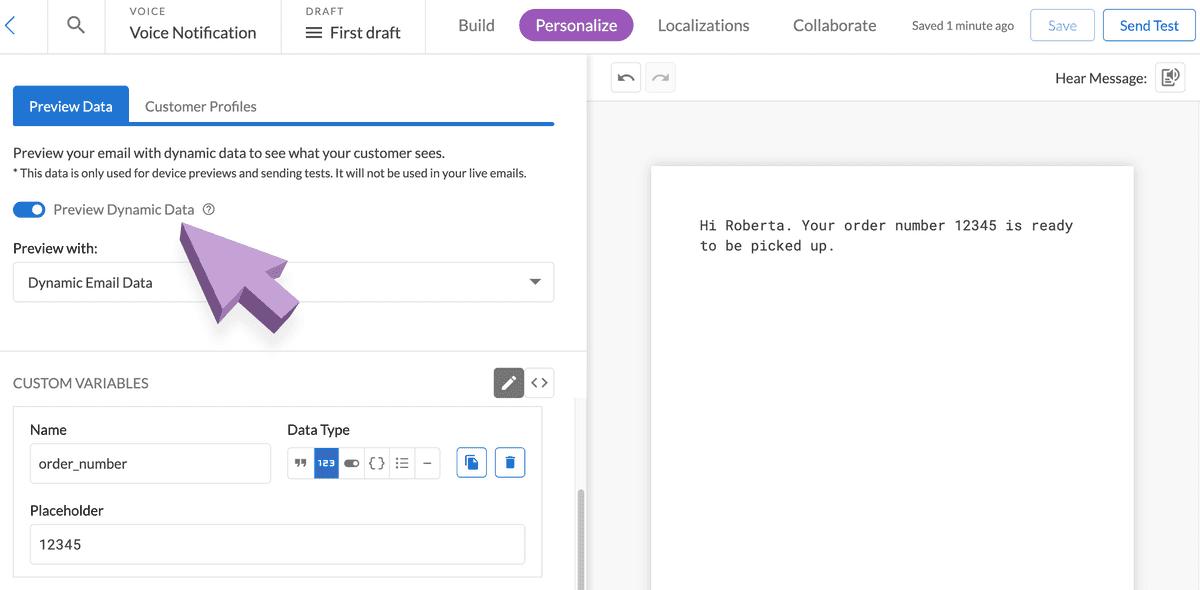
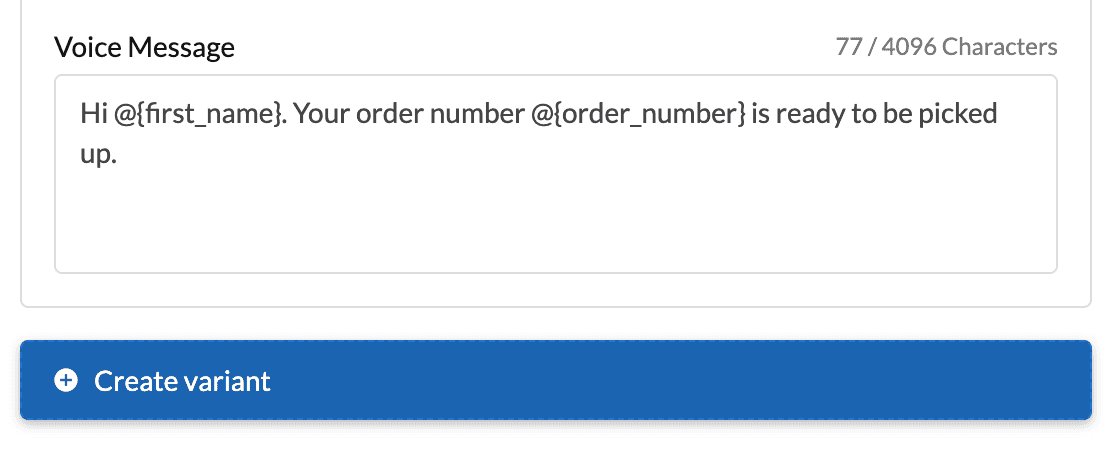
Use DML Variables to include dynamic content to your voice notifications. Include sample data on the Personalize tab, or use your organization's customer profiles. All DML variable key names are enclosed in @{}.

Preview your personalized variables by toggling on Preview Dynamic Data from the Personalize tab.
View more on testing with preview data.
Voice Notification Character Counts
The voice notification character count of 4,096 characters helps you stay within the basic TTS (Text to Voice) byte character limits.

Previewing Voice Notifications
The voice notification builder offers 2 ways to preview voice notifications, Hear Message and Send Test.

To listen to a readout of your notification in the app, select the Hear Message icon at the top right of the app.
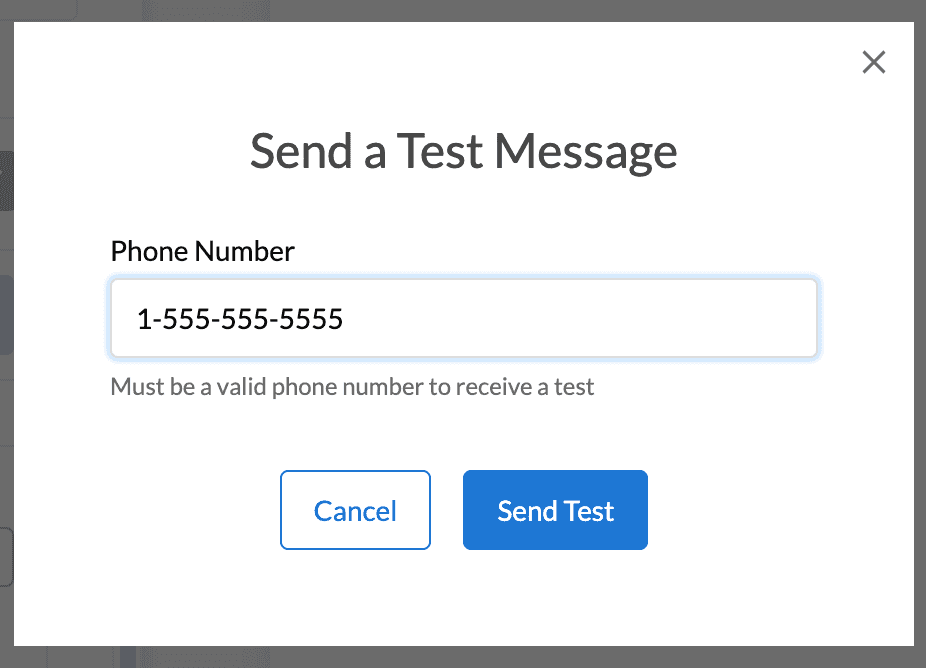
To send a test notification to a phone number, click the Send Test button and enter a valid phone number in the modal to trigger a voice notification to be sent.
Using Voice Notification Conditionals
Create voice notification variations and apply conditions to ensure the right customer receives the right notification.
Creating Voice Notification Variants
Select Create variant below the last variant in the list and modify the content for the additional scenario.
Conditionally Rendering Voice Variants
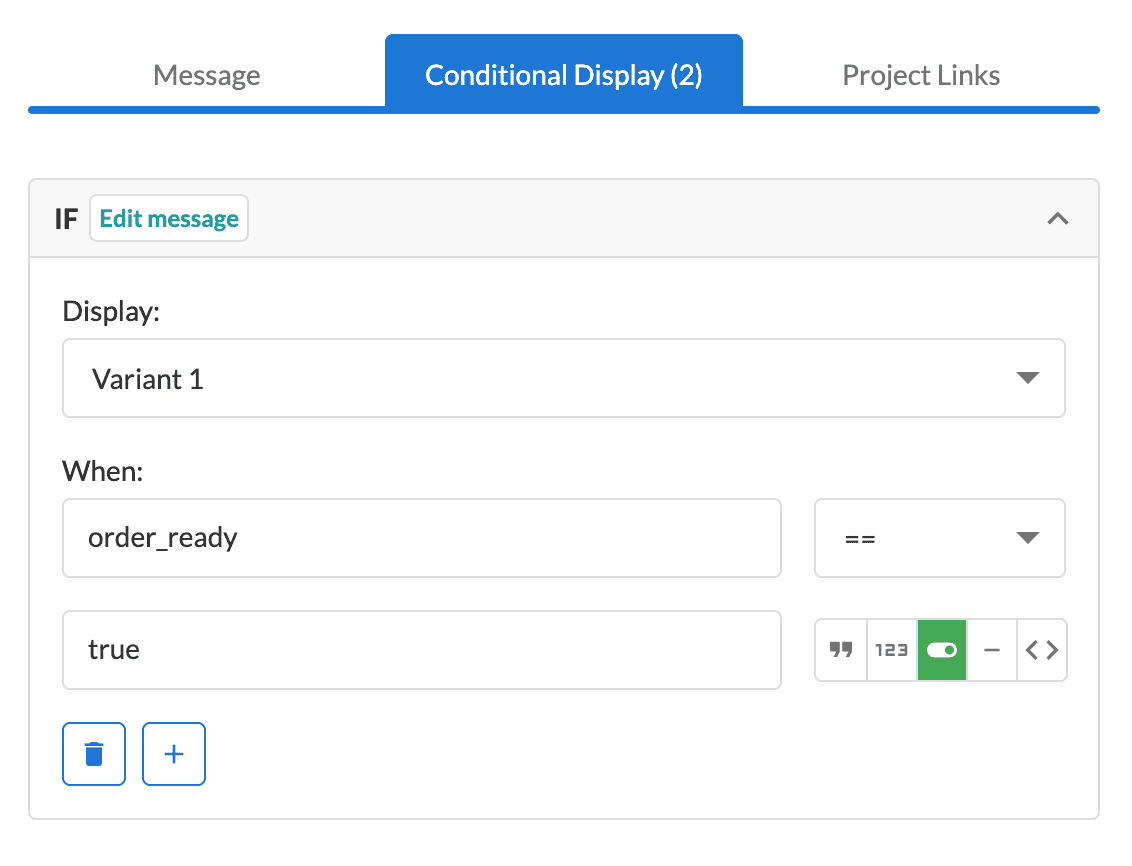
Select the Edit Conditional button next to a variant to bring up the conditional display builder.
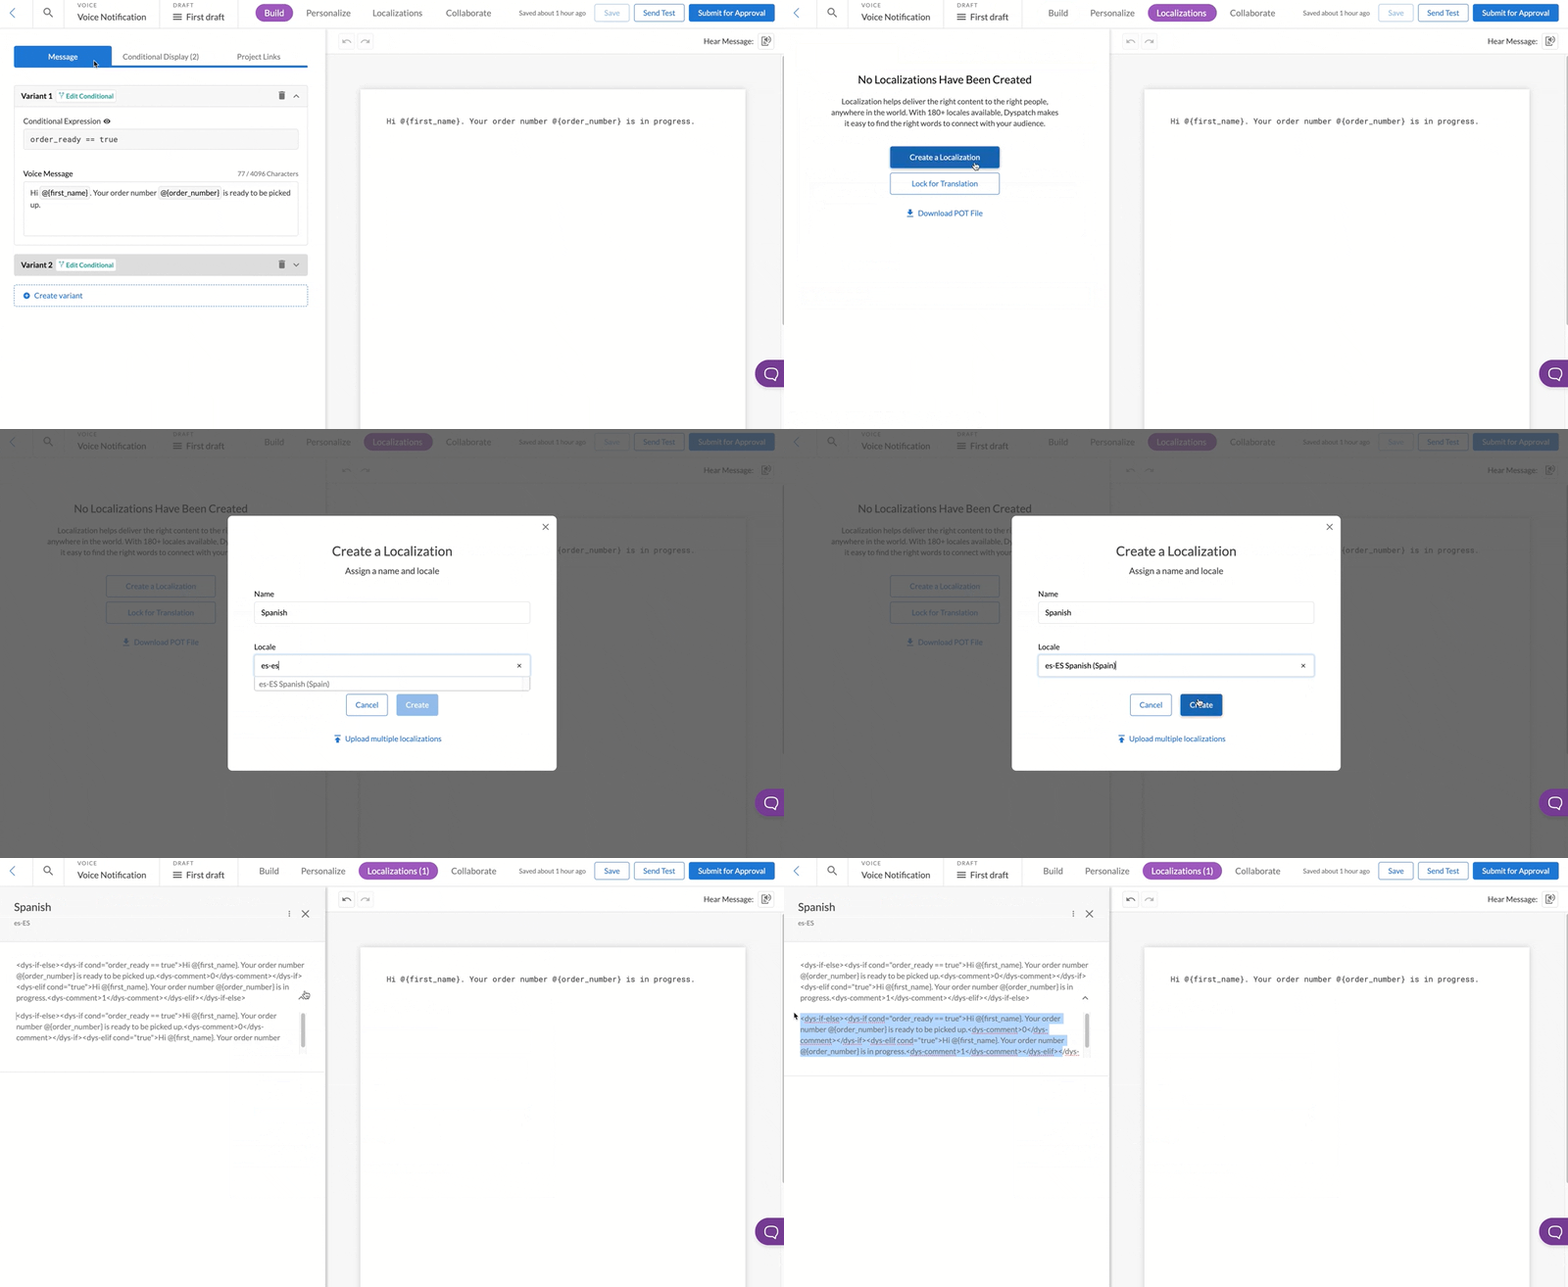
Select Add Logic and include the condition to read out that variant when equated to true. In the following example, if the customer's data includes order_ready and it is true, they will be read Variant 1.
Localizing Voice Notifications
Use the Localizations tab to add translations to voice notifications.
Navigate to the Localizations tab in the voice notification builder to create a new localization. Select a language and give the localization a name that your team will recognize. This name is for your reference only and can follow any naming convention that works for your team.
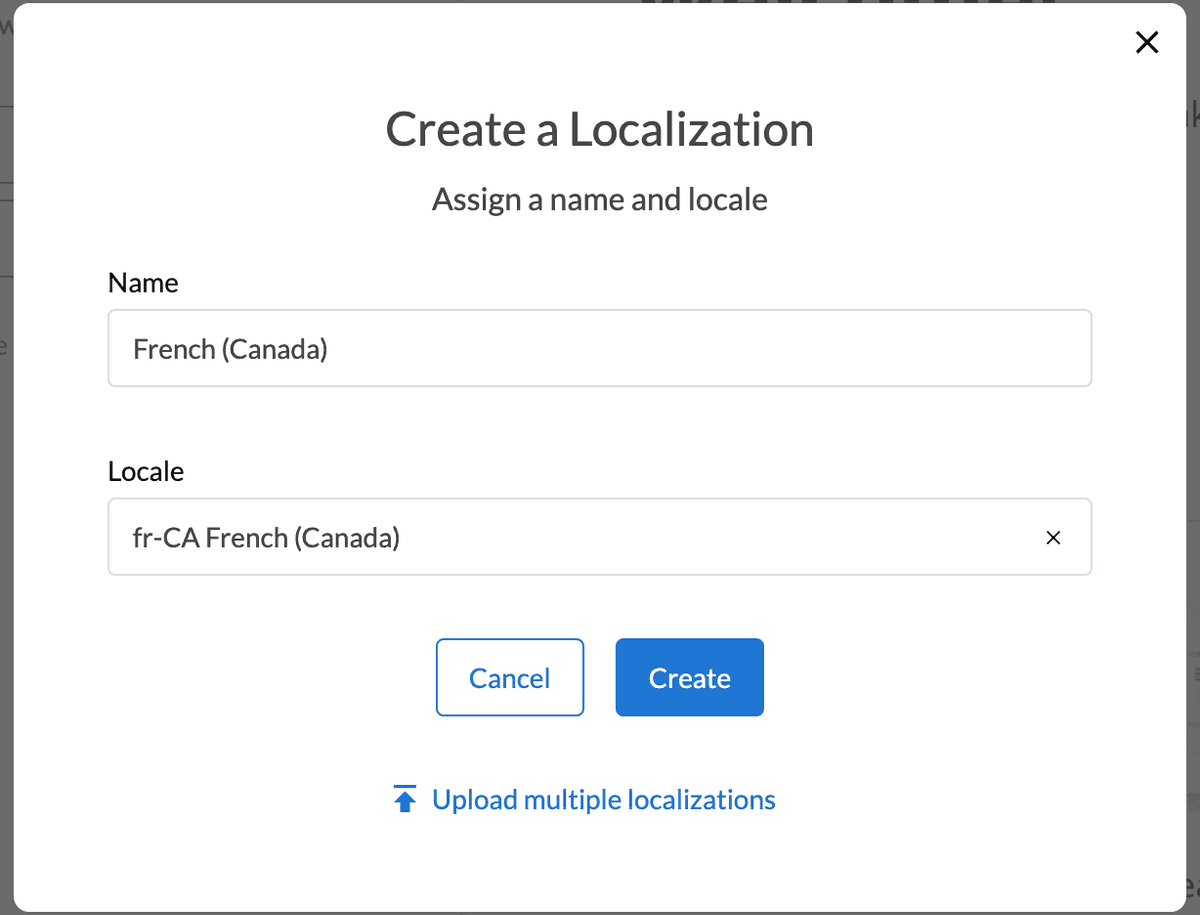
Select a locale from the list, click on the section of text you'd like to add translations for, and edit the content in the locale dropdown, working within the conditional statements of the content.
Collaborate with Comments
Working in teams is what it's all about! Get input from stakeholders to produce the most engaging and informative SMS content possible!
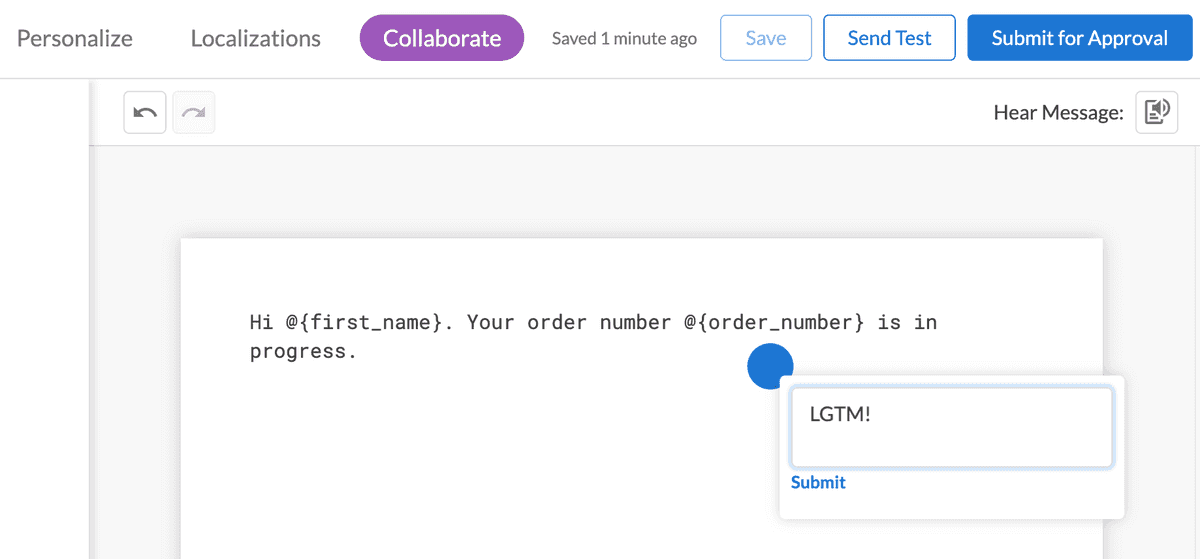
Anyone on your team can add comments at any time during the building process. Mention team members with the @ symbol, resolve comments, see comment history, and check approval state changes all from the Collaborate tab.
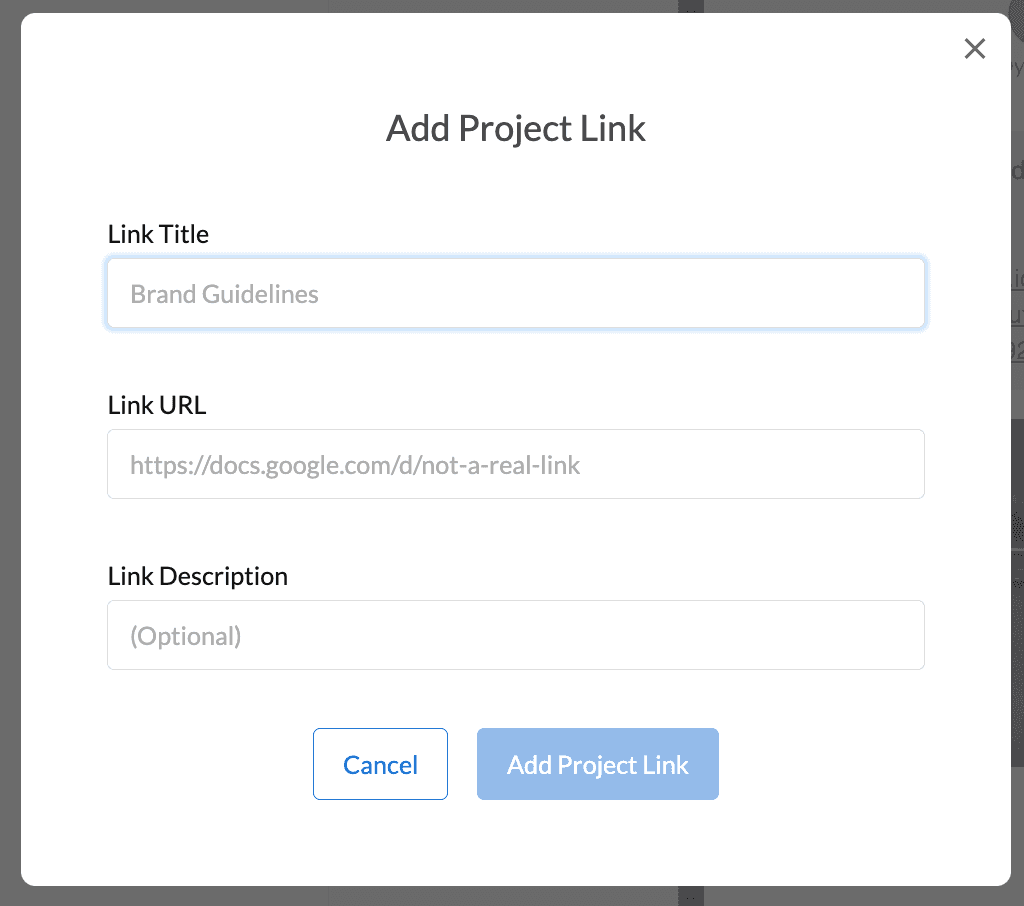
To further collaboration, include an external copy guide on the Build > Project Links tab. This ensures everyone involved is using the same reference material.
Approval Process
Submit your voice notification for feedback and approval from team members and stakeholders before publishing. Workspace owners and any assigned approvers will be notified.
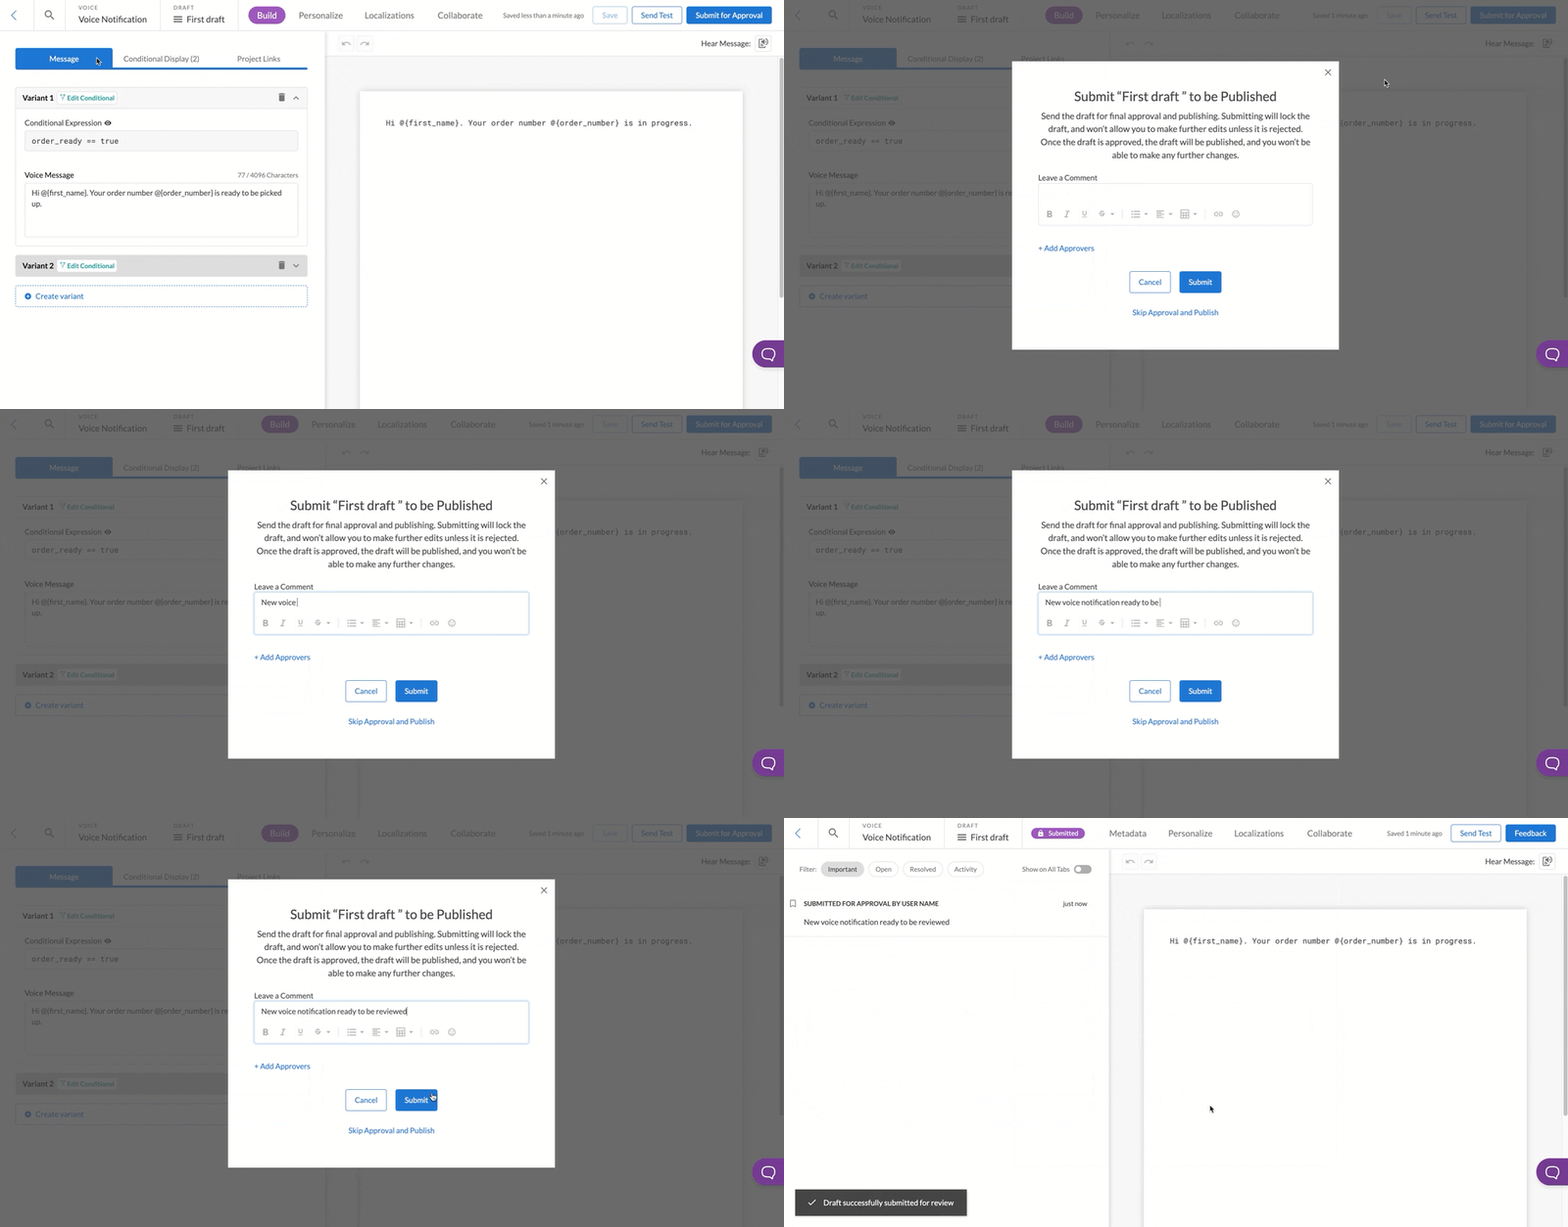
Once submitted, your draft will be locked in the Submitted state. Someone will either reject the draft, making it editable again, or approve the draft. Approved drafts are in the locked Approved state.
For more on the approval process:
Export Voice Notifications
Congratulations! Your notification has been approved and is ready to be added to your notification sending platform!
Click Export in the top right of the voice notification builder.
Pick from a selection of templating languages to Download or Copy your notification in the format you need. Upload the code to your notification sending service to keep your customers in the know.
