Use our integration with HubSpot to deliver engaging email experiences to your customers.
Build and Approve in Dyspatch
In Dyspatch, use the drag and drop email editor to create a beautiful, responsive, and engaging email. Collaborate with your team to approve and publish.
Once your email is approved by your team and published, you can move it into your HubSpot account by exporting it with our HubSpot Integration, or you can download your email to upload it to HubSpot manually.
Export an Email with the HubSpot Integration
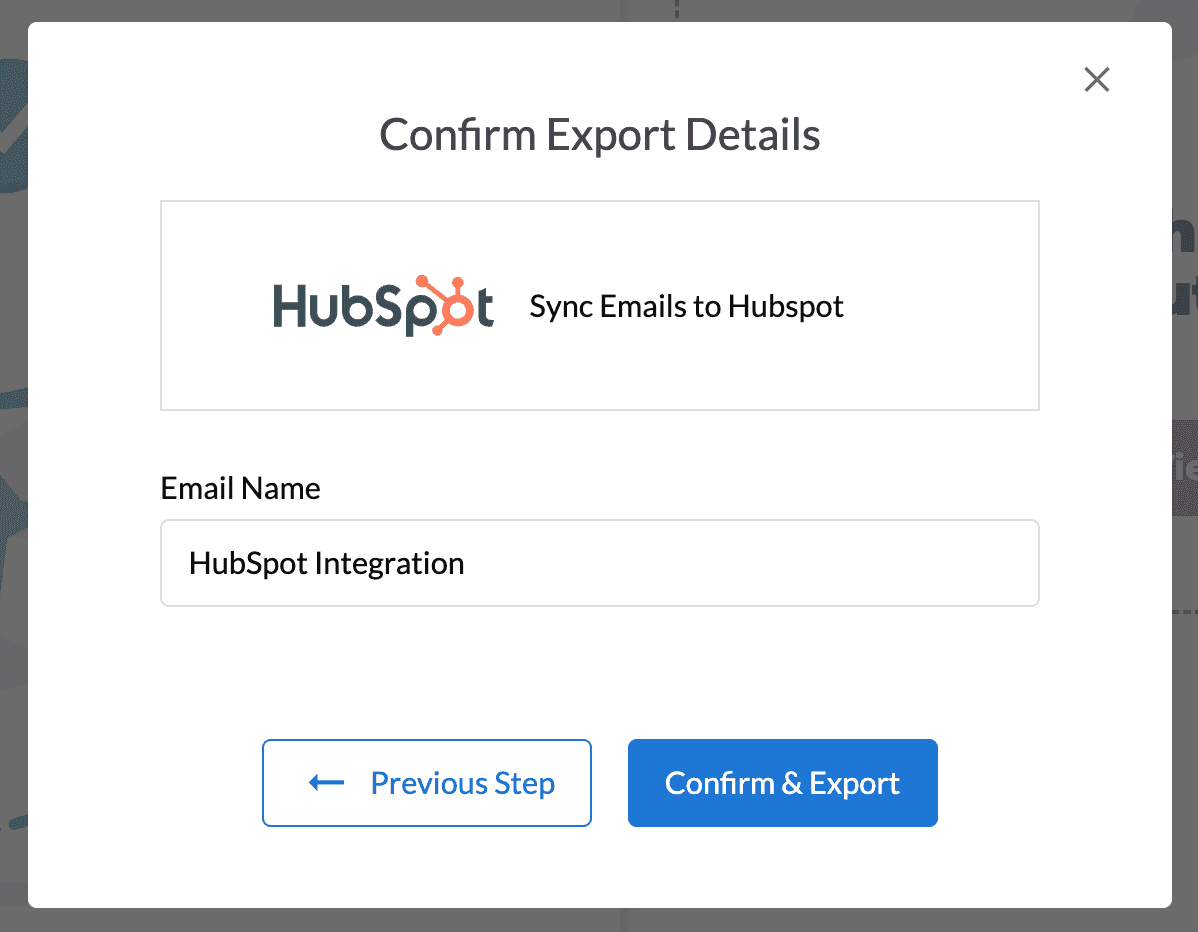
From a published email, Click Export, double check the Email Name, then click Confirm & Export.
Troubleshooting Hubspot Required Tags
HubSpot requires the following tags in your Dyspatch email in order to export successfully:
@{site_settings.company_street_address_1}@{site_settings.company_state}@{site_settings.company_name}@{site_settings.company_city}
It also requires either both unsubscribe link tags:
@{unsubscribe_link}and@{unsubscribe_link_all}
or the unsubscribe section tag:
@{unsubscribe_section}
If these tags are not included, Hubspot will reject the email and you'll see the reason for the failed export in the export modal.
Locating your Dyspatch Email in Hubspot
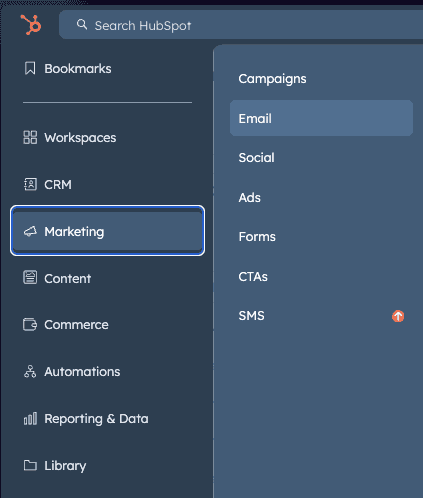
Upon successful export the email can be accessed via Marketing > Email. There will also be a folder created named Dyspatch Import where the HTML can be accessed by navigating to Content > Design Manager in the left hand navigation menu in HubSpot.
Export an Email Manually to upload to HubSpot
Your email must be approved by your team and published before you can export it.
Export Email from Dyspatch
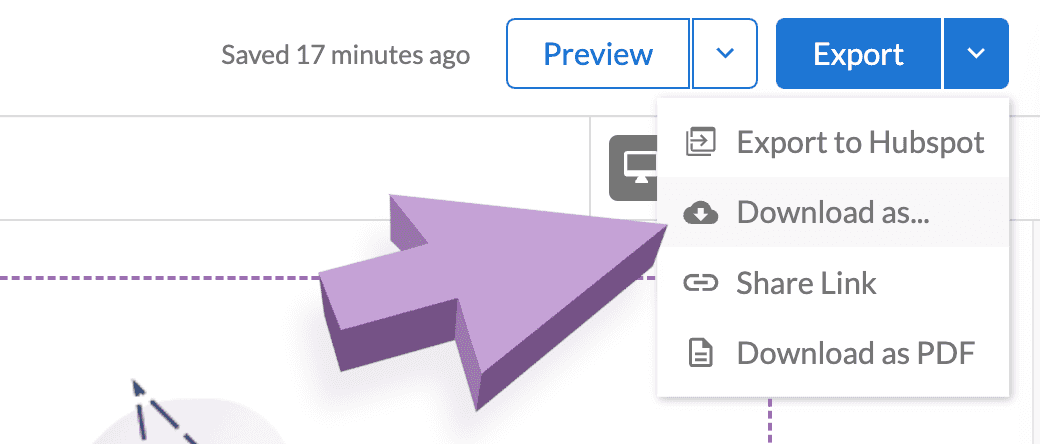
Select Export > Download as... in the email builder.
From the Download HTML tab, Select the download logo under HubSpot to save the file locally, or copy the HTML code of the email.
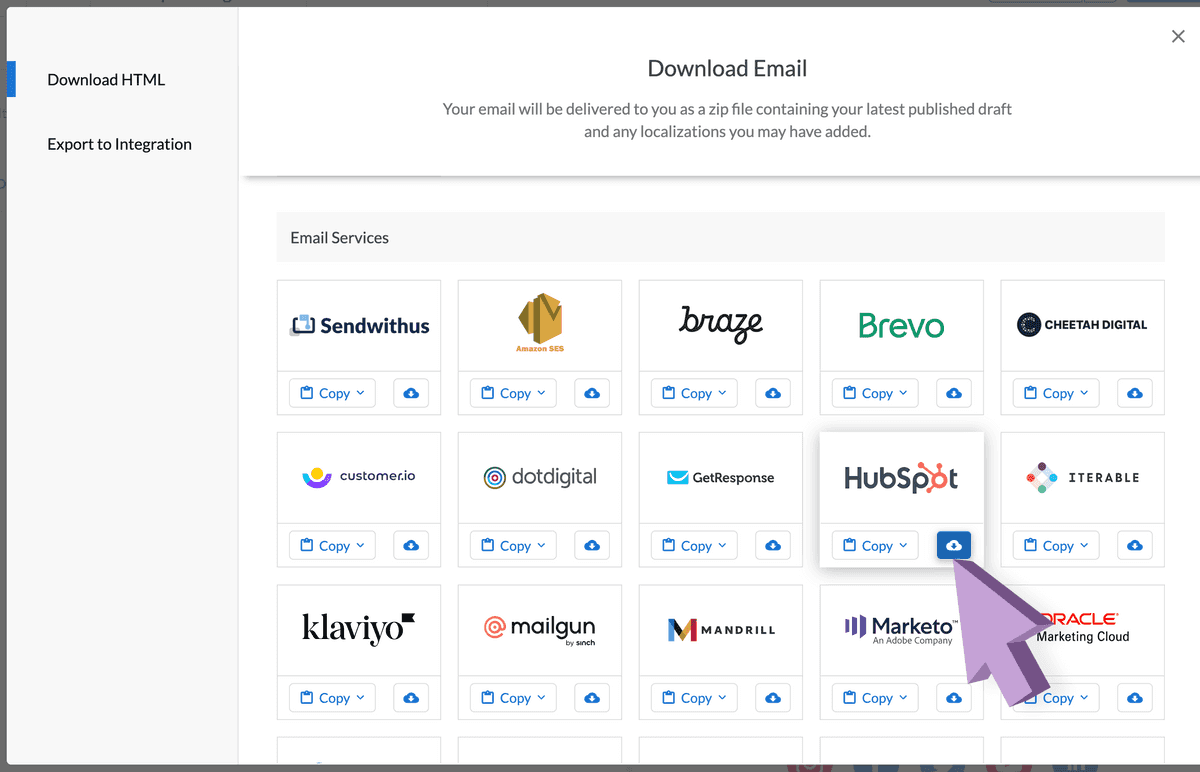
If downloaded, a zipped file will be downloaded onto your system with the HTML, plain text content, metadata, and localizations (if applicable).
If copied, the HTML code for your Dyspatch email will be stored in your computer's clipboard.
Add the Email to HubSpot
Create a Blank Hubspot Template
On your HubSpot dashboard, navigate to Content > Design Manager and select Create a new file, or through the Marketing > Email path select Create email
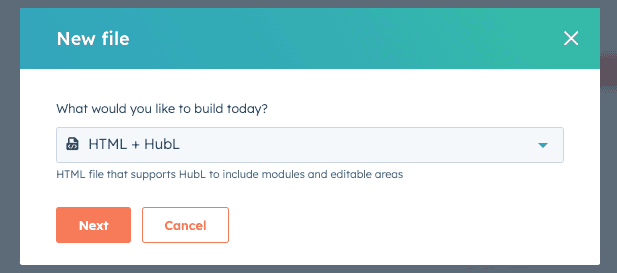
Select HTML + Hubl as the file type and click Next.
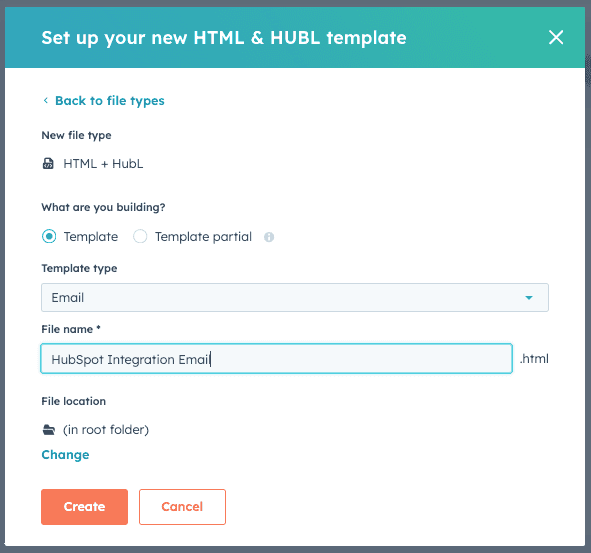
Change the Template Type to Email, give it a File Name, and optionally change it's location.
Retrieve HTML
If you copied the email from Dyspatch then the HTML code should still be in your computer's clipboard and ready to paste. If not, copy the code again from Dyspatch.
If you downloaded the email from Dyspatch, unzip the folder and open the .html file in your browser. Right click the page and select vew page source. Highlight all of the code and copy it to your clipboard.
Paste HTML into HubSpot
In your new HubSpot template, highlight all of the boilerplate HTML, delete it, and paste in the email HTML code from Dyspatch.
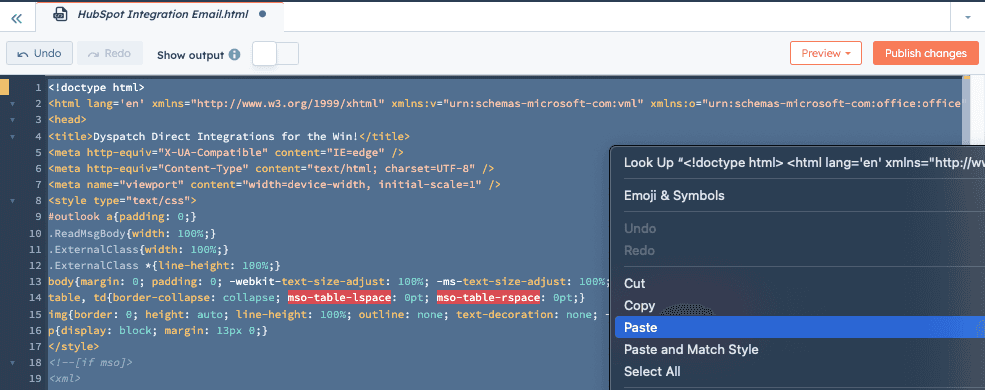
Select Publish changes to save your email and viola! Your Dyspatch email is now in HubSpot!
To view the email itself, navigate to Marketing > Email.
Learn More
Read more about working with HubSpot in Dyspatch on our HubSpot Integration page.